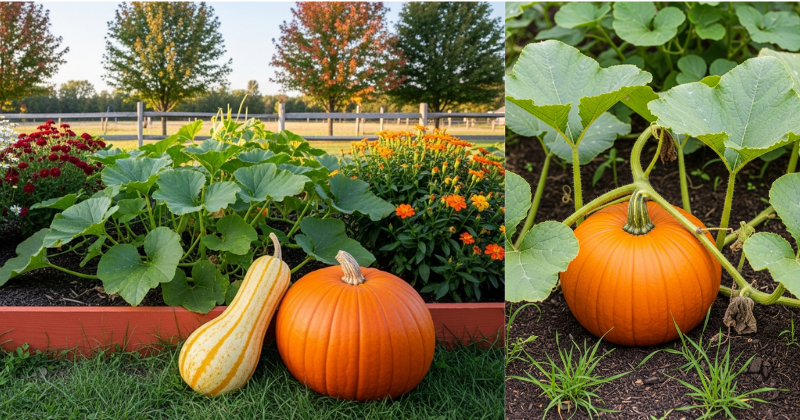
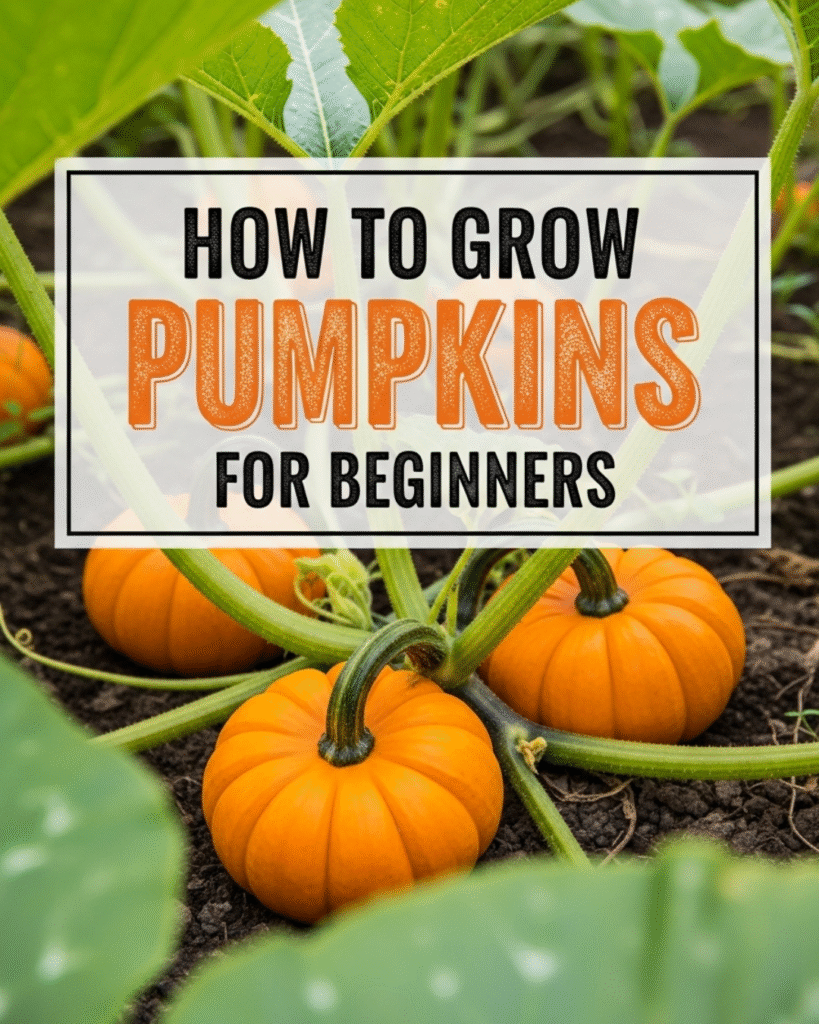
Imagine carving a jack-o’-lantern from a massive pumpkin you nurtured yourself, or baking a pie with homegrown ingredients. Growing pumpkins for beginners might seem daunting due to their size, but the truth is, these iconic gourds are rewarding, resilient, and surprisingly easy to manage with the right preparation. This guide will walk you through the entire lifecycle, from seed to harvest, empowering you to discover the secrets of a successful pumpkin patch. We provide achievable, step-by-step guidance to help you transform your garden into a fall spectacle and achieve a massive, satisfying harvest.
🎃 Foundation First: Choosing and Planning Your Patch
The secret to how to grow pumpkins for beginners lies in preparation and providing what these large, thirsty plants crave: space, sun, and nutrients.
H3: Selecting the Right Pumpkin Variety
Pumpkins come in a massive array of sizes and growth habits. Choosing the right one for your space is the first critical step.
| Variety Type | Size/Purpose | Best for Beginners | Growth Habit |
| Small/Pie | 5-8 lbs (Baking) | ‘Sugar Pie’ or ‘Small Sugar’ | Bush/Semi-Bush (Space Saver) |
| Mid-Size | 10-25 lbs (Jack-o’-Lantern) | ‘Connecticut Field’ or ‘Autumn Gold’ | Vining (Requires more space) |
| Large/Giant | 50+ lbs (Display/Contest) | ‘Atlantic Giant’ (Advanced) | Highly Vining (Needs major space) |
Encouraging Reassurance for Beginners: If space is limited, choose a bush variety. They produce smaller fruit but keep the sprawling vines contained, making pumpkin growing possible even in raised beds or large containers.
H3: Seasonal Considerations and Soil Preparation
Pumpkins are heat-loving plants that require a long, warm growing season. Proper soil preparation is non-negotiable for success.
- Timing is Key: Pumpkins should be planted directly outside 2-3 weeks after your last spring frost date, when soil temperatures consistently reach at least $65^\circ\text{F}$ ($18^\circ\text{C}$). Check your regional variations for precise planting dates.
- Sun Requirements: They need a minimum of 6 hours of full sun daily.
- Soil: Pumpkins are heavy feeders. They require rich, well-drained soil amended heavily with compost or aged manure. The ideal soil $\text{pH}$ is between 6.0 and 6.8. Working 3-4 inches of compost into the top 12 inches of soil before planting will provide the fuel for growth.
🪴 Section 2: Step-by-Step Planting and Early Care
Once you’ve prepped your soil and chosen your variety, it’s time to start planting. This section details the core methods for successful germination and vine establishment.
Core Methods: Planting Your Pumpkin Patch
- Creating the Mound (Actionable Language): Pumpkins thrive in hills or mounds, which helps the soil warm up faster and improves drainage. Build mounds roughly 2-3 feet wide and 6-8 inches high. Space these mounds 4-8 feet apart, depending on whether you chose a bush or vining variety.
- Sowing the Seeds: Plant 4-5 seeds about 1 inch deep in the center of each hill. Grouping them this way encourages better pollination and gives you options for thinning later.
- Watering and Germination: Water the mounds deeply but gently immediately after planting. Keep the soil consistently moist (but not soggy) until germination occurs, usually within 5-10 days.
- Thinning the Seedlings: When the seedlings have grown their first true leaves (the second set of leaves), thin them out. Gently snip the weakest seedlings at the soil line, leaving only the 2 strongest, healthiest plants per hill. This ensures the remaining plants get adequate light and nutrients.
H4: Practical Tips for Watering the Vines
Pumpkins are mostly water, so consistent watering is crucial to growing pumpkins for beginners.
- Water Deeply: Aim for 1 inch of water per week, delivered slowly.
- Avoid Foliage: Always water the base of the plant or use a soaker hose/drip system. Wet leaves invite fungal diseases like powdery mildew (a common issue in gardening topics).
- Peak Need: Watering needs are highest when the fruits are setting and enlarging.
🐝 Section 3: Advanced Strategies: Pollination and Fruit Set
The most common reason for failure in how to grow pumpkins for beginners is a lack of pollination. Understanding the flowers is the key to unlocking a massive harvest.
Pro Tips: The Male/Female Flower Distinction
Pumpkin plants produce two kinds of flowers: male and female. Both are necessary for fruit production, but only the females develop into pumpkins.
- Male Flowers: Appear first, often for a week or two before the females arrive. They grow on a thin stem and only contain pollen.
- Female Flowers: Identified by a small, swollen bulb (a miniature pumpkin) located directly beneath the petals. They only open for one day.
- Encourage Experimentation: Encourage bees! Plant companion plants like borage or sunflowers nearby to attract pollinators. If bees are scarce, you may need to hand-pollinate during the early morning hours when the flowers are open.
The Hand-Pollination Technique
- Identify: Find a fresh male flower and a fresh female flower that are both open in the morning.
- Collect Pollen: Gently pull off the male flower and remove the petals to expose the central stamen (covered in pollen).
- Transfer: Gently brush the pollen-coated stamen directly onto the sticky, central stigma of the female flower. This simple transfer ensures fertilization, guaranteeing a pumpkin will grow from that female flower.
🍂 Section 4: Troubleshooting and Common Challenges
Even with the best planning, pumpkin patches face obstacles. These practical troubleshooting tips will help you manage the most frequent setbacks.
Featured Snippet Potential: “Why are my pumpkin flowers falling off and not producing fruit?”
Your pumpkin flowers are likely falling off without producing fruit because the male and female flowers are not opening simultaneously, or they are not being pollinated. The first flowers to appear are always male and will drop naturally. If female flowers (those with a small bulb beneath them) drop, it means they were not fertilized during their single day of opening. You should attract more pollinators or use the hand-pollination technique to resolve this.
Practical Troubleshooting Tips (Pest and Disease)
| Challenge | Symptom/Setback | Solution/Preventive Measures |
| Powdery Mildew | White, dusty patches on leaves. | Preventive Measure: Increase air circulation and avoid overhead watering. Solution: Spray leaves with a mixture of 1 part milk to 2 parts water (or an organic fungicide). |
| Squash Vine Borer | Sudden wilting of a healthy vine near the base; tiny hole visible. | Solution: Slit the vine longitudinally near the hole, remove the worm (grub), and immediately bury the wounded section of the vine under soil to encourage new root growth. |
| Failure to Fruit | Many female flowers but no growth. | Solution: High nitrogen fertilizer encourages leaves, not fruit. Switch to a fertilizer lower in nitrogen and higher in phosphorus/potassium once vines start flowering. |
🔨 Section 5: Maximizing Results and Harvest
The final stage of growing pumpkins for beginners is about achieving the biggest, most beautiful fruit and knowing the perfect time to harvest.
Next Level Tips: Maximizing Fruit Size
To grow substantial pumpkins, you need to concentrate the plant’s energy into fewer fruits.
- Pruning the Fruit: Once 2-3 healthy pumpkins have set on a vine, snip off all subsequent female flowers. This forces the plant to divert all energy into the remaining pumpkins, helping them get massive.
- Vine Pruning: Prune the end of the vine after the final fruit you want to keep. Leaving a few leaves beyond the fruit is okay, but removing the excess length helps redirect energy.
- Maintenance and Long-Term Considerations: Gently lift developing pumpkins and place cardboard, straw, or a tile beneath them. This prevents ground rot and insect damage, ensuring your fruit cures properly.
The Perfect Harvest Time
Harvest timing is critical for ensuring your pumpkins last through the fall holidays.
- The Color Test: The pumpkin must be the deep, consistent color appropriate for its variety (deep orange, white, etc.).
- The Fingernail Test: Press your fingernail lightly into the skin. If it dents, it’s not ready. If the skin is hard and resists puncture, it’s done.
- The Stem: Cut the pumpkin from the vine using clean, sharp shears, leaving a generous 2-3 inch stem attached. Never carry the pumpkin by the stem, as breaking it will drastically reduce its storage life and make it susceptible to rot.
✅ Conclusion: Your Capability to Nurture a Giant
You now have the achievable, step-by-step guidance necessary for how to grow pumpkins for beginners, from creating the perfect mound to mastering hand-pollination and achieving the perfect cure. You have embraced the connection with nature required to nurture these glorious giants.
The satisfaction of carving or baking with your very own harvest is a memory you are now capable of creating. Begin small, learn the rhythms of the vine, and trust the process.
Which crucial step—Creating the Mound for optimal growth or mastering the Hand-Pollination Technique—will you tackle first in your journey to transform your garden?