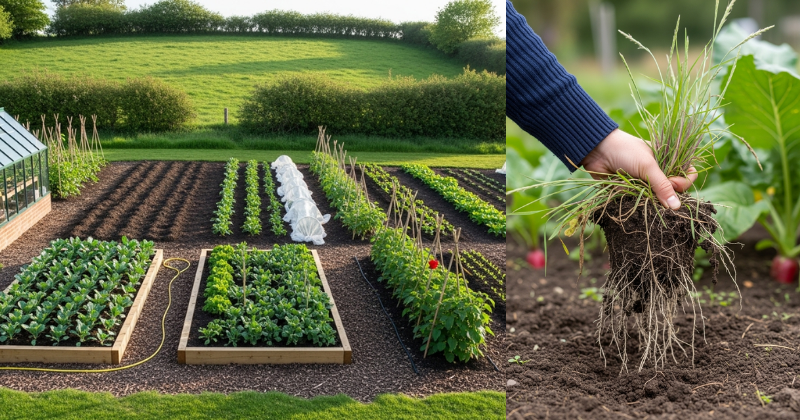
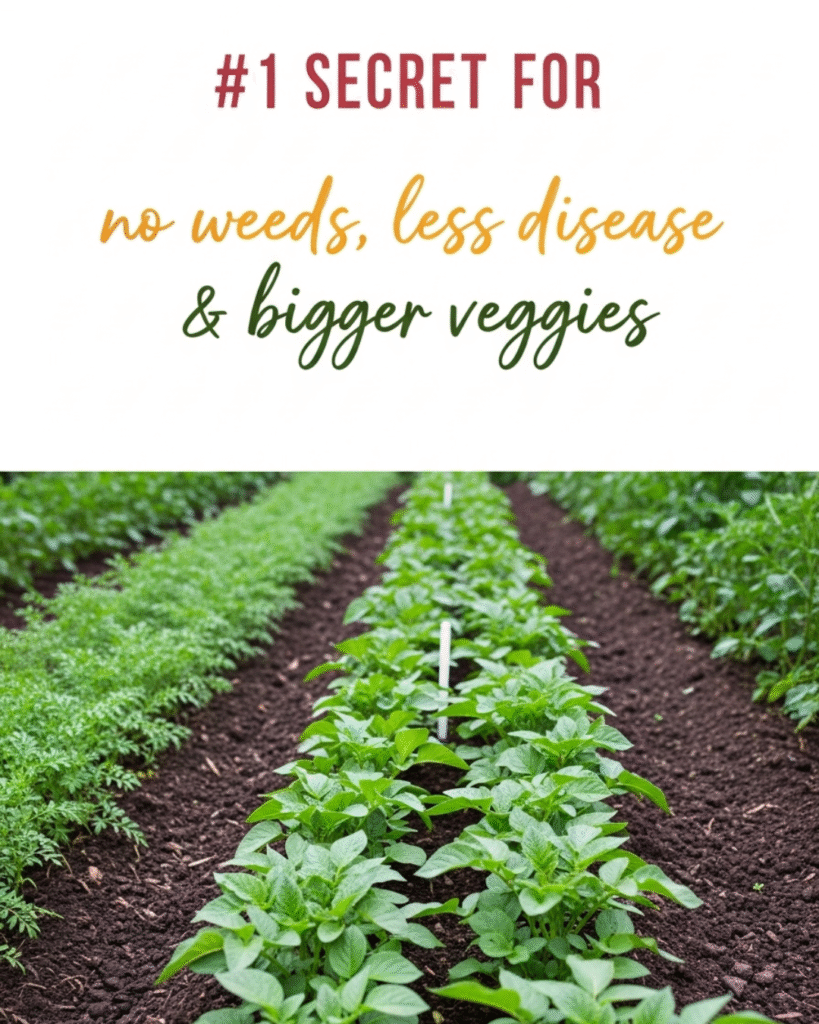
Imagine a garden where weeding is a chore of the past, plant diseases rarely take hold, and your tomatoes swell to incredible sizes. This dream is entirely achievable through one simple, age-old gardening technique: mastering the art of mulching. The SECRET FOR no weeds, less disease & bigger veggies lies in this natural, protective layer. This comprehensive guide provides step-by-step guidance and expert gardening topics to help you transform your vegetable patch, emphasizing the incredible connection with nature and ecosystem benefits that come from proper mulching. You will discover the best materials to use and unlock the potential for a thriving, low-maintenance garden.
🌻 Section 1: Foundation First: The Science of Mulch
Mulch isn’t just about aesthetics; it’s a foundational agricultural practice that mimics nature, creating the perfect environment for root health and nutrient absorption. Understanding this will build your confidence with basic concepts and prove that this technique is the ultimate cost-saving benefit.
H3: Building Confidence with Basic Concepts: The Triple-Threat Benefit
Mulching solves three of the biggest problems for vegetable gardeners: weed competition, soil moisture loss, and temperature fluctuation.
- Weed Suppression: A thick layer of mulch blocks sunlight from reaching weed seeds, preventing germination. This significantly cuts down on labor and ensures your vegetables get $100\%$ of the available nutrients and water.
- Moisture Retention: Mulch acts like a natural sponge, preventing rapid evaporation from the soil surface. This means you water less frequently, conserving resources and making your watering schedule more consistent (a key factor in preventing blossom end rot in tomatoes).
- Soil Temperature Stabilization: Mulch keeps the soil cool in the intense summer heat and warmer during cool spring nights. This prevents root shock and allows plants to focus their energy on growing and nurturing bigger yields.
H3: Addressing Common Concerns: The Disease Barrier
One powerful, often overlooked, benefit of mulch is its role as a physical barrier against disease.
- The Splash Guard Effect: Many common vegetable diseases (like Early Blight in tomatoes) are fungal spores that live in the soil. When you water or when it rains, these spores splash up onto the lower leaves of the plant. A layer of mulch stops the soil and the spores from contacting the leaves, providing effective preventive measures against disease spread.
- Encouraging Reassurance for Beginners: This is a simple, organic solution. By keeping leaves dry and soil where it belongs, you are protecting your plants without needing chemical fungicides.
🌿 Section 2: Core Methods: Choosing and Applying Your Mulch
Knowing how to apply mulch is just as important as knowing what to use. Follow these step-by-step guidance instructions to maximize the benefits of the SECRET FOR no weeds, less disease & bigger veggies.
Step 1: Selecting the Right Organic Material (The Best Options)
The best mulches are organic and break down over time, enriching the soil’s structure and adding slow-release nutrients.
- Straw (Not Hay!): Ideal for the vegetable garden. It’s lightweight, breaks down well, and its hollow stems trap air, providing excellent insulation. (Practical Tip: Ensure you use straw, which is weed-free, not hay, which contains grass and weed seeds).
- Wood Chips/Shredded Bark: Excellent for permanent pathways or around perennial shrubs, but use sparingly directly next to tender annual vegetables, as they can sometimes temporarily deplete soil nitrogen as they break down (known as nitrogen tie-up).
- Compost: The ultimate cost-saving benefit! A thin layer of finished compost acts as both mulch and slow-release fertilizer.
Step 2: The Critical 3-Inch Rule (Actionable Language)
The depth of your mulch layer is the most important factor in weed suppression and moisture retention.
- Preparation: Clear the area first. Remove any existing weeds (roots and all) before application.
- Application: Spread the mulch material in an even layer around your plants, aiming for a depth of 2 to 3 inches across the entire soil surface.
- The “Donut” Technique (Safety Considerations): Never pile mulch directly against the stem or base of your plants. Create a “mulch donut” where the mulch is thick around the plant but leaves a $1 \text{-}$ to $2 \text{-inch}$ gap of bare soil right against the stem. Piling mulch against the stem can trap moisture, leading to stem rot and inviting pests like voles.
Step 3: Timing and Planning Considerations
- When to Apply: Apply mulch once the soil has warmed up in the late spring or early summer, after the danger of a hard frost has passed. Mulching too early can delay the natural soil warming process needed for optimal summer growth.
- Seasonal Maintenance: Organic mulches decompose over the season. Plan to check your layer every 6-8 weeks and top it up to maintain the crucial 2-3 inch depth, ensuring long-term weed-free success.
🥕 Section 3: Advanced Strategies: Next-Level Mulching Hacks
Beyond basic weed control, these expert-level insights show you how to build upon basic success and achieve truly bigger veggies.
H3: Maximizing Benefits with Black Plastic and Row Covers (Regional Variations)
In cooler regional variations, like short-season climates, black plastic mulch can be a creative solution to warm the soil quickly.
- The Greenhouse Effect: Black plastic film absorbs sunlight, dramatically raising the soil temperature, which is highly beneficial for heat-loving plants like peppers, eggplant, and melons.
- Pro Tip: Use drip irrigation underneath the plastic for watering, as rain cannot penetrate the barrier. Cover the black plastic with a thin layer of light-colored straw once the summer heat hits to prevent the soil from getting too hot. This encourages experimentation and personal adaptation to your local climate.
H3: Living Mulches and Companion Planting
For the advanced gardener focused on ecosystem benefits, consider “living mulches.”
- Living Mulches: These are low-growing, non-competitive groundcover plants (like clover or herbs such as thyme) planted around taller vegetables. They keep the soil cool, suppress weeds, and, in the case of clover, can even fix nitrogen back into the soil, providing free, slow-release food for your nearby vegetables.
- Ways to Customize Approach: Planting basil as a living mulch under tomatoes can help shade the soil while also potentially repelling pests—a fantastic symbiotic relationship that truly enhances your connection with nature. (Internal Linking Opportunity: Learn about “The Best Companion Plants for Tomatoes and Peppers.”)
⚠️ Section 4: Troubleshooting and Common Challenges
Even the best gardening practices encounter setbacks. Here are solutions to common mulch-related issues.
Featured Snippet Potential: “What is the biggest mistake when applying mulch?”
The biggest mistake when applying mulch is piling it too deeply against the base of the plant stem, often called “volcano mulching.” This traps moisture against the crown and stem, leading to stem rot, root suffocation, and attracting pests like rodents and insects. Always ensure you maintain a 1-2 inch clear space around the base of every plant (the “mulch donut”).
Practical Troubleshooting Tips (Gardening Focus)
- Problem: Mulch is decomposing too quickly (Maintenance Issue).
- Obstacle: High humidity, excessive rain, or using a material that decomposes rapidly (like grass clippings).
- Solution: Alternative Approaches: Switch to a coarser mulch material (like shredded bark or larger wood chips) that breaks down slower. Reapply more frequently, maintaining the 3-inch depth consistently.
- Problem: Fungus, Slime Mold, or Mushrooms are growing on the mulch.
- Obstacle: This is usually harmless saprophytic fungi decomposing the wood/straw. It indicates a healthy level of moisture and organic matter.
- Solution: Encouragement for Setbacks: Do nothing. These are harmless to your vegetables and are beneficial, aiding the breakdown process that turns mulch into soil food. If you find them unsightly, you can rake the mulch to break them up and dry the surface slightly.
- Problem: Insects (Earwigs, Slugs) are breeding under the mulch.
- Obstacle: The damp, cool environment is perfect for certain pests.
- Solution: Pull the mulch away from the base of the plant (maintaining the donut) and keep a small barrier of diatomaceous earth around the stem to deter crawling insects. Check the mulch periodically and remove any large aggregations of pests.
🏆 Section 5: Maximizing Results: The Long-Term Benefits
Applying the SECRET FOR no weeds, less disease & bigger veggies through intelligent mulching is a foundational technique that continues to pay dividends long after the season ends.
- Maintenance and Long-Term Considerations: As organic mulch breaks down, it improves your soil’s structure dramatically. It boosts the soil’s organic matter content, making heavy clay soils lighter and sandy soils better at retaining water. This leads to healthier microbial activity and richer soil year after year.
- Suggest Complementary Strategies: Combine mulching with no-till gardening. By never digging or disrupting the soil, you preserve the natural soil structure and the micro-organisms that your mulch encourages. This greatly enhances the long-term benefits of the practice. (Internal Linking Opportunity: Read “No-Till Gardening: A Guide to Healthier Soil and Easier Growing.”)
- Inspire Continued Growth and Learning: Keep a simple notebook detailing which mulch materials worked best on your heat-loving crops (tomatoes, peppers) versus your cool-season crops (lettuce, spinach). This personalized data will help you refine your approach and ensure you always have the bigger veggies you desire.
✅ Conclusion: Your Capability to Transform Your Garden
You have now unlocked the simple, powerful SECRET FOR no weeds, less disease & bigger veggies: strategic mulching. By implementing the 3-inch rule, avoiding the “volcano” mistake, and choosing the right materials, you are not just simplifying your gardening—you are creating a resilient, healthy ecosystem right in your backyard.
Embrace this practice and spend less time pulling weeds and more time harvesting bountiful, beautiful produce. Your capability to succeed in maintaining a low-effort, high-yield garden is now cemented.
Which material—the lightweight straw or the nutrient-rich compost—will you use first to transform your garden beds today?