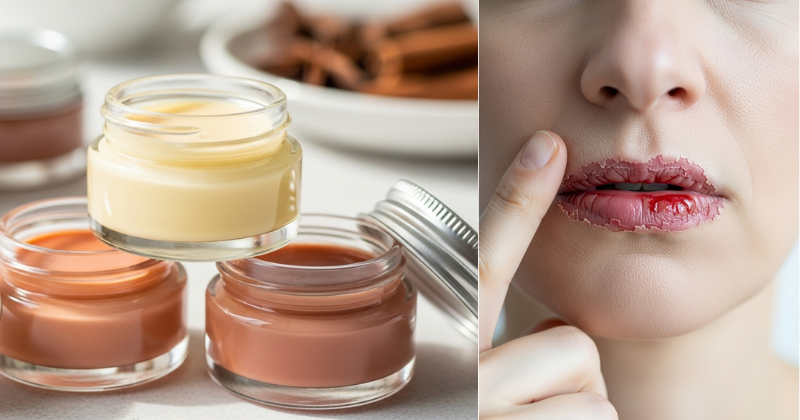
Are you tired of waking up to dry, chapped lips, especially during harsh weather or after a long day of dehydrating activity? You are not alone! The secret to soft, plump lips isn’t just constant balm application during the day; it’s a dedicated nightly ritual. Learning how to create your own Overnight Lip Mask Recipe is an achievable self-care practice that leverages simple, natural ingredients to transform the hydration and texture of your pout. This guide provides step-by-step guidance and scientific backing on the ultimate DIY lip treatment, focusing on sustainable wellness topics. By committing to this gradual progress, you will discover the power of deep, restorative sleep for achieving smooth, supple lips.
🔬 Foundation First: Why Your Lips Need Nighttime Care
Your skin renews itself while you sleep, and your lips—which lack oil glands and have a very thin protective layer—are especially vulnerable to moisture loss overnight. Understanding this basic concept is key to building confidence in your Overnight Lip Mask Recipe.
H3: Building Confidence with Basic Concepts: The Transepidermal Water Loss (TEWL)
During the night, your body naturally loses moisture to the environment. This is called Transepidermal Water Loss (TEWL). Lips are highly susceptible to TEWL because their skin barrier is thinner than the rest of your face.
- Lip Anatomy: Lips do not produce sebum (oil) like facial skin does. They rely entirely on external moisture and protective barriers.
- The Healing Window: Applying a thick, occlusive Overnight Lip Mask Recipe creates a protective seal, locking moisture in while you sleep and allowing the body’s natural healing processes to repair cracks and roughness without interruption.
- Encouraging Reassurance for Beginners: This is a supportive, non-judgemental solution. By using a mask, you give your lips the necessary tools for self-care and repair, ensuring you wake up with soft, nourished skin.
H3: Key Components: Humectants and Occlusives
Every effective Overnight Lip Mask Recipe must contain a balance of two ingredient types, providing scientific backing for its efficacy:
| Ingredient Type | Function | Example Ingredients for DIY Mask |
| Humectants | Attract and draw moisture from the air or deeper skin layers to the surface. | Honey, Glycerin, Aloe Vera |
| Occlusives | Form a physical barrier on the skin’s surface to prevent moisture loss (TEWL). | Beeswax, Shea Butter, Coconut Oil, Petroleum Jelly |
🥄 Section 2: Core Methods: The Ultimate DIY Lip Mask Recipe
This simple, customizable recipe uses readily available ingredients and requires minimal tool requirements, focusing on achievable creation steps.
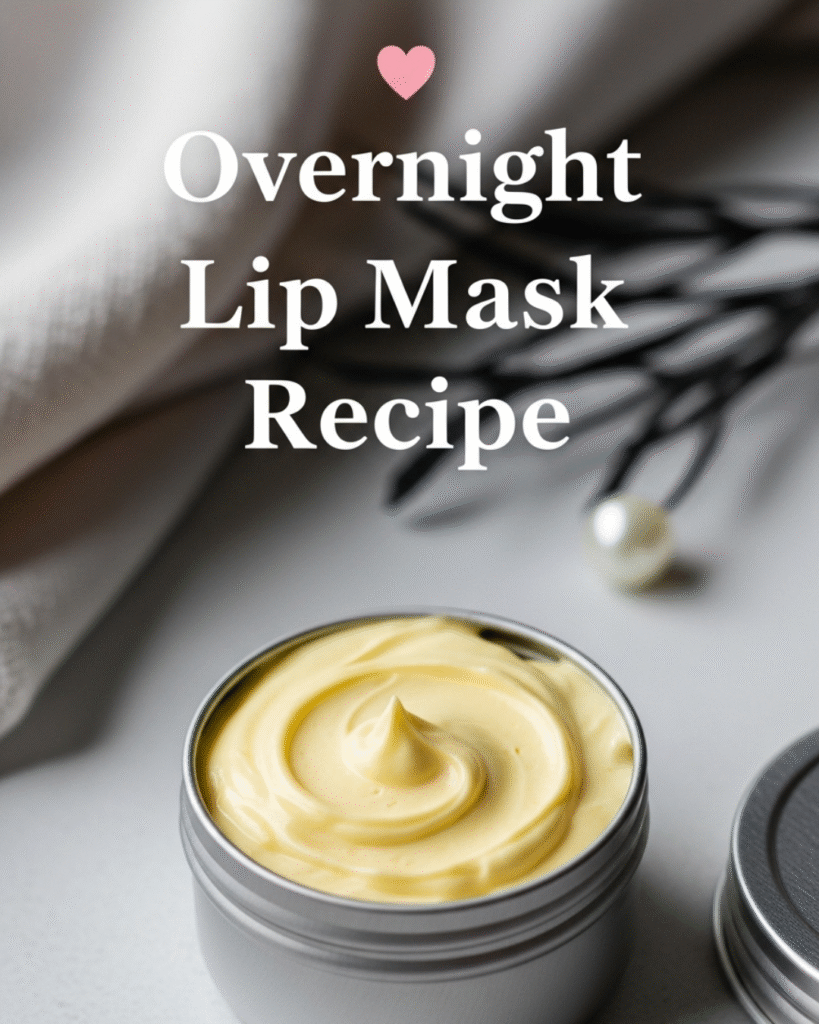
Recipe: The Hydrating Honey & Shea Butter Dream Mask
This core Overnight Lip Mask Recipe balances humectant power (honey) with deep occlusive protection (shea butter and wax).
- Tool Requirements: Small, heat-safe mixing bowl or jar, a small wooden stir stick or clean spoon, and a small, airtight container (a travel pot or small tin) for storage.
- Ingredients:
- 1 Tbsp Shea Butter (for deep moisture and smooth texture)
- 1 tsp Beeswax or Carnauba Wax pellets (to create the occlusive barrier)
- 1/2 tsp Honey (natural humectant and anti-microbial properties)
- 1/4 tsp Vitamin E Oil (antioxidant and preservative)
Step-by-Step Guidance (Actionable Language)
- Melt the Base: Combine the shea butter and beeswax in the heat-safe bowl or jar. Place the bowl over a pot of simmering water (a DIY double boiler) or microwave on low heat for 30-second intervals until fully melted and combined.
- Incorporate the Humectant: Once melted, remove from heat. Stir in the honey and Vitamin E oil immediately. Stir well until the mixture is fully emulsified and no streaks of honey remain visible.
- Pour and Set: Quickly pour the warm mixture into your clean, airtight storage container.
- Timing and Planning Considerations: Allow the mask to cool completely at room temperature for at least 1-2 hours until it solidifies into a balm-like texture. Do not cover it until it is fully set, as condensation can ruin the texture.
Application Shortcut: The Scrub Pre-Treatment
For maximum benefit from your Overnight Lip Mask Recipe, always apply it to freshly exfoliated skin.
- Practical Tip: Before bed, gently rub a warm, damp washcloth over your lips to remove dead skin. Alternatively, use a pinch of granulated sugar mixed with a drop of coconut oil as a quick scrub.
- Actionable Language: Apply a generous, thick layer of your finished Overnight Lip Mask to your clean lips immediately before turning out the lights.
🌟 Section 3: Advanced Strategies: Customizing Your Mask
Once you’ve mastered the core recipe, you can personalize your approach to this DIY treatment by introducing specialized oils for flavor, scent, and added healing properties.
H3: Creative Solutions: Essential Oil Integration
Adding food-grade essential oils (EOs) can enhance the experience and provide additional benefits.
- Minty Plump: Add 1-2 drops of food-grade Peppermint Essential Oil to the melted mixture before pouring. Peppermint has a mild plumping effect by stimulating local blood flow.
- Calming Vanilla: Add 2-3 drops of Vanilla Extract or a high-quality Vanilla Absolute EO for a comforting scent and flavor.
- Pro Tip: Safety Considerations are critical here: Use only EOs labeled as food-grade or suitable for internal use, as you will inevitably ingest small amounts. Never exceed 2-3 drops total per batch to avoid irritation.
H3: Swapping the Wax Base (Ways to Customize Approach)
If you find the mask too hard or too soft, you can adjust the type or amount of the occlusive agent (the wax).
- Softer Mask (Less Occlusion): Use less beeswax (e.g., $1/2 \text{ tsp}$ instead of $1 \text{ tsp}$) or swap beeswax for petroleum jelly, which is the most potent occlusive but offers less nourishing value.
- Firmer Mask (Seasonal Adaptation): In very warm regional variations or during summer, slightly increase the amount of beeswax ($1 \text{ 1/4 tsp}$) to prevent the mask from melting too quickly. This encourages experimentation to suit your environment.
🛠️ Section 4: Troubleshooting and Common Challenges
Even simple DIY projects have potential pitfalls. These practical troubleshooting tips offer solutions to common mask issues.
Featured Snippet Potential: “Why is my DIY lip mask grainy or gritty?”
If your DIY overnight lip mask is grainy or gritty, it is due to the shea butter not melting completely or cooling too slowly. Shea butter contains multiple fatty acids that crystallize at different rates. To fix this, remelt the mask completely, ensuring the shea butter is liquid clear, then stir it gently and place it immediately into the refrigerator for 20-30 minutes to set rapidly. This rapid cooling prevents large crystal formation.
Practical Troubleshooting Tips (Wellness Focus)
- Problem: The mask feels too sticky on my lips.
- Obstacle: Too much honey or too little wax/shea butter, resulting in a mixture that is overly humectant.
- Solution: Preventive Measures: Next time, reduce the honey to $1/4 \text{ tsp}$. For the current batch, gently re-melt it and stir in an additional $1/2 \text{ tsp}$ of melted shea butter and $1/4 \text{ tsp}$ of beeswax to balance the formula.
- Problem: My lips are more irritated after using the mask.
- Obstacle: This could be a reaction to honey (rare) or, more commonly, to a highly concentrated essential oil.
- Solution: Supportive, Non-Judgmental Language: Discontinue use and revert to a simple base of just shea butter and a non-allergenic oil (like plain olive oil) for a few nights. If you used essential oils, eliminate them entirely from the next batch of your Overnight Lip Mask Recipe.
- Problem: The mask melted in my bedroom (Storage Issue).
- Obstacle: The melting point of natural butters and waxes is lower than many commercial products.
- Solution: Store your Overnight Lip Mask Recipe in a cool, dark place away from windows or bedside lamps. If you live in a warm climate, it is best to store natural lip products in the refrigerator and remove them 15 minutes before use.
🚀 Section 5: Maximizing Results: Next-Level Lip Care
Successfully making and using your Overnight Lip Mask Recipe is an achievement. Now, let’s look at how to build upon basic success for truly luscious lips.
- Maintenance and Long-Term Considerations: Hydration comes from within! The best complement to your mask is drinking adequate water throughout the day. Dry lips are often the first visible sign of internal dehydration.
- Suggest Complementary Strategies: Establish a gentle morning routine. In the morning, gently remove the remaining mask with a soft cloth and immediately apply a layer of SPF lip balm before sun exposure. Consistent sun protection prevents collagen breakdown, which keeps lips looking plump and smooth long-term.
- Inspire Continued Growth and Learning: Extend your DIY skills! Use the core principles of the Overnight Lip Mask Recipe to create a simple, nourishing body butter or hand balm. The understanding of humectants and occlusives applies to all skin care. (Internal Linking Opportunity: Check out “DIY Body Butter: Hydrating Recipes for Winter Skin.”)
✅ Conclusion: Your Capability to Unlock Softness
You have now unlocked the simple, powerful formula behind the Overnight Lip Mask Recipe. By harnessing the natural benefits of shea butter, beeswax, and honey, you are practicing powerful, achievable self-care that delivers visible gradual progress. You control the ingredients, the cost, and the quality—a true wellness triumph.
Embrace your capability to succeed. Commit to this nightly ritual and wake up every morning feeling confident with a noticeably softer, smoother smile.
Will you try the Hydrating Honey & Shea Butter Dream Mask tonight, or are you eager to begin experimentation with the peppermint essential oil variation?