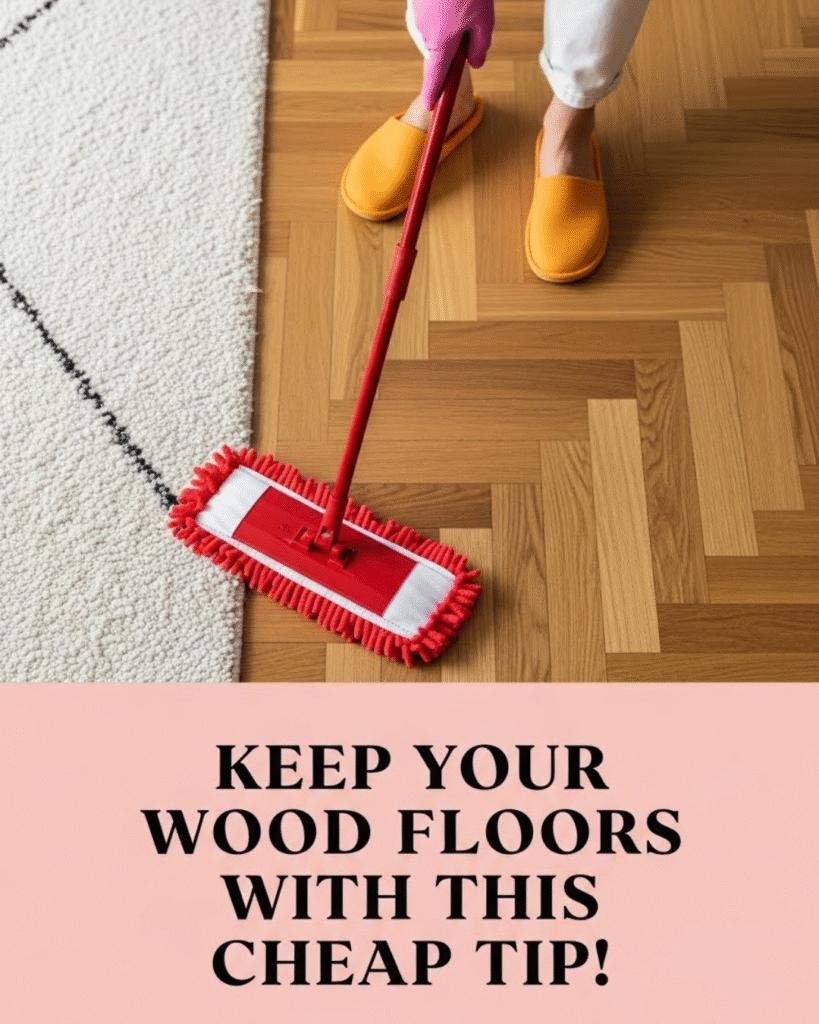
Are your once-lustrous hardwood floors looking dull, lifeless, and covered in scuff marks that just won’t budge? Wood floors are the heart of a home, providing timeless beauty, but maintaining that showroom shine often feels like an expensive, exhausting chore involving harsh chemicals. Well, prepare to be amazed! We are going to reveal a secret cheap tip for home cleaning that is incredibly effective, entirely natural, and will help you keep your wood floors shiny again—and for good! This guide focuses on an achievable Home Tips & DIY method that uses simple pantry staples to safely transform your floors, delivering incredible cost-saving benefits and the satisfying glow of a beautifully maintained home.
💡 Section 1: Foundation First: Understanding Floor Dullness
To understand how this cheap tip works to keep your wood floors shiny, we must first build confidence with basic concepts about what causes the dulling effect.
H3: Building Confidence with Basic Concepts: The Enemies of Shine
The loss of shine on wood floors isn’t usually due to old age; it’s due to one of three common issues:
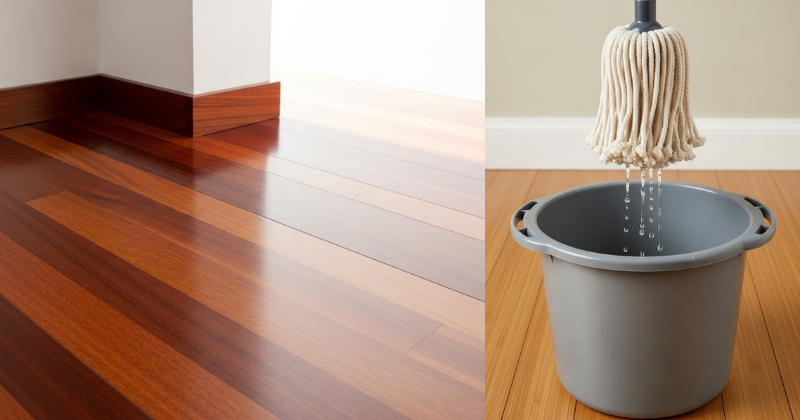
- Residue Buildup: The biggest culprit! Many commercial cleaners leave behind waxy, soapy, or polymer-based films that attract dust and dirt, leading to a dull, hazy appearance.
- Micro-Scratches: Fine grit (sand, dirt) tracked in acts like sandpaper, creating millions of tiny scratches that diffuse light instead of reflecting it, making the floor look matte.
- pH Imbalance: Using acidic or alkaline cleaners that are too harsh can damage the floor’s polyurethane finish, permanently reducing its gloss.
- Encouraging Reassurance for Beginners: Our secret cheap tip focuses on gently dissolving the dulling residue without stripping the protective finish—it’s a truly safe and effective solution!
H3: Addressing Common Concerns: Identifying Your Finish
The safety consideration when using any DIY cleaner is knowing what type of finish your wood floors have. Our method is safe for the most common types.
| Finish Type | Characteristics | Cleaning Approach |
| Polyurethane/Urethane | Hard, plastic-like, durable, scratch-resistant. (Most common modern finish) | Safe for our cheap tip (gentle acidity). |
| Varnish/Shellac | Older, less common, somewhat soft, sensitive to moisture. | Use minimally diluted solution and dry immediately. |
| Waxed | Matte finish, requires buffing; not shiny like poly. | Do not use this method; requires specialty liquid or paste wax. |
🏆 Section 2: Core Methods: The Secret Cheap Tip Revealed!
The cheap tip to restore shine to your wood floors is using White Vinegar as a rinse solution, complemented by the degreasing power of a small amount of liquid dish soap.
Tools and Ingredients
| Ingredient/Tool | Quantity | Purpose |
| Distilled White Vinegar | $1/2 \text{ cup}$ | The secret ingredient: cuts through residue and is pH-neutralized when diluted. |
| Hot Water | $1 \text{ gallon}$ | The base of the solution. |
| Mild Dish Soap | $1 \text{ teaspoon}$ | Helps break down surface grease and food spots. |
| Microfiber Mop | 1 | Best tool requirement for streak-free cleaning. |
Step-by-Step Process (Core Methods)
- Preparation (Actionable Language): Start with a completely clean, dust-free floor. Vacuum thoroughly, preferably with a soft brush attachment, or sweep to remove all grit. This is a critical preventive measure against micro-scratches.
- Mix the Solution: Fill a bucket with $1 \text{ gallon}$ of very hot tap water. Add the $1/2 \text{ cup}$ of White Vinegar and the $1 \text{ teaspoon}$ of mild dish soap. The solution should barely foam.
- The Mop Technique: Dip your microfiber mop into the solution and wring it out until it is barely damp. Practical Tips: Never mop wood floors with a soaking wet mop, as standing water can cause warping. The mop should feel slightly damp, not dripping.
- Mop and Rinse: Mop the floor gently, working in sections. The White Vinegar immediately dissolves the waxy film left by previous cleaners. You should see the dirt lift easily.
- Timing and Planning Considerations: Do not leave the solution standing on the floor. Work quickly and efficiently, ensuring the floor dries completely within $1 \text{-} 2 \text{ minutes}$. Once dry, the floor will feel clean and the natural shine of the finish will be revealed!
🌟 Section 3: Advanced Strategies: Pro Tips for Long-Lasting Shine
Once you’ve restored the shine with the cheap tip, these expert-level insights help you keep your wood floors shiny for longer.
H3: Creative Solutions: Eliminating Stubborn Scuffs and Heel Marks
The vinegar wash tackles haze, but specific marks require targeted action.
- The Eraser Trick: For black heel marks and rubber scuffs, use a clean tennis ball. Place the tennis ball over the mark and rub briskly. The rubber on the ball lifts the scuff without damaging the finish. This is a fantastic creative solution that requires no chemicals.
- The Toothpaste Hack: For light surface scratches (not deep gouges), apply a tiny dab of plain, non-gel toothpaste to a soft cloth and gently rub the scratch in a circular motion. Wipe clean immediately with a damp cloth. This fills the microscopic scratch and reflects light better, making the floor look smoother.
H3: Ways to Customize Approach: Adding a Protective Layer
If your wood floors are older and the finish is starting to wear thin, you can add an extra layer of temporary shine and protection.
- The Tea Polish: Brew two bags of black tea in $2 \text{ cups}$ of boiling water. Let it steep for $5 \text{ minutes}$. Add the strong tea (which contains tannins, a natural darkening and polishing agent) to your $1 \text{ gallon}$ vinegar cleaning solution.
- Application: Use this solution sparingly, perhaps once every 6 months. It adds a subtle layer of sheen that deepens the wood’s color. Ways to customize approach: Test this solution first on a hidden area, as the tannins can slightly darken light wood finishes over time.
🚫 Section 4: Troubleshooting and Common Challenges
Even the best cheap tip can encounter issues. Here are practical troubleshooting tips to tackle potential setbacks and maintain your success.
Featured Snippet Potential: “Why are my wood floors still streaky after cleaning with vinegar?”
Your wood floors are still streaky after cleaning with vinegar because your mop was too wet or your cleaning solution was too concentrated. The ratio should be $1/2 \text{ cup}$ vinegar to $1 \text{ gallon}$ of water—any more acid can leave streaks when it dries. The most common cause, however, is a mop that is not wrung out enough. The floor must dry almost instantly. To fix existing streaks, simply use a clean, dry microfiber cloth to buff the streaky area.
Practical Troubleshooting Tips (Home Tips Focus)
- Problem: The floor feels slightly tacky after drying.
- Obstacle: Too much dish soap was used, leaving a slight residue.
- Solution: Encouragement for Setbacks: Don’t worry, this is easy to fix. Simply mop the area again, but this time using only plain, hot water (no vinegar or soap). The hot water will dissolve the excess soap residue.
- Problem: My cleaning bucket has a faint vinegar smell after use.
- Obstacle: Vinegar odor can linger on plastics.
- Solution: To completely eliminate the smell, rinse the bucket with plain water, then fill it with $1 \text{ cup}$ of water and $1 \text{ tbsp}$ of baking soda. Let it sit for $1 \text{ hour}$. Baking soda is an excellent natural deodorizer, offering an alternative approach to cleaning plastic tools.
- Problem: The floor is still dull, even after a vinegar wash.
- Obstacle: The protective finish may be worn through, or the dullness is actually caused by deep scratches, not just surface residue.
- Solution: If the cheap tip doesn’t restore shine, the floor likely needs professional refinishing or re-coating. Real Examples: High-traffic areas like entryways and kitchens often wear out faster than bedrooms. (Internal Linking Opportunity: Read “When to Refinish vs. Re-coat Your Hardwood Floors.”)
🚀 Section 5: Maximizing Results: Next Level Floor Care
Now that you know how to keep your wood floors shiny using this cheap tip, focus on the maintenance and long-term considerations to inspire continued growth and learning in home care.
- Show How to Build Upon Basic Success: Adopt a “Shoes Off” policy. The single biggest factor in floor deterioration and micro-scratching is outdoor dirt and grit carried in by shoes. Making a simple switch to indoor-only footwear or slippers is the most effective sustainable lifestyle change to preserve the floor’s finish.
- Maintenance and Long-Term Considerations: Place rugs in high-traffic zones (hallways, in front of the sink, and in doorways). These preventative measures catch grit before it reaches the majority of the wood floors, extending the time between deep cleans and refinishing.
- Suggest Complementary Strategies: Use felt pads under ALL furniture legs. Even small movements of chairs or tables can cause massive scratches over time. Buying a pack of felt pads is a tiny investment that offers incredible long-term protection—a true example of a cost-saving benefit. (Internal Linking Opportunity: Check out “Ultimate Guide to Home Protection: Preventing Furniture Scratches.”)
✅ Conclusion: Your Capability to Achieve Sparkling Floors
You have now unlocked the simple, cheap tip for home cleaning that allows you to confidently KEEP YOUR WOOD FLOORS SHINY without the use of harsh chemicals or expensive products. By mastering the vinegar wash and adopting smart maintenance and long-term considerations, you have demonstrated your capability to succeed in maintaining a beautiful, high-quality home environment.
Embrace the beautiful, mirror-like reflection you have achieved! Will you clean your entryway floors today, or will you start by applying felt pads to all your dining room chairs?