If you love your houseplants, you probably use a saucer or cachepot under every planter to protect your floors from water damage. It seems like the obvious, necessary step in indoor gardening, right? While saucers are great for catching spills, they are often the silent cause of the number one houseplant killer: root rot. It’s time to rethink this common practice! Learning to Stop Putting Saucers Under Your Planters – Do This Instead is a critical Gardening Topic that provides the achievable, step-by-step guidance to transform the health and longevity of your potted plants. Get ready to discover the simple, sustainable lifestyle changes that encourage healthy root growth and foster a deeper connection with nature in your home.
💧 Section 1: Foundation First: Understanding Why Saucers Kill Roots
To successfully keep your potted plants thriving, you must build confidence with basic concepts regarding drainage and root respiration. The conventional use of saucers fundamentally interferes with this process.
H3: Building Confidence with Basic Concepts: The Danger of Standing Water
Roots, just like leaves, need to breathe. They absorb oxygen from the pockets of air within the soil. When you water a plant and the excess water drains into the saucer, two major problems occur if that water is left standing:
- Drowned Roots: The soil wicks the standing water back up through capillary action, keeping the lower soil perpetually saturated. This displaces the air pockets, suffocating the roots.
- Mineral Buildup: As water evaporates from the saucer, it leaves behind dissolved minerals (salts). These salts concentrate and get re-absorbed by the roots, leading to mineral burn (yellowing or browning tips) and damaging the plant’s ability to absorb nutrients.
- Encouraging Reassurance for Beginners: The goal isn’t just to catch water; the goal is to remove excess water completely. By implementing these Home Tips & DIY strategies, you will unlock the secret to thriving, non-stressed house plants.
H3: Addressing Common Concerns: Proper Drainage is Crucial
The health of your plant begins and ends with proper drainage. Without it, even the best soil and watering schedule will fail.
- The Basic Rule: When you water, you must water thoroughly until water freely drains out the bottom hole. This flushes old water, minerals, and toxins from the soil.
- The Saucer Trap: If the draining water immediately sits back against the pot’s drainage hole, that flushing action is negated, and the soil stays too wet. You need a method that allows water to escape freely and completely separate from the pot.
🪴 Section 2: Core Methods: The Drainage Solution to Use Instead
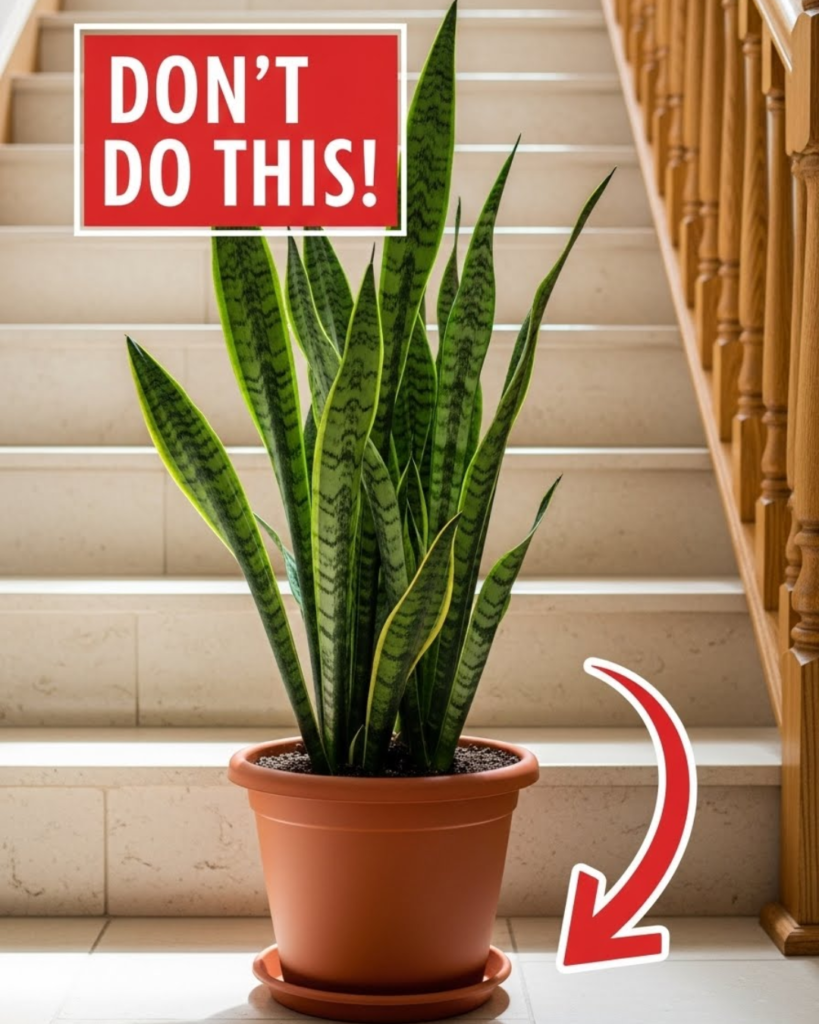
The secret to proper drainage and floor protection is simple: elevate the pot inside the saucer, or better yet, ditch the saucer for a superior system.
Step 1: The Basic Elevation Method
This is the simplest step-by-step guidance to make your current saucer setup safe.
- Tool Requirements: Purchase or create a small, stable item that is non-porous and water-resistant. Options include:
- Small river pebbles or aquarium gravel
- Plastic ‘pot feet’ or furniture risers
- Clean, recycled corks or bottle caps
- Actionable Language: Place your traditional saucer on the floor or surface. Place a $1 \text{-} 2 \text{ inch}$ layer of your chosen elevation material (pebbles, corks, etc.) inside the saucer.
- Position the Pot: Place the planter directly onto the elevation layer. Ensure the drainage hole is completely above the surface of the saucer.
- Watering and Removal: Water your plant until water drains out. The excess water is collected in the saucer, but the pebbles/corks ensure the pot’s bottom is not sitting in it. Timing and Planning Considerations: Always empty the saucer within $30 \text{ minutes}$ of watering. This prevents the capillary action that causes root rot.
Step 2: The Drainage Tray Alternative (Best for Multiple Plants)
For a slightly more sophisticated and cost-saving benefit approach, use a drainage tray that focuses on moisture management.
- Find a larger, waterproof tray (like a boot tray or a painter’s tray).
- Fill the bottom of the tray with an even layer of gravel or lava rock.
- Place your pots directly onto the rocks.
- When you water, the excess drains and collects beneath the pots. This setup also provides a gentle layer of ambient humidity as the water evaporates, which is great for tropical houseplants. (Internal Linking Opportunity: Read “Top 5 Tropical Plants for Low-Humidity Homes.”)
💡 Section 3: Advanced Strategies: Managing Water & Humidity
Mastering advanced watering strategies and humidity control provides expert-level insights that lead to the most thriving plants. This is a great way to deepen your connection with nature.
H3: Creative Solutions: The Bath Method
For large or dense planters where lifting and emptying a traditional saucer is difficult, the “Bath Method” is a game-changing creative solution.
- The Method: Instead of watering the plant in place, take the pot (no saucer!) to the sink, tub, or outside. Water it deeply and thoroughly until water rushes out the bottom. Leave the pot there for $15 \text{-} 20 \text{ minutes}$ to allow all residual water to drain completely.
- Customizing Approach: If you use a decorative cover pot (a cachepot), lift the inner plastic pot out after watering and let it drain completely for 30 minutes before replacing it inside the decorative cover. This DIY approach guarantees the roots are never left standing in water.
H3: Encouraging Experimentation: Humidity Trays vs. Misters
Humidity is often the missing link in healthy indoor plant care, and the drainage system can contribute to it.
- Humidity Tray: The rock-filled drainage tray mentioned in Section 2 is an excellent way to boost ambient moisture naturally and consistently.
- Misting: While popular, misting only provides a temporary spike in humidity. Encourage experimentation with a simple hygrometer (humidity monitor) to check the actual moisture levels in your house. Many tropical plants thrive at $50\% \text{-} 60\%$ humidity, which is rarely achieved simply by misting.
🩹 Section 4: Troubleshooting and Common Challenges
Even with the correct drainage system, issues like overwatering symptoms can persist. Here are practical troubleshooting tips to address the most frequent obstacles.
Featured Snippet Potential: “How do I know if my houseplant has root rot?”
You can diagnose root rot by observing soft, yellowing lower leaves, slow or stunted growth, and a foul, musty smell coming from the soil. The most definitive check is to gently remove the plant from its pot and inspect the roots. Healthy roots are firm and white or pale tan; roots suffering from rot will be brown, black, and mushy. Immediate action is needed to prune the rotten roots and repot the plant in fresh, dry soil.
Practical Troubleshooting Tips (Root Health Focus)
- Problem: Fungus Gnats suddenly appear flying around the plant.
- Obstacle: Fungus gnats thrive in overly moist topsoil; they lay eggs in constantly damp conditions.
- Solution: Preventive Measures: Allow the top $2 \text{-} 3 \text{ inches}$ of soil to dry out completely between waterings. You can also use a light covering of sand or diatomaceous earth on the soil surface to kill the larvae and prevent eggs from hatching.
- Problem: White crusty buildup forming on the rim of the terracotta pot or saucer.
- Obstacle: This is mineral salt accumulation (efflorescence) from hard water being wicked out of the pot.
- Solution: Encouragement for Setbacks: This is normal for terracotta but a sign the minerals are concentrating. To clean the pot, soak it in a mixture of $1 \text{ part}$ white vinegar to $4 \text{ parts}$ water. For your plants, switch to watering with distilled or rainwater to eliminate these mineral issues.
- Problem: Plant seems perpetually thirsty despite watering.
- Obstacle: The soil is so dry it has become hydrophobic (repels water), or the roots are too dense (root-bound).
- Solution: Use the Bath Method (Section 3), letting the pot soak for an hour to fully rehydrate the soil. If that fails, the plant is likely root-bound and needs repotting into a larger container.
✅ Section 5: Maximizing Results: Next Level Care and Potting
Once you master the art of proper drainage, you can focus on next level tips for optimizing the soil environment and ensuring maintenance and long-term considerations for your collection.
- Show How to Build Upon Basic Success: Create Custom Soil Mixes. Enhance your plant’s health by creating a custom, fast-draining potting mix. Add amendments like perlite, orchid bark, or pumice to your standard potting soil to increase aeration and porosity. This ensures that even if you accidentally overwater, the soil environment can still support root oxygenation.
- Maintenance and Long-Term Considerations: The Drainage Layer Myth. Stop Putting Saucers Under Your Planters – Do This Instead of putting a layer of rocks or broken pot shards inside the pot. This practice is counterproductive; it creates a “perched water table” where water accumulates just above the rock layer, increasing the risk of root rot. Instead, use a completely porous soil mixture throughout the entire pot. (Internal Linking Opportunity: Read “The Truth About Drainage Layers: What Every Gardener Gets Wrong.”)
- Suggest Complementary Strategies: The Self-Care of Plant Care. Incorporating plant care into your daily or weekly routine provides an excellent benefit for wellness topics. Taking the time to properly water, drain, and inspect your plants can be a meditative, grounding experience, encouraging sustainable lifestyle changes that benefit both you and your indoor ecosystem.
💚 Conclusion: Your Capability to Nurture Thriving Plants
You have successfully learned why the conventional wisdom of using planters with saucers can be detrimental and, more importantly, you have gained the crucial step-by-step guidance to transform your watering process. By elevating your pots or using the soaking method, you are ensuring your plants’ roots get the oxygen they need to thrive. You have truly demonstrated your capability to succeed in sophisticated indoor Gardening Topics.
Ready to implement your new drainage strategy? Which method—the pebble tray or the sink bath—will you use first to nurture your favorite houseplant?