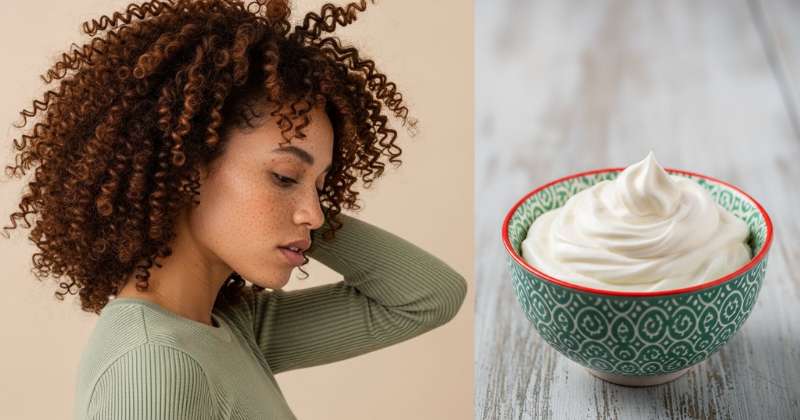
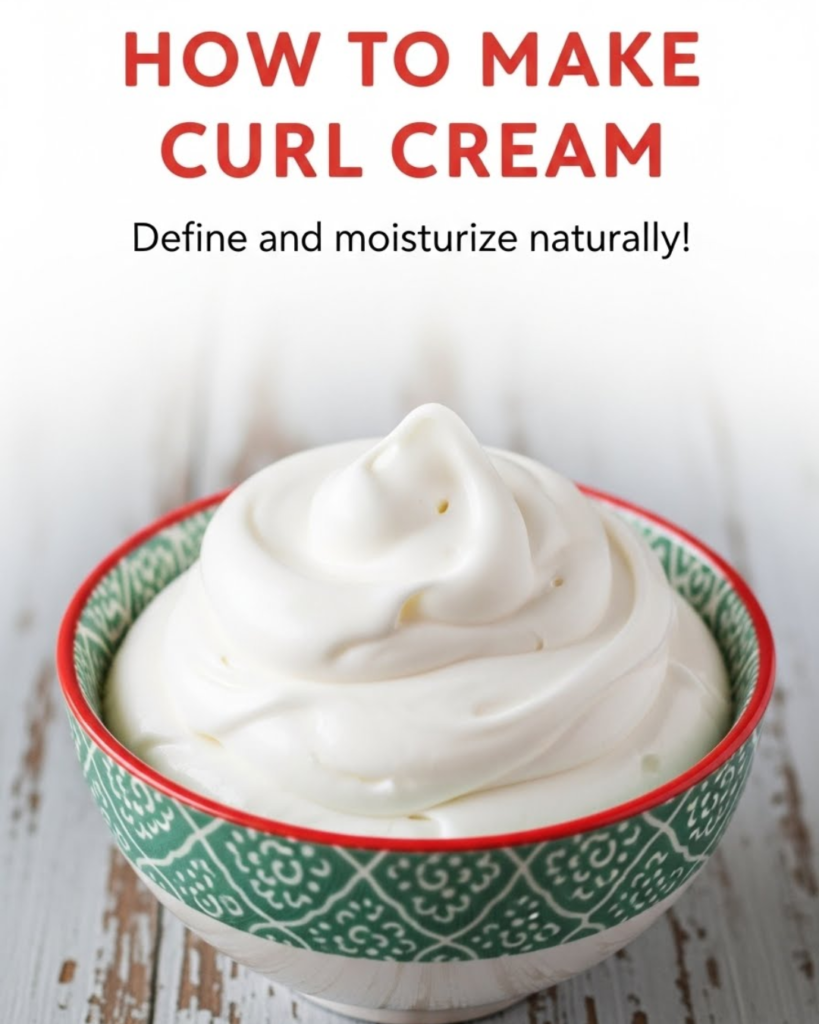
Are you ready to say goodbye to expensive, chemical-laden styling products and hello to perfectly defined, bouncy curls? If you’ve been searching for a DIY solution, this guide on HOW TO MAKE CURL CREAM: Define and moisturize naturally! is your answer. We promise you will transform your hair routine with a rich, nourishing, and effective homemade formula. This tutorial provides achievable, step-by-step guidance that focuses on natural ingredients to maximize moisture and definition. By taking control of your ingredients, you will discover the cost-saving benefits and the satisfaction of completion that comes with achieving truly healthy, beautiful curls.
💧 Section 1: Foundation First: Understanding Curl Chemistry
Curls are inherently prone to dryness and frizz because the coiled shape of the hair strand prevents natural oils from traveling down the entire length easily. To successfully learn HOW TO MAKE CURL CREAM, we must design a product that provides three essential functions: deep moisture, flexible hold, and frizz reduction.
H3: Building Confidence with Basic Concepts: The Role of Butters and Emulsifiers
A true curl cream is a balanced emulsion—a blend of oil (to seal and protect) and water (to hydrate). Getting this balance right is key to success.
- Moisture (Water Phase): Distilled water or aloe vera juice provides essential hydration that the hair absorbs. The cream base must contain water to be effective.
- Sealing (Oil Phase): Rich butters (like Shea or Mango) and carrier oils (like Coconut or Jojoba) lock that moisture into the hair shaft, reducing the chances of frizz.
- Emulsifiers: Ingredients like emulsifying wax are vital for binding the oil and water phases together into a stable, non-separating cream consistency. This Home Tips & DIY knowledge empowers you to build confidence with basic concepts of cosmetic formulation.
H3: Addressing Common Concerns: Why Natural Ingredients are Better
Many commercial curl creams contain silicones, sulfates, and heavy mineral oils that can cause product buildup, leading to dullness and limp curls.
- Clean Definition: By choosing to define and moisturize naturally, you ensure that every ingredient feeds your hair rather than just coating it. Natural butters and oils penetrate and heal the hair shaft from the inside out.
- Encouraging Reassurance for Beginners: While making cream seems complex, the double-boiler method makes the process easy and achievable. Your final product will be perfectly tailored to your hair’s unique needs, giving you control over the final texture and scent.
🥣 Section 2: Step-by-Step Process: Core Cream Making Method
This recipe uses the standard double-boiler method to ensure all ingredients melt and combine smoothly for a stable, luxurious curl cream.
Step 1: Gathering Tool Requirements and Ingredients (Actionable Language)
Precision is important in cosmetic making. Use a digital scale for the best results, as volume measurements (cups/spoons) can be inaccurate for butters and waxes.
- Tool Requirements:
- Digital kitchen scale (for accurate measurements).
- Double boiler setup (or a heatproof bowl over a simmering pot of water).
- Immersion blender or small whisk (essential for forming the emulsion).
- Sanitized storage container (e.g., a jar or pump bottle).
- Core Ingredients (Yields approx. $8 \text{ ounces}$):
| Phase | Ingredient | Weight (Grams) | Function |
| Oil Phase (A) | Shea Butter | 40g | Deep moisture, heavy sealing |
| Coconut Oil (Fractionated) | 15g | Penetration, shine (or Jojoba/Avocado) | |
| Emulsifying Wax NF | 10g | Binds oil and water | |
| Water Phase (B) | Distilled Water | 120g | Hydration base |
| Aloe Vera Gel/Juice | 15g | Extra hydration, light hold | |
| Cool Down (C) | Glycerin (Vegetable) | 5g | Humectant, draws moisture to the curl |
| Preservative (e.g., Liquid Germall Plus) | 1g | Mandatory for water-based products | |
| Essential Oils (e.g., Lavender/Rosemary) | 1g ($\approx 20 \text{ drops}$) | Scent, therapeutic benefits |
Step 2: Heating and Combining the Phases (Core Methods)
The goal is to bring both the oil and water phases to the same temperature before mixing.
- Melt Oil Phase (A): Combine the Shea Butter, Coconut Oil, and Emulsifying Wax in the double boiler bowl. Heat gently over simmering water until the mixture is completely melted and clear (target temperature: $160 \text{°F} / 71 \text{°C}$). Stir occasionally.
- Heat Water Phase (B): In a separate small pot, heat the Distilled Water and Aloe Vera until it reaches the same temperature ($160 \text{°F} / 71 \text{°C}$). This synchronization is a practical tip for stable emulsification.
- Emulsify: Remove both phases from heat. Slowly pour the hot Water Phase (B) into the melted Oil Phase (A) while immediately beginning to blend using an immersion blender. Blend in short bursts for $1 \text{ minute}$. The mixture will instantly turn milky white.
Step 3: Cooling and Finalizing (Timing and Planning Considerations)
The cream will thicken dramatically as it cools.
- The Cooling Process: Continue to blend/stir the mixture occasionally as it cools. You can place the mixing bowl into an ice bath to speed up the process.
- Add Heat-Sensitive Ingredients (C): When the cream has cooled to below $105 \text{°F} / 40 \text{°C}$ (it should feel just warm to the touch and be noticeably thickening), add the Glycerin, Preservative, and Essential Oils. Blend for another $30 \text{ seconds}$ to fully incorporate.
- Jarring: Spoon the finished, thick curl cream into your sterilized jars or containers. Label immediately with the contents and the date.
🌀 Section 3: Advanced Strategies: Customizing Hold and Texture
The base recipe is fantastic for moisture, but achieving the perfect definition requires subtle tweaks to the oil and water ratios, providing expert-level insights into curl styling.
H3: Pro Tips for Hold and Definition
- The Starch Secret (Natural Hold): For increased definition without using synthetic polymers, add a small amount of a natural thickening agent during the water phase.
- Creative Solutions: Add $1 \text{ teaspoon}$ of cornstarch or Xantham Gum, dispersed first in $1 \text{ tablespoon}$ of glycerin, to the water phase before heating. This provides a gentle, flexible cast to the curls that helps them hold their shape without crunchiness.
- Increasing Definition (Less Frizz): For high-porosity or very frizzy hair, slightly increase the Shea Butter content (Phase A) to $50 \text{ grams}$ and reduce the water phase slightly. This heavier seal locks down the cuticle more effectively.
- Provide Ways to Customize Approach: For finer waves or 3A curls, try incorporating light protein. Add $1 \text{ gram}$ of Hydrolyzed Wheat Protein to the Cool Down Phase (C) to give the curls more structure and bounce.
H3: Essential Oil Blends for Curl Health (Wellness Topics)
When you define and moisturize naturally, your choice of essential oils can provide therapeutic benefits that support scalp health and shine.
| Curl Goal | Essential Oil Blend | Pro Tip |
| Growth & Strength | Rosemary, Peppermint | Stimulates scalp circulation; use caution near eyes. |
| Anti-Frizz & Shine | Sandalwood, Ylang Ylang | Excellent for deep moisture and achieving a natural sheen. |
| Scalp Health | Tea Tree, Lavender, Cedarwood | Balances scalp oils and reduces flakiness. |
🚫 Section 4: Troubleshooting and Common Challenges
Making an emulsion-based product can present a few hurdles. Knowing how to solve them ensures your beautiful, homemade curl cream is a success.
Featured Snippet Potential: “Why did my homemade curl cream separate into liquid and solid layers?”
If your homemade curl cream separated into liquid and solid layers after cooling, the emulsion failed. This happens when the oil and water phases are not at the same temperature when combined, or the mixture was not blended long enough to fully activate the emulsifying wax. To fix this, you must gently reheat the entire separated mixture back into a liquid state in the double boiler, hold it at $160 \text{°F}$ for $5$ minutes, and then use an immersion blender to blend aggressively while cooling rapidly in an ice bath. This process usually fixes the broken emulsion.
Practical Troubleshooting Tips
- Problem: The cream feels too thick and heavy on the hair.
- Obstacle: Too much butter or not enough water phase.
- Solution: Offer alternative approaches: For the current batch, apply only a tiny amount to soaking wet hair. For the next batch, reduce Shea Butter by $10 \text{ grams}$ and increase Distilled Water by $10 \text{ grams}$.
- Problem: The final product is too sticky or tacky.
- Obstacle: Too much Glycerin or too much Aloe Vera gel (if the gel contains thickeners).
- Solution: Reduce the Glycerin to $2 \text{ grams}$ in the next formulation. Glycerin is a humectant and can feel sticky in high humidity or when used in excess.
- Problem: The cream appears chunky or grainy.
- Obstacle: The Shea butter cooled too slowly. Shea butter needs rapid cooling to prevent crystallization (granulation).
- Solution: Preventive measures: For the next batch, use the ice bath method to speed up the cooling process immediately after the initial emulsification blend.
🌟 Section 5: Maximizing Results: Next Level Curl Care
Mastering HOW TO MAKE CURL CREAM allows you to integrate this powerful formula into a complete hair care system, leading to sustained curl health.
- Show How to Build Upon Basic Success: The LOC/LCO Method Integration. Your homemade curl cream is the “C” (Cream) in the popular LOC (Liquid-Oil-Cream) or LCO method used by the curly hair community. Apply water/leave-in conditioner (L), then a light oil (O) like Jojoba, and finish with your new curl cream (C) to seal everything in.
- Maintenance and Long-Term Considerations: Clean Scalp Health. Ensure you are regularly clarifying your scalp (once a month) to remove any buildup from butters, allowing the scalp to breathe and promoting healthy growth.
- Suggest Complementary Strategies: Deep Conditioning Synergy. Use your homemade curl cream ingredients (butters, oils) to create a simple weekly deep conditioning treatment. (Internal Linking Opportunity: Read our guide on “The Best DIY Deep Conditioners for Curly Hair.”) This inspires continued growth and learning toward sustainable hair health.
✅ Conclusion: Your Capability to Create Defined Curls
You have successfully learned HOW TO MAKE CURL CREAM that will effectively define and moisturize naturally. By understanding the role of each ingredient—from the hydrating water phase to the sealing butter phase—you are now fully equipped to create a custom product perfectly suited to your curl type. This is more than just a recipe; it’s a step toward empowering your self-care routine and achieving beautifully bouncy, frizz-free curls, all thanks to your own capability and effort.
Ready to mix your first batch? Which oil blend will you use to give your curls that extra moisture and shine boost?
Important Disclaimer: This article is for informational purposes only and should not replace professional advice. For health-related topics, consult healthcare providers, especially if you have severe skin conditions or allergies. Always perform a small patch test before using new products. Since this recipe contains water, the use of a broad-spectrum preservative is crucial for safety and shelf stability.