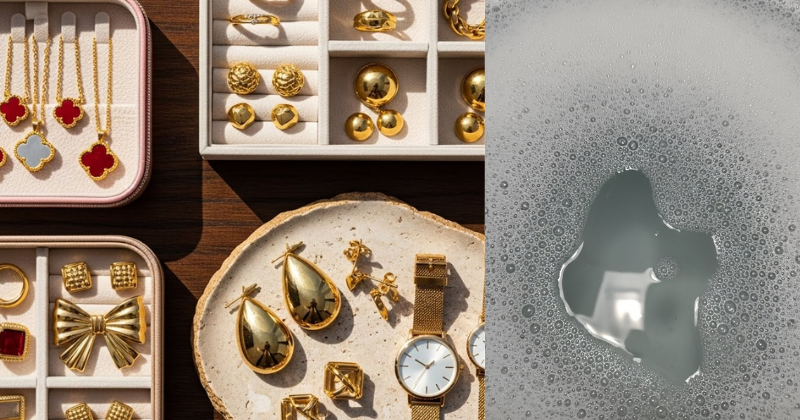
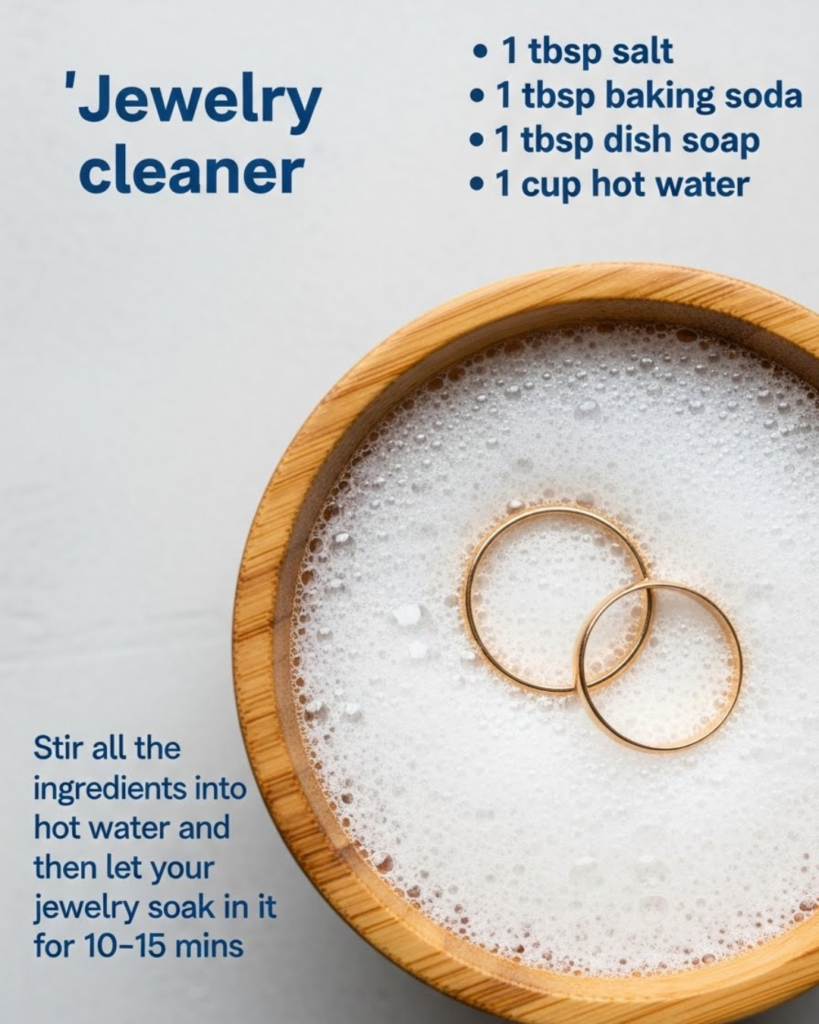
Have your favorite pieces of jewelry lost their sparkle, looking dull, cloudy, or tarnished? You don’t need expensive, chemical-laden cleaners to restore their brilliance! This ultimate Home Tips & DIY guide reveals the secret to an incredibly effective, non-toxic DIY jewelry cleaner using four common kitchen ingredients: 1 tbsp salt, 1 tbsp baking soda, 1 tbsp dish soap, and 1 cup hot water. You will discover the cost-saving benefits and the satisfying process of watching your diamonds and silver transform with this simple, achievable, step-by-step guidance. Get ready to unlock the blinding shine of your treasured pieces!
💎 Section 1: Foundation First: The Science Behind the Sparkle
Before diving into the recipe, understanding how this specific DIY jewelry cleaner works will build confidence with basic concepts and help you maximize your results.
H3: Building Confidence with Basic Concepts: Ingredient Synergy
Each of the four ingredients plays a specific, crucial role in cleaning and brightening your jewelry:
- 1 tbsp Salt (Sodium Chloride): This is key when the mixture is used with aluminum foil (in an advanced technique, detailed later). Salt acts as an electrolyte, facilitating the chemical reaction (ion exchange) that specifically removes tarnish from silver.
- 1 tbsp Baking Soda (Sodium Bicarbonate): This gentle abrasive powder is also a powerful deodorizer and mild alkali. It lifts light tarnish, neutralizes acidic residues, and boosts the cleaning power of the soap.
- 1 tbsp Dish Soap (Detergent): This is the ultimate degreaser. Jewelry dullness is most often caused by a film of body oils, lotions, and soap residue. The dish soap emulsifies these greasy films, allowing them to be washed away.
- 1 cup Hot Water: The heat is essential. Hot water speeds up the chemical dissolution of dirt and causes the metal to expand slightly, which helps loosen grime trapped in the settings and crevices.
H3: Addressing Common Concerns: Safety and Material Suitability
Is this simple DIY jewelry cleaner safe for all types of jewelry? It’s safe for most, but caution is necessary for certain delicate materials.
- Safe for: Gold (all karats), platinum, non-costume silver (especially with foil technique), diamonds, cubic zirconia, and most hard gemstones (sapphires, rubies).
- Use Caution With: Soft, porous, or organic stones like pearls, opals, turquoise, emeralds, coral, and amber. These materials should only be wiped gently with plain warm water and dish soap, not soaked in hot water or baking soda. Encouraging reassurance for beginners: For diamonds and gold, this is a perfect, safe weekly maintenance cleaner.
🧼 Section 2: Step-by-Step Process: Core Cleaning Method
This method is the basic, quick, and powerful way to use your DIY jewelry cleaner for routine maintenance and instant sparkle.
Step 1: Preparing the Solution (Actionable Language)
The proper mixing order ensures maximum activation of the ingredients.
- Heat the Water: Start with $1 \text{ cup}$ of water heated until it is very hot but not boiling (just off the boil).
- Dissolve Solids: In a small, clean glass or ceramic bowl, combine the 1 tbsp salt and 1 tbsp baking soda. Pour the $1 \text{ cup hot water}$ over the powders and stir until they are fully dissolved and the water is clear.
- Add Detergent: Gently add the 1 tbsp dish soap. Do not stir vigorously at this stage, as you want minimal suds. Excessive suds can trap dirt and make rinsing difficult.
Step 2: The Soaking and Scrubbing Sequence (Core Methods)
This combination of soaking and gentle physical action is what truly restores the brilliance.
- Soak: Carefully place your jewelry into the solution. Ensure pieces are fully submerged. Let the jewelry soak for $10 \text{ to } 15 \text{ minutes}$. Timing and planning considerations: For extremely dirty pieces, you can extend the soak time to $30 \text{ minutes}$.
- Scrub: Remove the jewelry and, using a very soft-bristled toothbrush (an old baby toothbrush works perfectly), gently scrub the backs of the settings, the prongs holding the stones, and the undersides of rings. These are the spots where oils and lotion accumulate most heavily.
- Rinse: Rinse each piece thoroughly under warm running water. Important: Always plug the drain first! Rinse until all traces of soap and foam are gone.
Step 3: Drying for Maximum Shine
The final step is critical for preventing water spots and maximizing the shine achieved by your DIY jewelry cleaner.
- Blot: Gently blot the jewelry with a lint-free towel (a microfiber cloth or old cotton t-shirt is ideal).
- Polish: Finish the drying process using a polishing cloth or a clean, soft cloth. Avoid using paper towels, which can scratch softer metals like gold. The key here is to use friction to polish the metal surfaces and achieve that blinding sparkle.
⚛️ Section 3: Advanced Strategies: The Electrolytic Tarnish Removal (Silver)
For sterling silver that is heavily tarnished (dark black residue), you need to escalate the process using the salt and baking soda’s full potential in an electrolytic reaction. This involves a creative solution using aluminum foil.
H3: Sharing Expert-Level Insights: The Aluminum Foil Trick
This technique specifically targets silver sulfide (tarnish) and chemically reverses the oxidation, drawing the tarnish onto the aluminum foil.
- Preparation: Line a glass or ceramic bowl completely with a sheet of aluminum foil, shiny side up.
- The Solution: Mix the 1 tbsp salt and 1 tbsp baking soda with the 1 cup hot water as described in the core recipe. Add a squirt of dish soap.
- The Reaction: Place the tarnished silver jewelry directly onto the aluminum foil inside the solution, ensuring the jewelry is touching the foil. You might observe a slight sulfurous smell and bubbling—this is the electrolytic reaction at work. The silver sulfide tarnish is being chemically reduced back into silver metal.
- Soak: Let the silver soak for $5 \text{ to } 10 \text{ minutes}$. When you remove the jewelry, you will notice the tarnish has transferred to the aluminum foil.
H3: Pro Tips for Customizing the Approach
- Hard Water Adjustment: If you live in an area with hard water, the minerals can leave white spots. Provide ways to customize approach by using distilled water instead of tap water for the final rinse.
- Deep Clean Boost: For non-porous gemstones (like diamonds and sapphires), soak the item for $1 \text{ hour}$ in a solution of equal parts white vinegar and warm water before running it through the baking soda and dish soap bath. Vinegar helps cut through mineral deposits.
🛑 Section 4: Troubleshooting: Dealing with Stubborn Grime and Damage
Sometimes, even the best DIY jewelry cleaner needs a little adjustment to tackle persistent issues.
Featured Snippet Potential: “Why is my jewelry still cloudy after cleaning it with baking soda and dish soap?”
If your jewelry is still cloudy after cleaning it with the baking soda and dish soap solution, it is likely due to either insufficient scrubbing or incomplete rinsing. Heavy cloudiness is often residue (soap, lotion, or oils) trapped under the stone or in the prongs. To fix this, scrub the back of the setting aggressively with a soft toothbrush while the item is submerged in the solution. Then, rinse for a full minute under running warm water, ensuring all suds and residue are completely washed away before drying.
Practical Troubleshooting Tips
- Problem: Stuck-on Hairspray or Perfume Residue.
- Obstacle: These sticky substances are difficult to dissolve in soap and water alone.
- Solution: Alternative Approaches: Soak the jewelry in a small amount of isopropyl (rubbing) alcohol for $5 \text{ minutes}$. This easily dissolves lacquers and perfumes. Follow immediately with the dish soap, salt, and baking soda soak to remove the dissolved residue.
- Problem: Jewelry scratched during the process.
- Obstacle: Using too stiff a brush or a grainy abrasive (like non-dissolved baking soda).
- Solution: Preventive Measures: Always ensure the 1 tbsp baking soda is completely dissolved in the 1 cup hot water before introducing the jewelry. Use only a baby toothbrush or a designated soft brush, and scrub with gentle, circular motions.
- Problem: Silver still slightly dull after the foil method.
- Obstacle: Tarnish was too deep, or the item was not touching the foil for long enough.
- Solution: Repeat the aluminum foil soak for an additional $10 \text{ minutes}$. Alternatively, gently polish the remaining dull areas with a professional silver polishing cloth.
📈 Section 5: Maximizing Results: Maintenance and Long-Term Care
Mastering this DIY jewelry cleaner is only half the battle. Maximizing results requires incorporating long-term maintenance habits.
- Show How to Build Upon Basic Success: The Weekly Soak. Make it a habit to soak your most frequently worn jewelry (wedding rings, everyday necklaces) in the 1 tbsp dish soap and warm water solution once a week for $10 \text{ minutes}$. This prevents the buildup of oils and greatly reduces the need for intensive deep cleaning.
- Maintenance and Long-Term Considerations: Wearer Habits. Jewelry should always be the last thing you put on (after hairspray, lotion, and perfume) and the first thing you take off. This simple habit drastically reduces residue buildup.
- Suggest Complementary Strategies: Home Storage Solutions. Store silver jewelry in tarnish-preventative pouches or alongside anti-tarnish strips. Exposure to air and humidity accelerates tarnishing. (Internal Linking Opportunity: Read our guide on “Clever Home Storage Hacks for Jewelry Protection.”) This inspires continued growth and learning in jewelry longevity.
✅ Conclusion: Your Capability to Restore Brilliance
You are now empowered with the knowledge to create a highly effective, non-toxic DIY jewelry cleaner using just 1 tbsp salt, 1 tbsp baking soda, 1 tbsp dish soap, and 1 cup hot water. By understanding the science and applying these simple, achievable steps, you can eliminate dullness and restore the dazzling shine to your favorite pieces. Remember the importance of careful scrubbing and thorough rinsing, and never underestimate the sparkle you can achieve right in your own kitchen!
Ready to mix your first batch? Which piece of jewelry will you transform first?