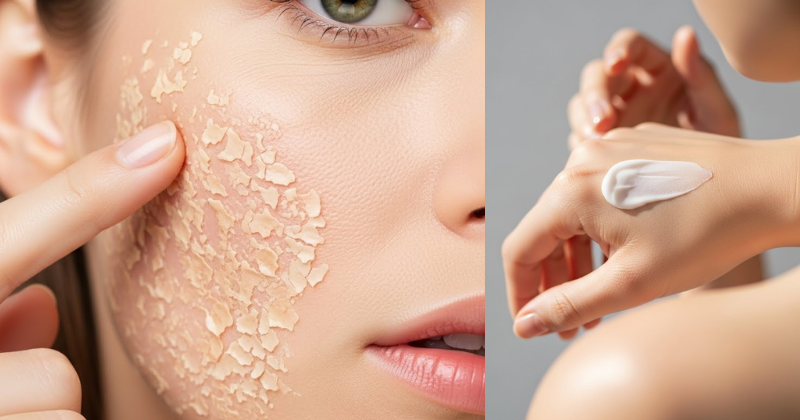
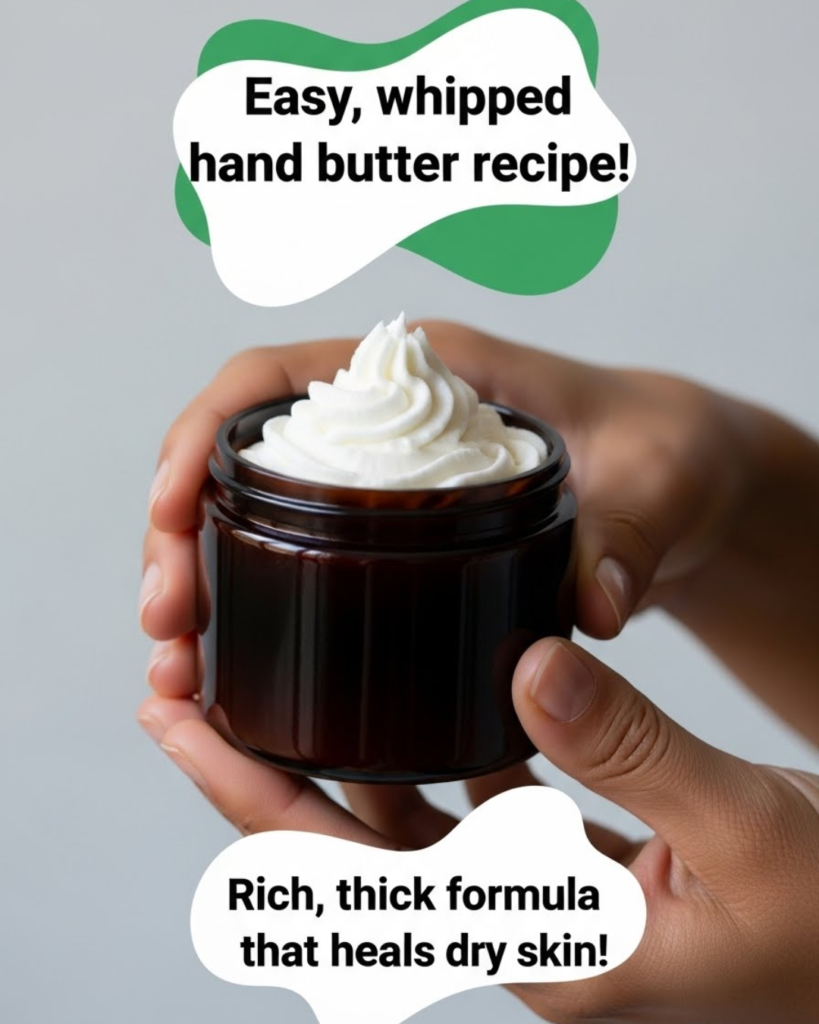
Are you tired of lotions that promise hydration but disappear the moment they touch your painfully dry, cracked hands? The solution isn’t found in expensive, chemical-laden creams—it’s in your kitchen! This Home Tips & DIY guide provides an easy, whipped hand butter recipe using natural, cost-saving ingredients. You will discover how to create a rich, thick formula that heals dry skin, transforming your hands from rough to radiant. This project is achievable for beginners and results in a decadent, fluffy butter that locks in moisture for hours. Get ready to unlock the secret to deeply nourished skin!
🧈 Section 1: Foundation First: Understanding Hand Butter vs. Lotion
Before grabbing your ingredients for this easy, whipped hand butter recipe, let’s build confidence with basic concepts by clarifying what a butter is and why it’s superior for severe dryness.
H3: Key Components: Why This Formula Heals Dry Skin
The fundamental difference lies in the composition: lotions contain water, which requires chemical preservatives, while true butters are anhydrous (water-free).
- Occlusive Power: Butters, like shea and cocoa, act as occlusives—they form a protective barrier on the skin’s surface. This barrier prevents Trans-Epidermal Water Loss (TEWL), effectively locking in the natural moisture your skin already has, which is crucial for a rich, thick formula that heals dry skin.
- Emollient Action: Oils (like coconut or almond) are emollients. They smooth the skin by filling in the tiny cracks between skin cells, restoring flexibility and softness, offering encouraging reassurance for beginners that simple fats are highly effective.
- The Whipping Process: Whipping incorporates air, changing the texture from a hard, waxy solid to a light, luxurious fluff. This makes the easy, whipped hand butter recipe highly spreadable and pleasant to use, encouraging consistency in application.
H3: Addressing Common Concerns: Safety and Shelf Life
A common hesitation with DIY skincare is shelf life and safety.
- No Preservatives Needed: Since this recipe contains no water, mold and bacteria cannot easily grow, eliminating the need for complex synthetic preservatives. This is a significant cost-saving benefit.
- Shelf Life: The shelf life of this hand butter is tied to the shelf life of the carrier oils you use (typically $6 \text{ to } 12 \text{ months}$). Storing it in a cool, dark place is a simple preventive measure to ensure longevity.
🥣 Section 2: Step-by-Step Process: The Easy Hand Butter Recipe
This achievable, step-by-step guidance ensures you create a flawless batch of whipped hand butter.
Tool Requirements and Ingredients
This easy, whipped hand butter recipe uses a simple $2:1:1$ ratio of hard butter to liquid oil and wax, ensuring a rich, thick formula that heals dry skin.
| Ingredient | Quantity | Function |
| Shea Butter (Refined or Unrefined) | $1/2 \text{ cup}$ | Hard butter, deep healing, high Vitamin A/E |
| Cocoa Butter or Mango Butter | $1/4 \text{ cup}$ | Hard butter, structure, protective barrier |
| Coconut Oil (Fractionated) | $1/4 \text{ cup}$ | Liquid oil, emollient, light absorption |
| Sweet Almond Oil or Jojoba Oil | $1/4 \text{ cup}$ | Liquid oil, easily absorbed, Vitamin E |
| Essential Oil (e.g., Lavender) | $10 \text{ to } 20 \text{ drops}$ | Scent, therapeutic benefits (optional) |
- Tool Requirements: Double Boiler setup (or glass bowl over a pot of simmering water), electric hand mixer or stand mixer, digital kitchen scale (recommended for precision), glass storage jars.
Step 1: Melting the Hard Butters (Actionable Language)
This step requires gentle, consistent heat to preserve the healing properties of the oils.
- Combine Hard Fats: Place the shea butter and cocoa/mango butter into the top of a double boiler or a heatproof glass bowl set over a pot of simmering water (do not let the water touch the bottom of the bowl).
- Melt Gently: Heat slowly, stirring occasionally until the butters are completely liquid and transparent. Practical tips and shortcuts: Avoid high heat, as excessive heat can reduce the therapeutic value of the plant fats.
- Remove from Heat: Once fully melted, remove the bowl from the heat source.
Step 2: Incorporating Liquid Oils and Cooling (Core Methods)
Adding the liquid oils helps cool the mixture quickly and ensures even distribution.
- Add Liquid Oils: Pour in the coconut oil and sweet almond/jojoba oil. Stir thoroughly to combine.
- Speed Cooling: Transfer the bowl to the refrigerator or place it in an ice bath. The goal is to cool the mixture until it is opaque, firming up around the edges, but still soft and slightly dentable in the center—like soft butter left out on the counter. This usually takes $30 \text{ to } 60 \text{ minutes}$ in the fridge. Timing and planning considerations: Do not let it solidify completely, or whipping will be extremely difficult.
Step 3: Whipping to Fluffy Perfection
This is where the magic happens and the easy, whipped hand butter recipe lives up to its name.
- Whip: Once the mixture has reached the soft, opaque consistency, add the essential oils. Use an electric hand mixer or stand mixer fitted with a whisk attachment. Start on low speed and gradually increase to medium-high.
- Achieve Fluff: Whip for $5 \text{ to } 10 \text{ minutes}$. The mixture will expand significantly, lightening in color and texture until it resembles stiff, white frosting or whipped cream. It should hold soft peaks and feel incredibly light.
- Transfer: Spoon the finished, fluffy whipped hand butter into clean, sterilized glass jars. Cap tightly and store.
✨ Section 3: Advanced Strategies: Customization and Enhancements
Once you master the basic easy, whipped hand butter recipe, you can customize it with expert-level insights for targeted healing and sensory pleasure.
H3: Share Expert-Level Insights: Tailoring the Healing Properties
You can adapt your rich, thick formula that heals dry skin by selecting oils based on your specific needs.
- Creative Solutions and Variations: For eczema or deeply cracked skin, substitute $1 \text{ tablespoon}$ of the liquid oil with $1 \text{ tablespoon}$ of Calendula Infused Oil. Calendula is highly soothing and known for its restorative properties. For a non-greasy finish, replace $1 \text{ tablespoon}$ of liquid oil with Arrowroot Powder before whipping; the powder absorbs some excess oil during application.
- Custom Scent Blends: Use therapeutic essential oils. For soothing relief, blend Lavender and Chamomile. For a warming, circulatory boost (great for cold hands), use Sweet Orange and Ginger.
H3: Pro Tips for Customizing the Approach
- Color Tinting: For a fun variation, add a tiny pinch of mica powder (cosmetic grade) to the melted mixture before cooling. A very small amount of rose gold or pearl shimmer can give the finished butter a beautiful, subtle glow on the skin.
- The Quick Whip Shortcut: If you are impatient and need to speed up the cooling time, try mixing the warm oil/butter mixture with a few ounces of fully hardened shea butter (chopped into chunks) right before the initial whip. This jump-starts crystallization and reduces the chilling time required.
🛑 Section 4: Troubleshooting: Solving Common Hand Butter Challenges
Even the simplest projects can hit snags. These solutions address frequent obstacles in making and using your easy, whipped hand butter recipe.
Featured Snippet Potential: “Why is my whipped butter grainy and how do I fix it?”
Whipped hand butter becomes grainy when the butters (like shea) are cooled too slowly, causing the fat crystals to separate and recrystallize unevenly. To fix grainy butter, completely melt the entire batch again using a double boiler until transparent. Once melted, immediately move the liquid mixture to the freezer or a deep ice bath and stir constantly until it turns solid around the edges (thick and opaque). Then, proceed to whip rapidly. The quick cooling prevents large crystal formation, ensuring a smooth, silky texture.
Practical Troubleshooting Tips
- Problem: The butter melted and lost its fluffiness in the jar.
- Obstacle: High ambient temperature (especially during summer).
- Solution: Preventive Measures: Whipping only introduces air; it doesn’t change the melting point. Store your rich, thick formula that heals dry skin in the refrigerator during hot weather. It will feel firm, but it melts quickly on contact with warm skin.
- Problem: The finished product feels too greasy.
- Obstacle: Overuse or using a highly occlusive oil like olive oil.
- Solution: Reduce the proportion of heavy oils in future batches, substituting some of the almond or coconut oil with a “dryer” oil like Hemp Seed Oil or Grapeseed Oil. Alternatively, mix a little arrowroot powder into the existing finished butter for an immediate matte finish.
- Problem: The scent faded too quickly.
- Obstacle: Essential oils evaporate quickly from anhydrous formulas.
- Solution: Encouragement for Setbacks: Essential oils should be added right before whipping. For a stronger scent that lasts longer, increase the total drops to $25 \text{ to } 30$ per batch, or use a natural fragrance oil specifically designed for topical use (which has a lower evaporation rate).
🚀 Section 5: Maximizing Results: Next Level Skincare Tips
Maximizing results means leveraging your easy, whipped hand butter recipe into a complete hand healing routine, focusing on maintenance and long-term considerations.
- Show How to Build Upon Basic Success: Overnight Deep Treatment. For severely cracked hands, apply a very thick layer of your whipped hand butter just before bed. Cover your hands with thin cotton gloves or old socks. This intensive, overnight occlusive treatment forces the ingredients to penetrate deeply, providing incredible healing power.
- Suggest Complementary Strategies: Exfoliation First. To allow the butter’s moisturizing compounds to penetrate deeper, incorporate gentle hand exfoliation once a week. Use a simple sugar scrub (equal parts sugar and oil). Exfoliating removes dead, dry surface skin cells that block moisture absorption. (Internal Linking Opportunity: Check out our guide on “The Ultimate DIY Body Scrub Recipes.”)
- Next Level Tips: Ingredient Sourcing. If you truly want to ensure a rich, thick formula that heals dry skin, source unrefined shea butter. While harder to work with (it needs the fast cool down to avoid grittiness), its high concentration of vitamins and natural anti-inflammatory compounds provides superior healing benefits.
✅ Conclusion: Your Capability to Heal Dry Skin
You have successfully unlocked the secret to a professional-grade, easy, whipped hand butter recipe. By committing to this simple process, you’ve created a rich, thick formula that heals dry skin using the power of natural butters and oils. This project is a testament to the satisfaction of completion and the capability to succeed in making high-quality, personalized skincare at home. Wave goodbye to cracked, dry hands, and hello to velvety softness!
Ready to soothe your skin? Which essential oil scent will you choose for your first batch of whipped hand butter?