
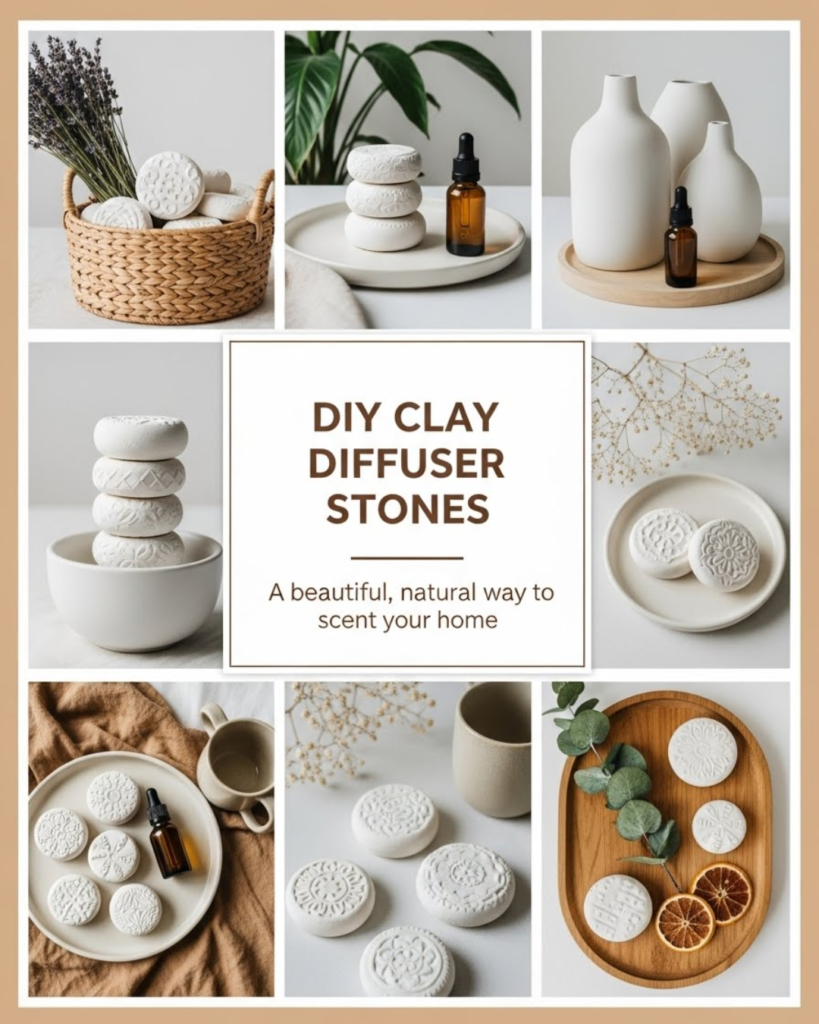
Learn how to create beautiful DIY clay diffuser stones to naturally scent your home using air-dry clay and essential oils in this simple, cost-effective guide.
Have you ever walked into a room and immediately felt a sense of calm thanks to a light, refreshing scent? We all want our homes to smell like a sanctuary, but many store-bought air fresheners are filled with synthetic fragrances and bulky plastic. If you are looking for a way to enjoy the therapeutic benefits of essential oils without the need for electricity or water, you are in the right place.
Creating DIY clay diffuser stones is a transformative project that combines mindful crafting with home wellness. These little stones are porous, elegant, and completely customizable, allowing you to “unlock” the power of aromatherapy in any nook or cranny of your house. Whether you want to freshen up a closet, enhance your workspace, or give a handmade gift, this guide will empower you to achieve professional results with just a few basic supplies. Get ready to discover your new favorite way to scent your world!
Foundation: Understanding the Magic of Clay Aromatherapy
Before we dive into the molding and shaping, let’s build your confidence with the basic concepts of how DIY clay diffuser stones actually work. At its core, this project relies on the physical properties of clay—specifically its ability to absorb and slowly release liquids.
Why Clay is the Perfect Diffuser
The reason we use specific types of clay for this project is due to “porosity.” Unlike glazed ceramic or plastic, air-dry clay remains porous once it hardens. When you drop essential oil onto the surface, the clay acts like a sponge. It holds the oil within its tiny microscopic pores and allows the scent to evaporate slowly into the air over several days. This makes it an incredible eco-friendly alternative to electric diffusers.
Choosing Your Clay
There are two main paths you can take for your handmade aromatherapy stones:
- Air-Dry Clay: This is the most beginner-friendly option. It is easy to find at craft stores, requires no oven, and dries to a matte, porous finish.
- Terracotta Clay: This gives a beautiful, earthy look and is naturally very absorbent.
- Salt Dough: A budget-friendly “pantry” version made from flour, salt, and water. While functional, it is less durable than actual clay.
Reassurance for Beginners
If you haven’t touched clay since elementary school, don’t worry! You don’t need to be an artist to make these stones look stunning. In fact, some of the most beautiful diffuser stones are simple, organic shapes that mimic river pebbles. This project is about progress and personal expression, not perfection.
Step-by-Step: Creating Your Custom Diffuser Stones
Let’s break down the process into manageable steps. This project is perfect for a rainy afternoon, and you’ll feel a great sense of satisfaction once your first batch is ready to use.
Tool and Material Requirements
- Air-dry clay (white or terracotta)
- Small bowl of water (to smooth edges)
- Cookie cutters or a glass jar (to cut shapes)
- Stamps or textured fabric (to create designs)
- A skewer or straw (if you want to hang them)
- Parchment paper (to prevent sticking)
The Core Method
- Knead the Clay: Take a palm-sized piece of clay and knead it until it is soft and pliable. This removes air bubbles and prevents cracking later.
- Roll it Out: Place your clay on parchment paper and roll it to about 1/4 inch thickness. If it’s too thin, it will be fragile; if it’s too thick, it will take days to dry.
- Cut Your Shapes: Use cookie cutters to create uniform stars, hearts, or circles. For a “river stone” look, simply roll small balls of clay and flatten them slightly with your thumb.
- Add Texture: This is the “pro” secret! Press a piece of lace, a leaf, or a rubber stamp into the wet clay. These indentations not only look beautiful but actually increase the surface area for the essential oils to sit in.
- Punch a Hole (Optional): If you want to make a hanging diffuser for your car or closet, use a straw to poke a clean hole near the top.
- Dry Time: Lay the stones flat on a cooling rack or parchment paper. Depending on your humidity, they will need 24 to 48 hours to fully harden. Turn them over halfway through to ensure the bottom dries too.
Advanced Strategies: Customizing and “Pro” Insights
Now that you have mastered the basic stone, let’s share some expert-level insights to take your DIY clay diffuser stones to the next level.
Adding Natural Color
While white clay is classic, you can customize the color of your stones without using paint (which can clog the pores). Try mixing a pinch of mica powder or even dried hibiscus powder into the wet clay during the kneading phase. This creates a beautiful “marbled” effect that looks like high-end marble or granite.
Scent-Specific Stones
Expert crafters often designate different shapes for different scents. For example:
- Lavender scent: Molded into flower shapes for the bedroom.
- Peppermint/Eucalyptus: Round “pebble” shapes for the bathroom.
- Citrus blends: Star shapes for the kitchen or workspace.
Featured Snippet: How do you use clay diffuser stones?
To use your DIY clay diffuser stones, simply place the hardened stone on a flat surface and add 2–3 drops of pure essential oil directly onto the center. Wait a few minutes for the oil to absorb before moving the stone. As the scent fades (usually after 3–5 days), simply refresh with a few more drops of the same oil.
Troubleshooting: Common Challenges and Solutions
Even the simplest DIY can have a few bumps. Here is how to handle frequent obstacles with ease:
- Cracking Clay: If your stones crack as they dry, the clay may have dried too quickly. Next time, cover them loosely with a piece of plastic wrap to slow down the evaporation.
- Oil Staining: Some essential oils (like patchouli or orange) have a natural tint. If you are worried about staining your white stones, apply the oil to the back side of the stone instead.
- Faint Scent: If you can’t smell the oil, your room might be too large. These stones are “personal space” diffusers. They work best on a nightstand, a desk, or in a small bathroom. For larger rooms, use a cluster of 3–5 stones.
Preventive Measures
Always place your oil-infused stones on a coaster or a small dish. Undiluted essential oils can damage finished wood or plastic surfaces if the stone sits directly on them for a long time.
Maximizing Results: Maintenance and Long-Term Care
To build upon your success, you’ll want to keep your stones in top shape. Unlike electric diffusers, these require very little maintenance, but a few “next level” tips can help them last for years.
Cleaning Your Stones
Over time, dust or oil residue might build up. To refresh them, gently wipe the stone with a damp cloth. Do not soak them in water, as air-dry clay can soften and lose its shape if it gets too wet. If you want to change the scent entirely, wait for the old scent to vanish completely (about a week) before applying a new one.
Complementary Strategies
To enhance the vibe of your home, try these parings:
- Internal Link Opportunity: Combine your stones with homemade soy candles for a multi-sensory experience.
- Internal Link Opportunity: Learn about the best essential oils for focus to use on your desk stones.
- Internal Link Opportunity: Create a DIY decorative tray to display your collection of stones.
Seasonal Variations
In the winter, place a diffuser stone near a warm (but not hot) radiator to help the scent throw further. In the summer, hang a peppermint-infused stone near a window to catch the breeze and keep the room feeling cool and fresh.
Conclusion: You’ve Created a Scented Sanctuary
The journey to a better-smelling home doesn’t have to involve expensive gadgets or chemicals. By making these DIY clay diffuser stones, you have achieved a beautiful, sustainable, and highly personal way to enjoy aromatherapy. You’ve transformed a simple block of clay into a functional piece of art that serves your wellness every day.
You should feel empowered by your new ability to customize your environment. Whether you are using them to de-stress after a long day or to brighten up a guest room, these stones are a testament to your creativity and resourcefulness.
Would you like me to suggest a few essential oil “recipes” for your new stones? Your journey into the world of natural home fragrance has only just begun!
Caption: Transform your space with a single drop of nature!