
Learn how to make cozy candles at home so easy with this DIY guide. Discover how to melt wax, scent with oils, and pour perfect candles for a warm house.
Have you ever walked into a high-end boutique and felt instantly relaxed by the warm glow and heavenly scent of a luxury candle, only to be shocked by the $40 price tag? We have all been there, wishing we could capture that exact feeling of “hygge” without emptying our wallets. The good news is that you don’t have to choose between a cozy atmosphere and your budget. You can make cozy candles at home so easy, and the results are often better than what you find on store shelves.
By crafting your own candles, you unlock the power to control exactly what goes into your air. You can choose natural waxes, lead-free wicks, and your favorite custom scents. This guide is designed to take the mystery out of candle making and replace it with pure, creative fun. Whether you want to brighten your own living room or give the perfect handmade gift, you are about to discover how simple it is to transform your space. Let’s light up your creativity and get started!
Foundation: Candle Making Basics for Beginners
Before we strike a match, let’s build your confidence with the essential concepts. Many people think candle making requires a chemistry degree or a full laboratory, but it’s actually a very forgiving craft. When you make cozy candles at home so easy, you are essentially working with three main components: wax, wicks, and fragrance.
Choosing the Right Wax
Not all waxes are created equal. For a clean, slow burn, most beginners find success with Soy Wax. It is eco-friendly, holds scent beautifully, and is much easier to clean up than traditional paraffin. If you spill it on your counter, a little soap and warm water will take it right off.
Understanding Wicks and Containers
The wick is the “engine” of your candle. For a cozy, soot-free experience, look for cotton or hemp wicks with a paper core. As for containers, you probably already have what you need! Old jam jars, vintage teacups, or even small metal tins make excellent vessels. Just ensure they are heat-resistant and have no cracks.
Safety Reassurance
Safety is a common concern, but don’t let it stop you! As long as you use a “double boiler” method to melt your wax and never leave a melting pot unattended, you are in great shape. You have the capability to handle this DIY project safely and successfully from your very first try.
Step-by-Step: The Core Method for Perfect Candles
Ready to create your first masterpiece? Follow these manageable steps to ensure a smooth pour and a beautiful finish.
Gathering Your Supplies
- Soy Wax Flakes: 1 lb usually makes about two 8 oz candles.
- Pre-tabbed Wicks: Wicks that already have a metal base.
- Fragrance or Essential Oils: About 1 oz of oil per pound of wax.
- Adhesive: Glue dots or a hot glue gun to secure the wick.
- Tools: A pouring pitcher (or a clean tin can), a thermometer, and a clothespin or pencil to hold the wick steady.
The Pouring Process
- Prepare Your Vessel: Clean your jar and dry it thoroughly. Apply a dab of glue to the bottom of the wick tab and center it at the bottom of the jar.
- Melt the Wax: Fill your pouring pitcher with wax flakes. Place it inside a pot of water (the double boiler) on medium heat.
- Monitor the Temperature: Use your thermometer. You want the wax to reach about 185°F (85°C). This is the “sweet spot” where the wax is hot enough to bind with fragrance.
- Scent the Candle: Remove from heat and stir in your fragrance oils gently for about two minutes.
- The Cool Down: Let the wax cool to about 135°F (57°C). Pouring at a lower temperature prevents the wax from shrinking or cracking as it sets.
- The Pour: Carefully pour the wax into the jar. Use a clothespin or pencil to keep the wick centered as the wax hardens.
Timing and Planning
Active work time is only about 30 minutes. However, the most important part is the wait! Your candle needs to “cure” for at least 24 hours before you light it to ensure the scent is fully locked in.
Advanced Strategies: Expert Tips for Professional Results
Once you have mastered the basics of how to make cozy candles at home so easy, you can experiment with expert-level variations to make your candles truly unique.
The Art of Scent Blending
Don’t settle for just one scent! You can create complex, “boutique-style” aromas by mixing oils.
- The “Forest Cabin”: Mix Cedarwood, Pine, and a hint of Orange.
- The “Sunday Morning”: Combine Coffee bean oil with Vanilla and Cinnamon.
- The “Spa Retreat”: Blend Lavender, Eucalyptus, and Bergamot.
Creative Customization
You can share expert-level insights by adding visual flair. Try dropping a few dried flower petals or small crystals on the surface of the wax just as it starts to turn opaque. This creates a stunning “topography” that looks incredibly professional.
Featured Snippet: Why is my homemade candle top bumpy?
If your candle has a bumpy or “cauliflower” top, it is usually because the wax cooled too quickly or contained small air bubbles. To fix this, simply use a hair dryer on a high-heat setting to gently melt the top layer of wax. It will level out and dry perfectly smooth!
Troubleshooting: Common Challenges and Solutions
Setbacks happen to everyone, but they are easy to fix with a little encouragement!
- The Wick is Drifting: If your wick isn’t centered, the candle will burn unevenly. Always use a wick-centering tool (even a popsicle stick with a hole in it works!) to keep it straight during the cooling process.
- Wet Spots on the Jar: Sometimes the wax pulls away from the glass, creating “wet spots.” This is purely aesthetic and won’t affect the burn. To prevent this, pre-warm your jars in a low oven (about 100°F) before pouring.
- No Scent Throw: If you can’t smell your candle when it’s lit, ensure you added your fragrance at exactly 185°F. If the wax is too cool, the oil won’t bind; if it’s too hot, the scent might “burn off.”
Preventive Measures
Always trim your wick to 1/4 inch before the first light. This prevents a large, smoky flame and helps your candle last much longer.
Maximizing Results: Next-Level Cozy Living
Now that you know how to make cozy candles at home so easy, you can build upon this success by integrating them into a total home wellness strategy.
Complementary DIY Projects
- Internal Link Opportunity: Pair your candle with homemade laundry boosters to ensure your blankets smell as fresh as your air.
- Internal Link Opportunity: Create a full sensory experience by learning to make your own sleep support balm.
- Internal Link Opportunity: Use your new skills to make your own salve with herbal infusions from your garden.
Maintenance and Long-Term Considerations
Candles aren’t just for winter! Change your scent profiles with the seasons to keep your home feeling fresh. Use light florals in the spring and citrus in the summer. If you find yourself with leftover wax scraps, don’t throw them out! You can melt them together to create “scrap candles” for your patio.
Conclusion: Ignite Your Creative Spirit
You have successfully learned that you can make cozy candles at home so easy with just a few simple tools and a bit of patience. By moving from the foundation of choosing wax to the advanced strategies of scent blending, you have transformed from a candle shopper into a candle maker.
The benefit of this DIY journey is twofold: you save money and you gain a deep sense of accomplishment. Every time you light a candle you made yourself, you’ll be reminded of your own capability and creativity. We encourage you to keep experimenting and sharing your light with others.
Would you like me to help you design a set of printable labels for your first batch of candles? Your journey to a warmer, cozier home has only just begun!
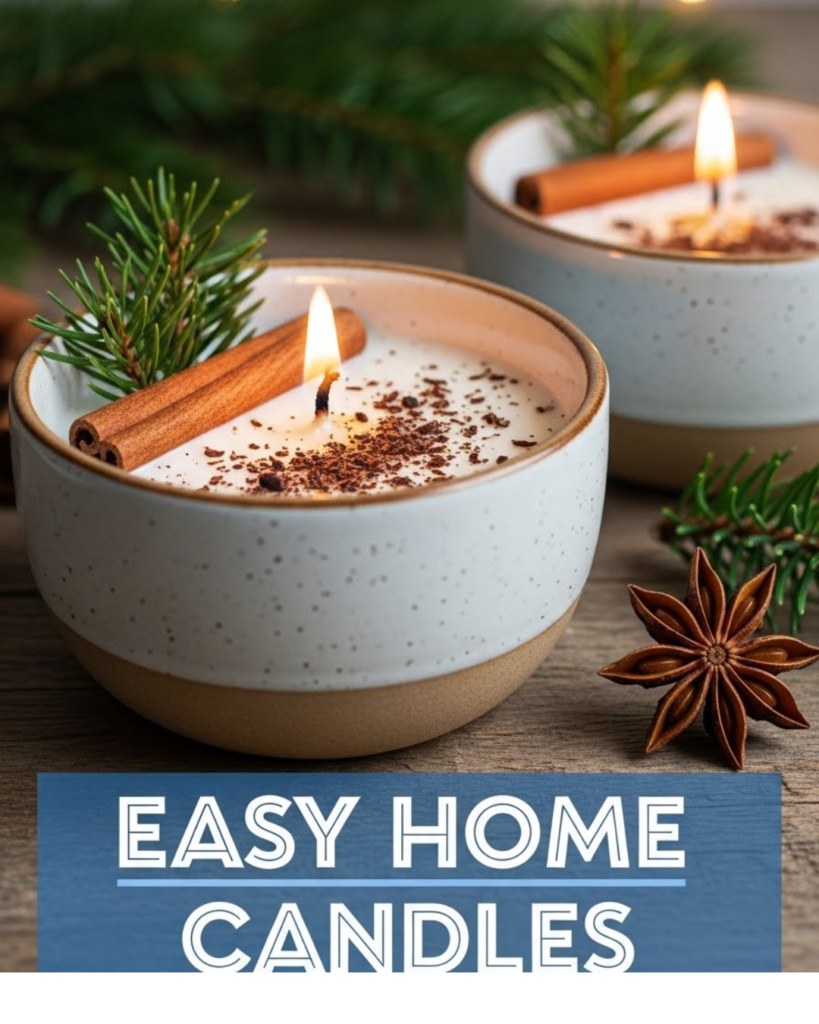
Caption: Warmth and light are just a pour away!