
Discover how to make DIY eucalyptus shower steamers for congestion relief. These natural aromatherapeutic tabs turn your shower into a healing spa retreat.
Have you ever woken up with a head that feels like it’s filled with cotton or a nose that simply refuses to cooperate? Dealing with seasonal stuffiness or sinus pressure can make even the simplest daily tasks feel monumental. You might find yourself reaching for over-the-counter sprays, but what if you could unlock a more natural, soothing path to comfort? You are about to discover the power of DIY eucalyptus shower steamers for congestion relief, a simple home project that transforms your morning rinse into a high-end aromatherapy session.
By crafting these effervescent tablets, you gain a tool to help clear your airways using pure, botanical ingredients. This guide will empower you to take control of your respiratory wellness through achievable, cost-saving DIY methods. You have the capability to create a spa-like environment in your own bathroom, saving you money while providing superior, non-toxic relief. Get ready to breathe deeply and achieve a new level of morning clarity. Let’s explore how these little powerhouses can change your wellness routine forever!
Foundation: Understanding the Magic of Shower Steamers
Before we start mixing our ingredients, let’s build your confidence with the basic concepts of how these steamers work. Think of them as bath bombs for people who prefer showers—they are designed to dissolve slowly and release concentrated scents into the steam.
Why Eucalyptus for Congestion?
Eucalyptus oil contains a compound called eucalyptol (or cineole). Scientific research suggests that eucalyptol can help break up mucus and reduce inflammation in the respiratory tract. When the hot water from your shower hits the steamer, it carries these microscopic oil droplets into the air, allowing you to inhale them directly. This is why DIY eucalyptus shower steamers for congestion relief are so effective; they bring the medicine straight to the source.
Key Components of a Steamer
A successful steamer relies on a simple chemical reaction between two main pillars:
- The Base (Baking Soda): This provides the bulk and structure of the tablet.
- The Catalyst (Citric Acid): This creates the “fizz.” When water touches the citric acid and baking soda mix, it releases carbon dioxide, which helps propel the essential oils into the steam.
- The Active Ingredient (Essential Oils): This is where the healing happens!
Reassurance for Beginners
If you have never made your own wellness products, don’t be intimidated. Making shower steamers is as easy as making sandcastles. There are no complex tools required—just a bowl, a spoon, and a little bit of patience. You are taking a proactive step for your health, and the satisfaction of using something you made with your own hands is truly empowering!
Step-by-Step: Crafting Your Eucalyptus Steamers
Ready to clear those sinuses? Follow these manageable steps to create your first batch of DIY eucalyptus shower steamers for congestion relief.
Ingredients and Supplies
- 2 cups Baking Soda
- 1 cup Citric Acid
- 1/2 cup Cornstarch or Kaolin Clay (this helps the scent last longer)
- 30-40 drops Eucalyptus Essential Oil
- 10 drops Peppermint or Menthol Crystals (optional, for extra “kick”)
- Witch Hazel in a spray bottle
- Silicone Molds (muffin tins or specialized soap molds work great)
The Core Method
- Mix Dry Ingredients: In a large glass bowl, whisk together the baking soda, citric acid, and cornstarch. Ensure there are no lumps.
- Add the Aromatherapy: Drip your essential oils directly into the dry powder. If you are using menthol crystals, crush them into a fine powder first.
- The “Wet Sand” Phase: This is the most important step. Lightly spritz the mixture with witch hazel while whisking constantly. You want the texture to feel like damp sand—it should hold its shape when you squeeze a handful, but shouldn’t feel “wet.”
- Pack the Molds: Press the mixture firmly into your silicone molds. The harder you press, the longer the steamer will last in the shower.
- Setting Time: Let the steamers sit in the molds for at least 24 hours in a dry place. If it is humid, they may need 48 hours to fully harden.
- Storage: Once they are rock-hard, pop them out and store them in an airtight glass jar. This keeps the essential oils from evaporating.
Featured Snippet: Where do you place a shower steamer?
To get the most out of your DIY eucalyptus shower steamers for congestion relief, do not place them directly under the stream of water. Instead, set the steamer on the floor of the shower or a small ledge where it gets lightly splashed but not drenched. This allows it to dissolve slowly and fizz over several minutes, ensuring the therapeutic steam lasts for your entire shower.
Advanced Strategies: Customizing Your Relief
Once you have mastered the basic recipe, you can share expert-level insights by tailoring the steamers to your specific needs.
Creative Solutions and Variations
- The “Sinus Powerhouse”: Add 10 drops of Rosemary and 5 drops of Lemon oil to the eucalyptus. Rosemary also supports circulation, while lemon provides a refreshing, uplifting scent.
- Nighttime Relief: If your congestion keeps you up at night, swap the peppermint for Lavender. You’ll still get the respiratory benefits of eucalyptus, but with a calming finish to help you sleep.
- Visual Appeal: Add a drop of natural green mica or dried eucalyptus leaves to the bottom of the mold before packing. These make wonderful DIY handmade gifts for friends during flu season!
Regional Considerations
If you live in a very humid climate (like the coast), your steamers may “grow” or puff up out of the molds. To prevent this, use slightly less witch hazel and ensure they dry in a room with a dehumidifier or air conditioning. In very dry climates, they may crumble; adding a teaspoon of water-based rubbing alcohol can help them bind more securely.
Troubleshooting: Common Challenges
DIY home tips occasionally require a bit of fine-tuning. Here is how to handle frequent obstacles with an encouraging mindset:
- “My steamers are crumbling”: This usually means the mixture was too dry when you packed it. You can actually crumble them back up, add a few more spritzes of witch hazel, and re-mold them!
- “The scent isn’t strong enough”: Heat kills the scent. Ensure your shower is nice and steamy before you put the steamer in. Also, check that your essential oils are fresh; older oils lose their potency.
- “They dissolve too fast”: Next time, add a bit more cornstarch or kaolin clay. These ingredients act as binders and “hardeners,” slowing down the reaction with water.
Preventive Measures
Always handle the dry mixture with care. Citric acid can be a bit tingly on sensitive skin, so feel free to wear gloves. Keep your finished steamers away from the “splash zone” until you are ready to use them, as even a little humidity in the air can start the fizzing process early.
Maximizing Results: Next Level Wellness Tips
Now that you have your DIY eucalyptus shower steamers for congestion relief, build upon your success by looking at other ways to support your respiratory health.
Complementary Strategies
- Internal Support: While the steam works from the outside, try making spicy fire honey for immune support to help your body fight off the underlying cause of the congestion.
- Hydration: Drink plenty of fluids to keep your mucus thin. A cozy immune-boosting flu bomb tea is the perfect partner for a steamy shower.
- Environment: Congestion is often aggravated by dry air at night. Use a humidifier, and learn why mold keeps coming back in bathrooms to ensure your spa environment remains healthy and free of spores that could irritate your lungs.
- Self-Care: After your shower, keep the relaxation going by applying a DIY face cream with rosehip oil or an easy shea butter salve for dry skin to prevent your skin from drying out in the steam.
Inspiration for Continued Learning
As you discover the joy of creating your own wellness products, you might find yourself wanting to dive deeper. Perhaps you’ll want to learn how to make eco-friendly soap without lye to complete your natural bathroom transformation. Every small project is a step toward a more sustainable and empowered lifestyle!
Conclusion: Breathe Easy with Your DIY Success
You have now discovered the complete process for creating DIY eucalyptus shower steamers for congestion relief. You have moved from feeling trapped by stuffiness to being an empowered creator of your own healing environment. By following these steps, you have achieved a way to soothe your senses that is natural, cost-effective, and deeply effective.
The transformation of your daily shower into a wellness ritual is a rewarding journey. We encourage you to mix up your first batch today—the relief you need is just a few ingredients away. You are more than capable of mastering this craft and enjoying the clear-headed results you deserve!
Would you like me to help you create a “Printable Recipe Card” for your shower steamer jars? Your path to easier breathing starts with your very next shower!
Important Disclaimer: This article is for informational purposes only and should not replace professional advice. For health-related topics, consult healthcare providers. Eucalyptus oil is very potent; avoid use for children under age 10 or near pets without consulting a professional. If you have asthma, consult a doctor before using intensive aromatherapy. Individual results may vary.
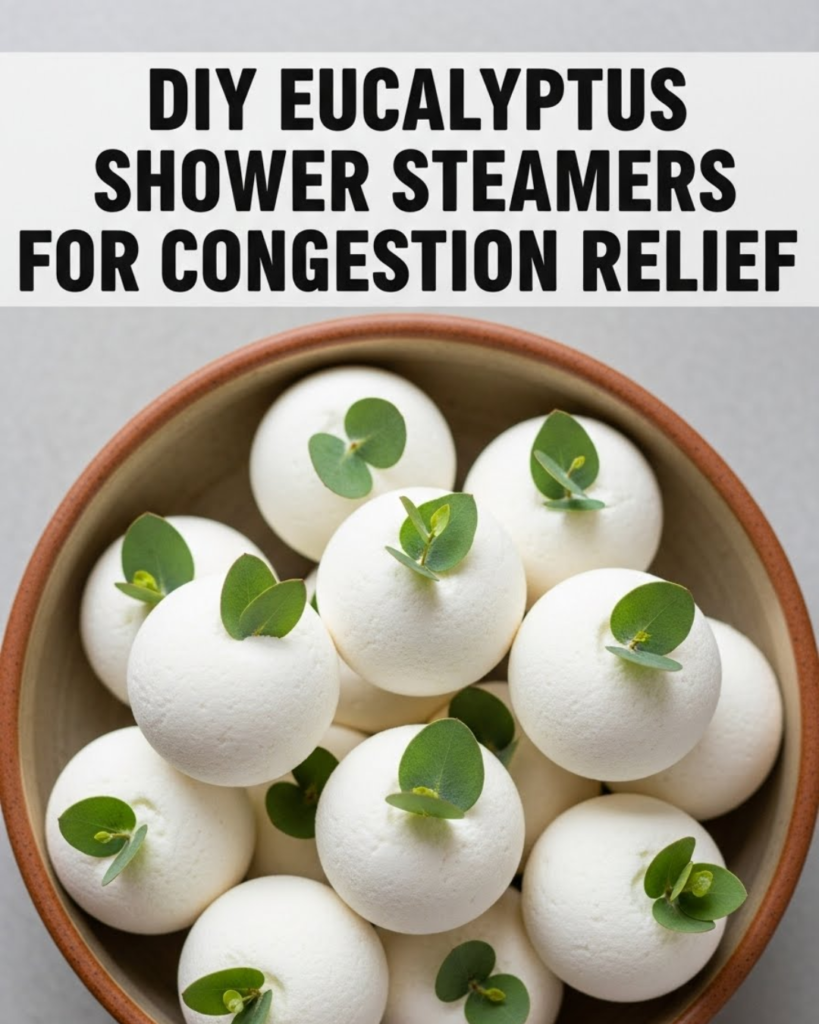
Caption: Pure steam, clear breathing—your natural sinus solution!