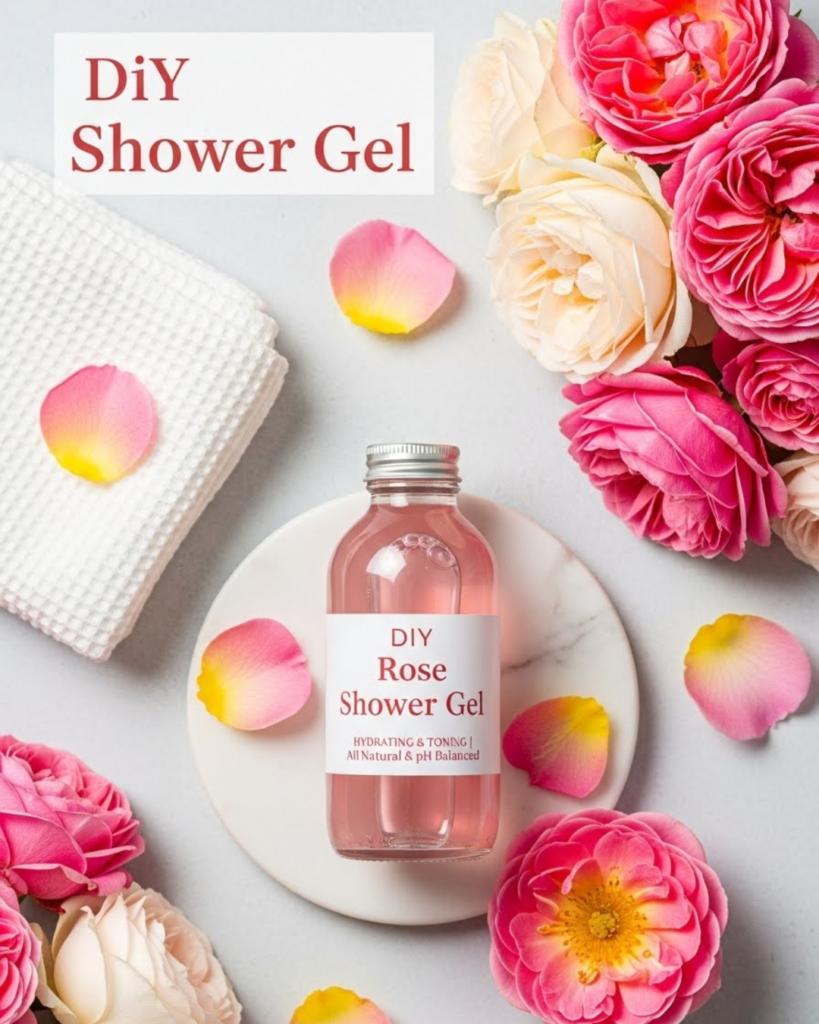
Learn how to make a luxurious DIY Rose Shower Gel at home. Discover natural recipes for glowing skin using rose petals, essential oils, and gentle cleansers today.
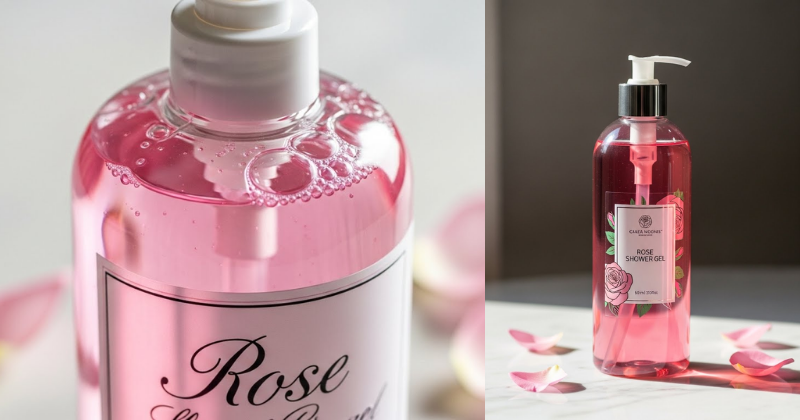
Have you ever stepped into a steaming shower at the end of a long day and wished for a moment of pure, spa-like indulgence? Many store-bought body washes are packed with harsh sulfates and synthetic fragrances that strip your skin of its natural oils, leaving you feeling dry and itchy. You don’t have to settle for “good enough” when it comes to your self-care routine. You are about to discover the art of crafting your very own DIY Rose Shower Gel, a botanical masterpiece that cleanses while pampering your skin with the timeless essence of fresh roses.
By making your own body wash, you unlock the power to control every ingredient that touches your body. This transformation will not only elevate your daily shower but also infuse your morning with a sense of calm and luxury. This guide will empower you with achievable, step-by-step guidance to create a professional-quality gel right in your kitchen. You have the capability to achieve radiant, soft skin using nature’s most romantic flower. Get ready to discover how simple it is to achieve a boutique-level glow on a budget!
Foundation: Why Rose is Your Skin’s Best Friend
Before we start mixing, let’s build your confidence with the basic concepts of rose-based skincare. Roses have been used in beauty rituals for centuries, and for very good reason.
The Benefits of Rosewater and Rose Oil
Rose is more than just a beautiful scent. It is a natural astringent that helps tighten pores and restore suppleness. When you use a DIY Rose Shower Gel, you are treating your skin to anti-inflammatory properties that can soothe redness and irritation. It is a gentle giant in the world of botanical wellness, making it suitable for almost all skin types.
Understanding Your Base: Castile Soap
The secret to a successful homemade wash is a high-quality base. Liquid castile soap is the gold standard for DIY enthusiasts. It is an olive-oil-based soap that is biodegradable, non-toxic, and incredibly gentle. It provides the “lather” you love without the chemical detergents found in commercial brands.
Encouraging Reassurance for Beginners
If you have never made your own beauty products before, be encouraged! This is one of the easiest recipes to master. Achieving a custom, high-end shower gel is an achievable goal that requires no special equipment—just a few bowls and a bottle. You are taking a proactive step toward a more sustainable and healthy lifestyle, and the results will speak for themselves on your glowing skin.
Step-by-Step: Crafting Your Signature Rose Wash
Ready to transform your shower? Follow these manageable steps to create a moisturizing and fragrant DIY Rose Shower Gel.
1. Gather Your Ingredients
To achieve the perfect consistency and scent, you will need:
- 1 cup Liquid Castile Soap: (Unscented is best so the rose shines through).
- 1/2 cup Rosewater: Provides the base hydration and delicate floral notes.
- 1 tablespoon Vegetable Glycerin: This acts as a humectant, locking moisture into your skin.
- 15-20 drops Rose Essential Oil: For a deep, therapeutic aroma.
- Optional: A teaspoon of vitamin E oil for extra skin repair.
2. The Mixing Process
- Combine the Liquids: In a glass bowl, gently stir the castile soap and rosewater together. Avoid whisking too vigorously, or you will create too many bubbles!
- Add the Humectants: Stir in the glycerin and vitamin E oil. These ingredients ensure your skin feels silky, not stripped.
- Scent the Gel: Add your rose essential oil drops one by one, stirring gently until the fragrance is perfectly balanced for your preference.
3. Storage and Usage
Pour your mixture into a glass or high-quality plastic pump bottle. Because this recipe contains water (rosewater) and no synthetic preservatives, it is best to make it in small batches and use it within 3-4 weeks.
Featured Snippet: How do I make my DIY shower gel thicker?
To make your DIY Rose Shower Gel thicker, you can add a small amount of guar gum or xanthan gum (about 1/2 teaspoon per cup of liquid). Alternatively, you can create a “salt-thickened” gel by mixing a small amount of sea salt with your castile soap before adding the rosewater, as salt reacts with the soap to increase viscosity naturally.
Advanced Strategies: Pro Tips for a Spa Experience
Once you have mastered the basic recipe, share expert-level insights by customizing your gel for different skin needs and seasons.
The “Petal-Infusion” Variation
For a truly creative solution, you can infuse your own rosewater!
- Action: Simmer fresh, organic rose petals in distilled water for 20 minutes until the petals lose their color.
- Internal Link: If you love the connection to nature that comes from growing your own ingredients, check out our tips on gardening for beginners to start your own rose garden.
Customizing Your Scent Profile
Rose pairs beautifully with other botanicals.
- For Relaxation: Add 5 drops of lavender oil to your rose mix.
- For Energy: Add a few drops of geranium or grapefruit oil.
- Internal Link: To carry this natural scent throughout your home, learn how to make DIY natural air fresheners that complement your new floral skincare routine.
Pro Tip: Maintaining Skin Health
After using your rose gel, your pores will be clean and ready for moisture.
- Internal Link: Lock in that hydration by applying an easy shea butter salve for dry skin while your skin is still slightly damp from the shower.
Troubleshooting: Common Challenges and Solutions
Even the most straightforward DIY projects can have hiccups. Here is how to handle obstacles with an encouraging mindset:
- “My gel is too watery”: Natural castile soap is thinner than commercial gels. Don’t worry—it still cleanses perfectly! Use a foaming soap dispenser to turn the thin liquid into a rich, luxurious foam.
- “The scent is fading”: Essential oils are volatile and can evaporate. Ensure your bottle is tightly capped between uses and stored away from direct sunlight.
- “The soap and water are separating”: This is natural since we aren’t using chemical emulsifiers. Simply give the bottle a gentle shake before each use to reintegrate the oils.
Preventive Measures
Always ensure your mixing bowls and storage bottles are sanitized before you begin. This prevents bacteria from growing in your preservative-free DIY Rose Shower Gel. If the gel ever changes color or develops an “off” smell, discard it and whip up a fresh batch!
Maximizing Results: A Holistic Beauty Routine
Now that you have achieved the perfect wash, build upon your success by looking at the bigger picture of your wellness.
Complementary Home Wellness
A beautiful shower experience is about more than just the soap.
- Internal Link: Enhance your respiratory health and relaxation by using DIY eucalyptus shower steamers for congestion relief alongside your rose gel.
- Internal Link: Create a calming atmosphere in your bathroom by lighting beeswax candles to provide a clean, natural glow while you soak.
Long-Term Maintenance
Consistent use of natural products allows your skin’s microbiome to flourish. You might find that over time, you need less heavy moisturizer because your DIY Rose Shower Gel isn’t damaging your skin barrier.
- Internal Link: If physical discomfort is preventing you from enjoying your self-care time, explore these knee pain relief remedies to ensure you can stand and move comfortably throughout your day.
Conclusion: Achieve the Glow You Deserve
You have now discovered the secrets to a perfect DIY Rose Shower Gel. You have moved from using mystery chemicals to being an empowered creator of your own botanical beauty. By following these steps—choosing the right oils, mixing with care, and troubleshooting like a pro—you have achieved a luxury product that is safe for your body and the planet.
The transformation of your morning routine is an achievable and rewarding journey. We encourage you to mix your first batch this weekend. You are more than capable of achieving radiant, rose-scented skin that makes you feel like the best version of yourself!
Would you like me to help you create a “Weekly Skincare Calendar” to help you integrate your new DIY products into a routine? Your path to natural, glowing beauty starts with your next shower!
Important Disclaimer: This article is for informational purposes only and should not replace professional advice. For health-related topics or skin conditions like eczema or psoriasis, consult healthcare providers or dermatologists. Always perform a patch test when trying new DIY skincare products. Individual results may vary.