
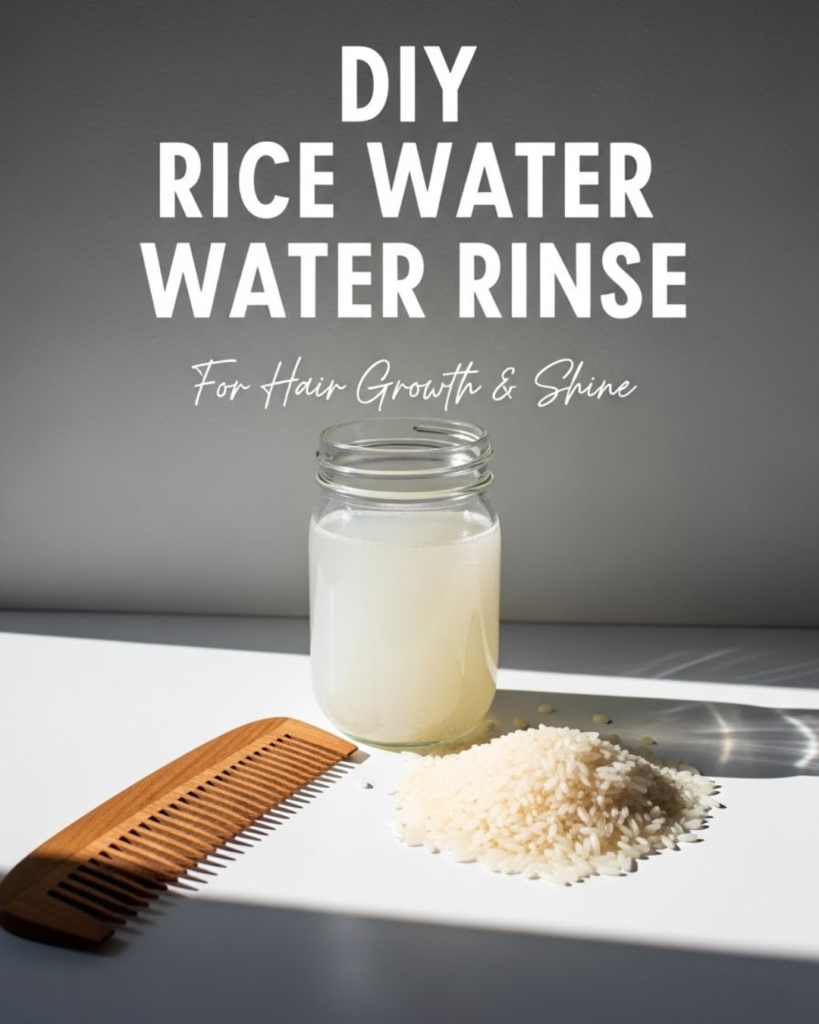
Discover how to make a DIY Rice Water Rinse for stronger, shinier hair. Learn ancient beauty secrets and easy home recipes to transform your hair health naturally today.
Have you ever looked at the long, lustrous hair of women in ancient stories and wondered what their secret was? For centuries, women in Asia—most notably the Yao women in China—have used a simple pantry staple to achieve hair that remains dark and strong well into their 80s. You don’t need expensive salon treatments or chemical-laden serums to unlock this kind of beauty. You are about to discover the magic of the DIY Rice Water Rinse, a cost-effective and natural way to fortify your strands from the inside out.
By integrating this simple ritual into your wellness routine, you will transform your hair’s elasticity and shine using nothing but water and rice. This guide will empower you with achievable, step-by-step guidance to create a professional-grade rinse right in your own kitchen. You have the capability to achieve the healthy, vibrant hair you’ve always wanted without spending a fortune. Get ready to discover the science of fermented beauty and achieve a breakthrough in your personal care routine!
Foundation: The Science Behind the Rinse
Before we start brewing, let’s build your confidence with the basic concepts of why rice water is so effective. It isn’t just “cloudy water”; it is a nutrient-dense tonic for your scalp and hair.
The Power of Inositol
Rice water contains a specific carbohydrate called inositol. Research suggests that inositol can penetrate damaged hair and repair it from the inside out. Even better, it stays inside your hair even after you rinse the water away, providing ongoing protection against breakage. When you use a DIY Rice Water Rinse, you are essentially giving your hair a flexible “shield.”
Amino Acids and Vitamins
Rice is packed with amino acids, which are the building blocks of protein. Since hair is made of a protein called keratin, these amino acids help strengthen the hair shaft. Additionally, the rinse is rich in Vitamin B and E, which support scalp health and promote a healthy environment for growth.
Reassurance for Beginners
If you are worried that this sounds “too simple to work,” remember that nature often provides the best solutions. You don’t need a degree in chemistry to achieve great results. This process is very forgiving, and the cost is literally pennies per treatment. You are taking a proactive step toward a more sustainable and healthy lifestyle, and your hair will thank you for the extra nourishment.
Step-by-Step: How to Make Your DIY Rice Water Rinse
Ready to get started? Break down this traditional process into manageable steps. There are three main ways to prepare your rinse, but we will focus on the most effective: the Fermentation Method.
1. Preparing the Rice
- The Wash: Take 1/2 cup of uncooked rice (organic is best) and rinse it thoroughly under plain water to remove any dirt or impurities.
- The Soak: Place the clean rice in a bowl with 2 to 3 cups of water. Let it sit for about 30 minutes, stirring occasionally.
2. The Fermentation Magic
- The Strain: Strain the rice and keep the cloudy water in a glass jar.
- The Wait: Leave the jar at room temperature for 12 to 24 hours. This allows the water to ferment, which lowers the pH level to match your hair’s natural pH and unlocks higher levels of antioxidants.
- Pro Tip: Don’t let it ferment for more than 24 hours, or it might start to smell too sour!
3. Application Process
- The Wash: Shampoo your hair as usual.
- The Rinse: Pour the DIY Rice Water Rinse over your hair, focusing on the scalp and ends. Massage it in gently.
- The Set: Let it sit for 5 to 10 minutes.
- The Final Step: Rinse thoroughly with cool water.
Featured Snippet: How often should you use rice water on your hair?
For most hair types, you should use a DIY Rice Water Rinse once a week or once every two weeks. Because rice water is rich in protein, using it too frequently can lead to “protein overload,” which may make the hair feel stiff or brittle. If your hair is very dry or porous, start with a bi-weekly treatment and observe how your strands respond before increasing the frequency.
Advanced Strategies: Pro Tips and Variations
Once you have mastered the basics, share expert-level insights by customizing your rinse for your specific hair needs.
Scent and Scalp Soothing
The scent of fermented rice water can be a bit earthy.
- Creative Solution: Add a few drops of lavender or rosemary essential oil to your jar. Not only does it smell amazing, but rosemary is also known to support circulation in the scalp.
- Internal Link: If you love the calming effect of lavender, you might also be interested in making a DIY Rose Shower Gel to turn your entire bathroom experience into a floral spa.
The “Boiled” Shortcut
If you are in a rush and can’t wait 24 hours for fermentation, you can use the boiling method. Cook the rice in extra water, strain the excess liquid while it’s still hot, and let it cool. It is more concentrated, so you may want to dilute it with plain water before use.
Pro Tip: Texture Management
If you find the rinse makes your hair feel a bit too firm, you can achieve a softer finish by mixing in a tablespoon of aloe vera gel. This adds instant moisture to the protein-rich rice water.
- Internal Link: For those focused on a completely natural lifestyle, pairing this with a floor cleaner diy routine ensures that your home environment is as chemical-free as your beauty routine.
Troubleshooting: Common Challenges and Solutions
Even the best DIY projects can have obstacles. Here is how to handle them with an encouraging mindset:
- “My hair feels crunchy after use”: This is a sign of protein overload. Simply increase the time between rinses and make sure you are using a deep conditioner afterward.
- “The smell is too strong”: You can add citrus peels (like orange or grapefruit) to the water while it ferments to provide a fresh, zesty scent.
- “It didn’t make my hair grow overnight”: Remember, hair health is about gradual progress. You will see a “transformation” in shine and strength almost immediately, but growth takes consistent use over several months.
Preventive Measures
Always perform a patch test on a small section of hair before doing a full rinse. If you have a very sensitive scalp, ensure you rinse the rice water out completely rather than leaving it as a leave-in treatment. To keep your tools clean, use an herbal all purpose cleaner to wipe down your jars and mixing bowls between batches.
Maximizing Results: A Holistic Beauty Approach
Now that you have achieved the perfect rinse, build upon your success by looking at the bigger picture of your hair and body health.
Complementary Strategies
- Internal Health: What you put in your body matters as much as what you put on it.
- Internal Link: Review The 20 Worst Foods For People with Arthritis, Ranked in Order—many of these inflammatory foods can also affect the health of your hair follicles.
- Restful Sleep: Your body repairs itself while you sleep.
- Internal Link: Ensure your hair stays healthy by getting quality rest; remember that the body doesn’t heal best during sleep — it heals when sleep is undisturbed.
- Scalp Care: Use your fingertips to massage your scalp daily to increase blood flow.
Long-Term Considerations
Consistency is the key to any natural beauty regimen. Keep a small bag of rice dedicated to your beauty routine in your pantry so you are always ready for your weekly rinse. This simple preparation makes it easy to maintain your progress and inspire continued learning about ancient beauty rituals.
Conclusion: Achieve the Hair of Your Dreams
You have now discovered the complete world of the DIY Rice Water Rinse. You have moved from being a consumer of expensive hair masks to being an empowered creator of your own botanical treatments. By following these steps—washing, fermenting, and rinsing—you have achieved a way to strengthen your hair that is safe, effective, and deeply traditional.
The journey to healthier hair is a rewarding path of self-care. We encourage you to start your first batch of rice water today. You are more than capable of achieving a salon-worthy shine and strength right from your own home!
Would you like me to help you create a “Hair Growth Journal” to track your progress over the next 90 days? Your path to lustrous, strong hair starts with a single cup of rice!
Important Disclaimer: This article is for informational purposes only and should not replace professional advice. For hair loss conditions or scalp issues, consult healthcare providers or dermatologists. Individual results may vary, and personal circumstances should always be considered when implementing any new beauty routine.