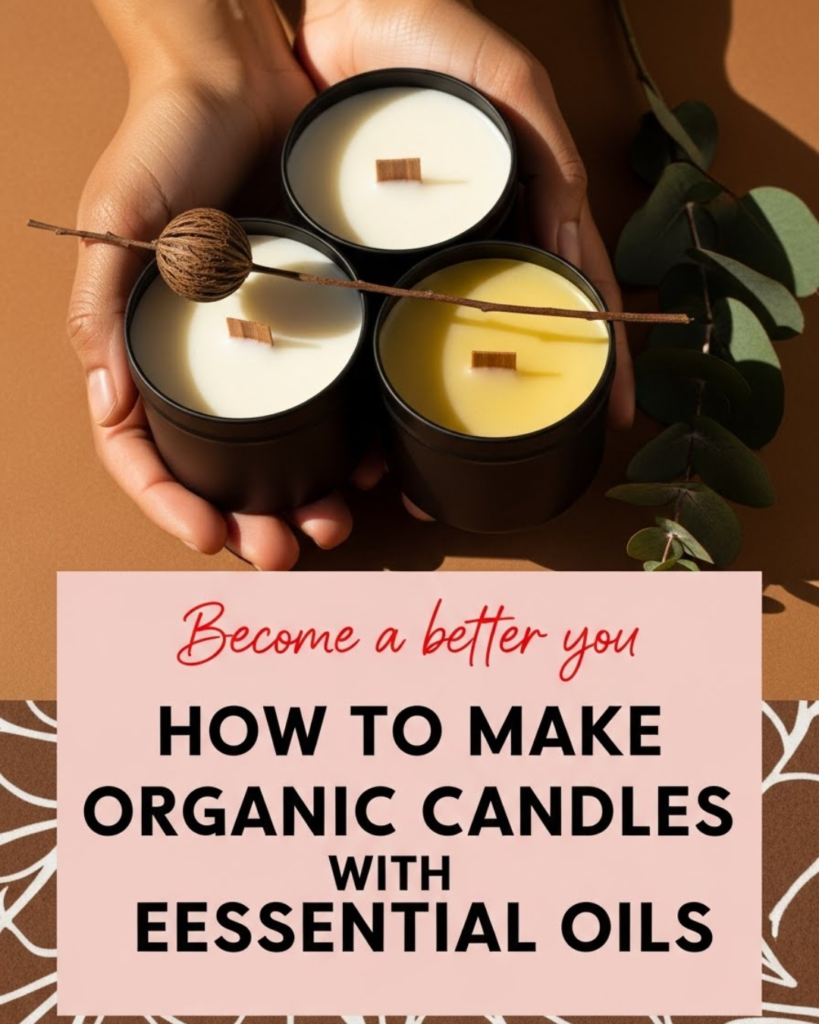
Discover how to make organic candles with essential oils using non-toxic soy or beeswax to create a healthy, aromatic atmosphere in your home naturally.
Have you ever walked into a room, lit a candle to relax, and ended up with a headache instead? Many store-bought candles are made from paraffin wax—a byproduct of petroleum—and synthetic fragrances that can release soot and chemicals into your air. If you are looking for a way to enjoy a cozy glow without the hidden toxins, learning how to make organic candles with essential oils is a total game-changer. Not only is it a rewarding DIY project, but it also allows you to customize your home’s scent profile using pure, plant-based ingredients.
In this comprehensive guide, you will unlock the secrets to crafting professional-quality candles that are safe for your family and the environment. We will walk through the process of selecting the right waxes, choosing the best essential oil blends, and mastering the pouring technique for a perfect finish every time. By the end of this article, you’ll feel empowered to transform your living space into a natural sanctuary. You are just a few steps away from achieving a cleaner, more fragrant home!
Foundation: Choosing Your Organic Candle Materials
Before you start melting anything, you need to understand the building blocks of a truly natural candle. When we talk about how to make organic candles with essential oils, the “organic” part refers primarily to the wax and the purity of the scent. Building confidence with these basic concepts ensures your first batch is a success.
Selecting the Right Natural Wax
Most beginners choose between two main eco-friendly options. Each has its own benefits depending on the look and feel you want to achieve.
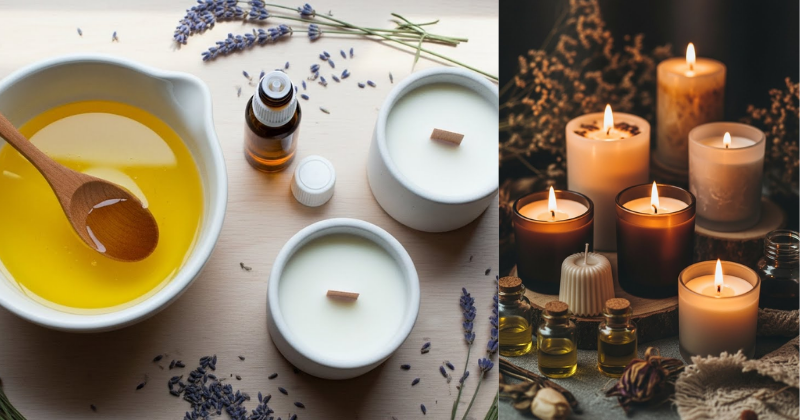
- Soy Wax: Made from soybean oil, it is biodegradable and burns longer than paraffin. It has a “soft” look and holds onto scents beautifully.
- Beeswax: This is the ultimate “clean” wax. It naturally purifies the air by releasing negative ions. It has a beautiful golden hue and a faint scent of honey.
- Coconut Wax: Often blended with soy, this wax has an incredible scent throw and a very smooth, creamy appearance.
The Importance of Pure Essential Oils
Unlike synthetic fragrance oils, essential oils are extracted directly from plants. Because they are volatile organic compounds, they behave differently when heated. To get the best results, you must use high-quality, 100% pure oils. This ensures that when you light your candle, you are benefiting from aromatherapy rather than inhaling artificial boosters.
Wicks and Containers
To keep things organic, choose wicks made from 100% cotton, hemp, or wood. Avoid wicks with lead or zinc cores. For containers, you can get creative and save money by upcycling glass jam jars, ceramic mugs, or even vintage tea cups. This not only adds a personal touch but also supports a sustainable lifestyle.
Step-by-Step: The Core Candle-Making Process
Making your own candles is surprisingly straightforward once you break it down into manageable steps. Follow this guide to ensure your candles look and smell like they came from a high-end boutique.
Step 1: Measure and Melt
First, determine how much wax you need. A good rule of thumb is to fill your container with wax flakes twice to get the correct melted volume. Use a double boiler (or a heat-safe glass bowl over a pot of simmering water) to melt the wax slowly.
Pro Tip: Never melt wax directly over an open flame, as it is flammable.
Step 2: Monitor the Temperature
This is the most critical step in how to make organic candles with essential oils. You need a thermometer!
- Melt point: Most soy waxes melt around 180°F (82°C).
- Flash point: Essential oils can “burn off” if added to wax that is too hot. Wait for the wax to cool to about 135°F – 140°F (57°C – 60°C) before adding your oils. This ensures the scent remains trapped in the wax rather than evaporating into the air.
Step 3: Add Your Scents
Stir in your essential oils gently for at least two minutes. This ensures the oil is fully bound to the wax molecules. For a standard 8oz candle, you will typically need about 30–40 drops of essential oil for a subtle, natural scent.
Step 4: Secure the Wick and Pour
Place a small amount of melted wax or a wick sticker at the bottom of your container to secure the wick. Use a “wick center tool” (or even two pencils tied together) to keep the wick upright. Pour the wax slowly to avoid creating air bubbles. Leave about half an inch of space at the top.
Step 5: The Cure
Patience is key! Let your candles sit undisturbed at room temperature for at least 24 hours. For soy candles, “curing” them for 1–2 weeks actually improves the scent throw significantly.
Advanced Strategies: Pro Tips for Custom Blends
Once you’ve mastered the basics, you can start experimenting with advanced strategies to make your candles truly unique. This is where your creativity can shine!
Creating Therapeutic Blends
Don’t settle for just one oil. Create a “signature scent” by mixing top, middle, and base notes.
- The Relaxing Blend: Lavender (middle) and Cedarwood (base).
- The Energizing Blend: Lemon (top), Peppermint (top), and Rosemary (middle).
- The Cozy Blend: Orange (top), Clove (middle), and Vanilla (base).
Enhancing the Visual Appeal
You can add organic botanicals like dried rose petals, lavender buds, or even small crystals to the top of your candle. However, only add these when the wax has started to “cloud” over but is still soft. This keeps the decorations on the surface and prevents them from interfering with the wick’s flame.
Understanding “Scent Throw”
“Cold throw” is how the candle smells when it’s unlit, while “hot throw” is the scent it gives off while burning. To maximize hot throw with essential oils, consider using a wax blend (like Soy and Coconut). This combination often holds more oil and releases it more effectively than pure soy alone.
Troubleshooting Common Candle Challenges
Even expert candle makers run into obstacles. Addressing these frequent challenges will help you achieve the best results and avoid frustration.
“Wet Spots” and Frosting
If you see white, crystalline structures on the side of your glass or areas where the wax looks like it pulled away, don’t panic! This is “frosting,” a natural characteristic of organic soy wax. It doesn’t affect the burn at all. Prevention: Pour your wax at a lower temperature and keep your containers at a consistent room temperature while they cool.
Tunneling
If your candle burns down the middle but leaves a ring of hard wax around the edges, it’s called tunneling. This usually happens if the wick is too small or if you didn’t let the candle burn long enough during its first use.
- Solution: The first time you light your candle, let it burn until the entire top surface is liquid. This “sets the memory” for the wax.
Sinkholes and Cracks
Sometimes the wax sinks around the wick as it cools.
- Prevention: Avoid cooling your candles in a cold room or near a draft. If a hole appears, simply use a hair dryer on a high-heat setting to melt the top layer of wax and “fill in” the gaps for a smooth finish.
Maximizing Results: Maintenance and Longevity
To build upon your success, you should follow specific maintenance steps. Proper care ensures your organic candles last as long as possible and remain safe to use.
Trim the Wick
Always trim your wick to 1/4 inch before every single light. This prevents the flame from getting too large and producing smoke, even with organic materials. It also ensures a cleaner burn and helps your essential oils smell better.
Safe Extinguishing
Instead of blowing out your candle—which creates smoke and can move the wick—use a candle snuffer or a “wick dipper.” Pushing the lit wick into the pool of melted wax and then straightening it back up instantly extinguishes the flame without any soot.
Upcycling Your Jars
When about 1/2 inch of wax remains, stop burning the candle. To clean the jar, pour in boiling water; the wax will float to the top. Once it cools and hardens, you can pop the wax disc out and wash the jar with soap and water. Now you have a clean container for your next DIY project!
Conclusion
Learning how to make organic candles with essential oils is a beautiful journey into a more sustainable and healthy lifestyle. By choosing natural waxes and pure plant essences, you are taking a stand for your health and your environment. You have the capability to create something stunning that brings warmth and comfort to your home without any of the synthetic drawbacks.
Remember, the best part of DIY is the ability to experiment and discover what works best for you. Whether you are making these for yourself or as a thoughtful gift for a friend, the effort you put into using organic materials makes a huge difference. So, gather your jars, pick your favorite oils, and start pouring. Your home is about to smell absolutely incredible!