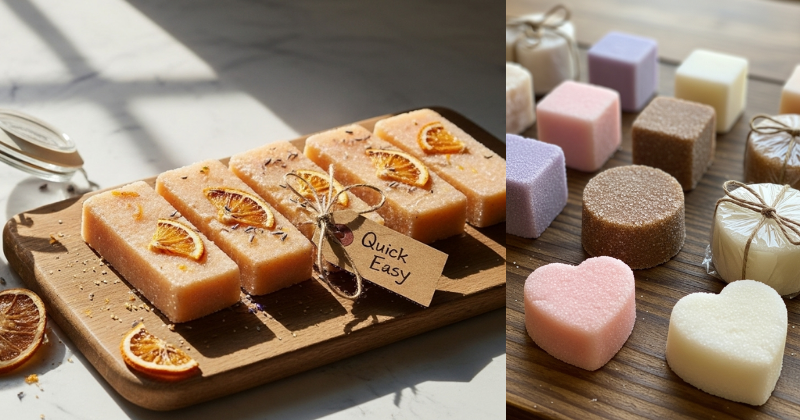
Learn how to create DIY exfoliating sugar scrub bars with this quick and easy recipe. Transform your shower routine into a spa-like experience and achieve glowing skin.
Imagine stepping into your shower after a long, exhausting day and having a little piece of luxury waiting for you. We all know the feeling of dry, dull skin, especially during seasonal shifts, but you don’t need to spend a fortune at a high-end boutique to fix it. This DIY exfoliating sugar scrub bars: quick and easy recipe is designed to give you professional-level results using simple ingredients from your pantry and craft cupboard.
In this article, you are going to discover the joy of creating your own solid body scrubs. These bars are not only mess-free compared to traditional jar scrubs, but they also provide a deep, moisturizing exfoliation that leaves your skin feeling velvety smooth. You have the capability to transform your self-care routine starting today. Let’s unlock the secrets to glowing skin with a project that is as fun to make as it is to use!
Foundation: Why You’ll Love Sugar Scrub Bars
Before we dive into the mixing bowl, it is essential to build confidence in why solid scrub bars are a game-changer for your [wellness-focused lifestyle]. If you’ve ever used a jar scrub, you know the struggle of oily spills and watery messes in the tub.
The Benefits of Solid Scrubs
Sugar scrub bars combine the mechanical exfoliation of sugar with the deep hydration of oils and soaps. Because they are solid, they have a longer shelf life and are much easier to handle in the shower. This is a perfect example of how [sustainable lifestyle changes] can also be incredibly practical. You’re reducing plastic waste from store-bought bottles while controlling exactly what goes onto your skin.
Reassurance for Beginners
If you have never made your own bath products before, don’t worry! This process is very forgiving. Unlike cold-process soap making, which requires lye and weeks of curing, these bars use a “melt and pour” base that is safe and ready to use as soon as it hardens. It’s an achievable win for anyone looking to [discover new DIY hobbies].
Key Components
- The Exfoliant: Granulated sugar is a natural humectant, meaning it pulls moisture into the skin while buffing away dead cells.
- The Base: A melt-and-pour soap base (like shea butter or goat’s milk) provides the structure.
- The Nourishment: Coconut oil or almond oil adds an extra layer of moisture.
- The Scent: Essential oils provide aromatherapeutic benefits to match your mood.
Step-by-Step: The Quick and Easy Recipe
Ready to get started? Follow these clear, actionable steps to master the DIY exfoliating sugar scrub bars: quick and easy recipe.
1. Preparation and Tools
- What you need: 1 cup of melt-and-pour soap base, 1 cup of granulated sugar, 1/4 cup of coconut oil, and a silicone mold.
- Safety Tip: Use microwave-safe glass bowls and remember that the melted soap can be very hot!
2. The Melting Process
- Cut the Base: Slice your soap base into small, even cubes. This ensures they melt uniformly.
- Heat: Place them in the microwave for 30-second intervals, stirring in between, until the liquid is smooth.
- Add Oil: Stir in your coconut oil while the soap is still hot. This creates a creamy, moisturizing texture.
3. The Sugar Mix
- Timing is Key: Let the soap cool for just a minute before adding the sugar. If the soap is too hot, the sugar will dissolve. If it’s too cold, it will set before you can stir!
- Stir: Quickly fold in the sugar and about 15-20 drops of your favorite essential oil.
- Molding: Pour the mixture into your silicone mold. Use a spoon to press it down firmly to ensure there are no air bubbles.
4. Cooling and Storage
- Wait: Let the bars sit undisturbed for at least 2 hours at room temperature.
- Unmold: Gently pop them out. They should feel firm and slightly grainy to the touch.
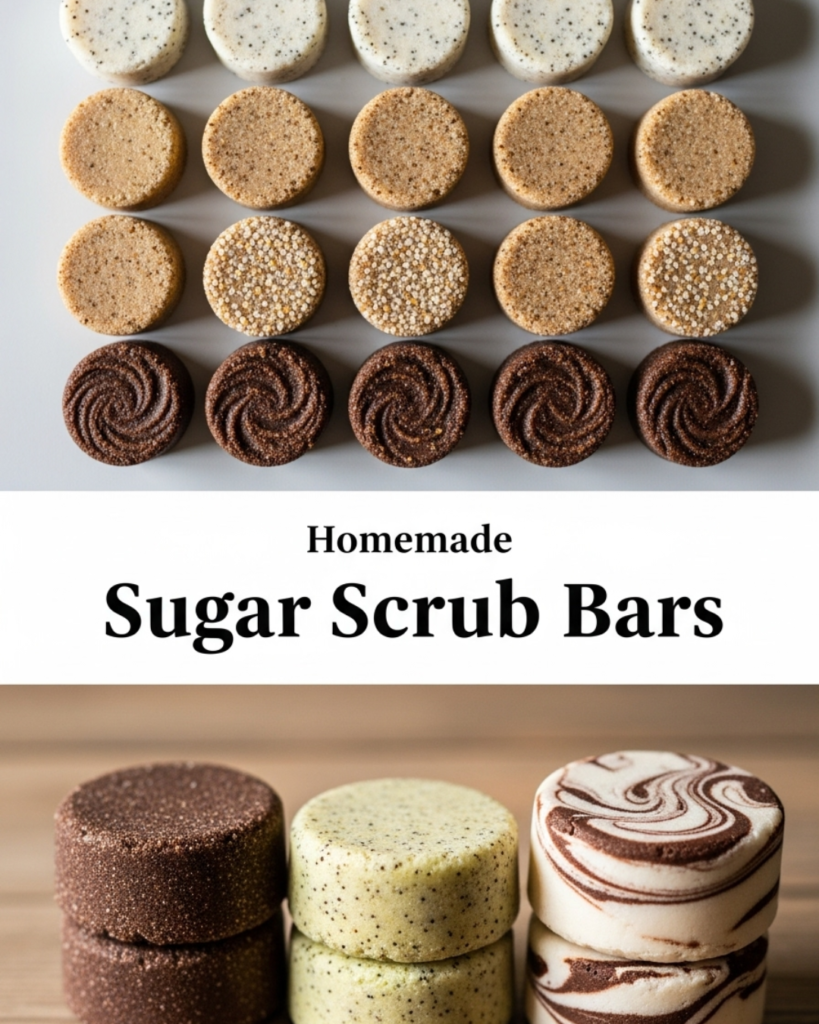
Advanced Strategies: Customizing Your Bars
Once you have the basic recipe down, share your creativity by experimenting with different variations. You can customize these bars to suit your specific skin needs or even the time of year.
Seasonal Variations
In the winter, you might want to try a [Natural Remedy for Bed Bugs] isn’t needed, but a “Winter Rescue” bar certainly is! Swap half the sugar for coffee grounds to stimulate circulation and use vanilla and peppermint oils for a festive scent. In the summer, use lime essential oil and a pinch of dried zest for a refreshing, citrusy “Mojito” scrub that helps you [achieve a sun-kissed glow].
Targeting Specific Skin Issues
If you have sensitive skin, try using brown sugar instead of white granulated sugar. Brown sugar is softer and contains molasses, which is incredibly soothing. For those looking for “Nature’s Botox,” adding a teaspoon of castor oil to the mix (as seen in our [Castor Oil Recipe for Skin]) can help provide deep fatty acids that support skin elasticity.
Pro-Tip: The “Single Use” Mini
Instead of making large bars, try using small “ice cube” style silicone molds. These “scrub cubes” are perfectly portioned for one shower, preventing the rest of your stash from getting wet and mushy. This is a brilliant [home-organization hack] for keeping your bathroom tidy.
Troubleshooting: Common Challenges and Solutions
Even the simplest DIY can have a few hiccups. Here is how to handle frequent obstacles with encouragement.
“My bars are too soft and won’t hold their shape.”
- The Solution: This usually means there was too much oil or not enough soap base.
- The Fix: Next time, increase the amount of melt-and-pour base by about 20%. You can also pop the soft bars into the fridge to help them set, though they may soften again at room temperature.
“The sugar dissolved!”
- The Advice: As mentioned, temperature is vital.
- The Prevention: Use a kitchen thermometer if you want to be precise. Aim to add the sugar when the soap mixture is around 125°F (52°C). It should be liquid but not steaming.
“The bars aren’t exfoliating enough.”
- The Secret: You might need a “coarser” grain.
- The Alternative: Try using raw sugar (turbinado) which has larger crystals. This is great for rough areas like heels and elbows, but might be too scratchy for the chest or face.
Maximizing Results: How to Use Your Bars
To build upon your success, you need to know the best way to use your new creations for long-lasting results.
The Perfect Shower Routine
Start with a warm shower to soften your skin. Turn the water off (or step out of the stream) and rub the bar in circular motions over your arms, legs, and torso. The bar will start to lather slightly while the sugar buffs away dead skin. Rinse off and pat dry. You’ll notice that the oils from the bar stay on your skin, meaning you might not even need lotion afterward!
Maintenance and Gift Giving
Keep your bars in a dry soap dish away from direct spray to make them last longer. These bars also make incredible gifts. Wrap them in a bit of parchment paper and twine for a rustic, [eco-friendly gift idea] that your friends will actually use and love.
Featured Snippet: How do you use sugar scrub bars?
To use sugar scrub bars, first wet your skin in a warm shower to soften the surface. Take the bar and rub it directly onto your skin in gentle, circular motions. The soap base will cleanse while the sugar exfoliates and the oils moisturize. Rinse thoroughly and pat your skin dry to keep the nourishing oils on your skin for a lasting glow.
Conclusion
Mastering the DIY exfoliating sugar scrub bars: quick and easy recipe is an empowering way to take control of your beauty routine. You have discovered that you have the capability to succeed in creating high-quality, effective skincare at home. By following these steps, you achieve a level of pampering that is both sustainable and deeply satisfying.
You’ve got this! Grab your ingredients and start your first batch today. Your skin will thank you for the extra love and attention.