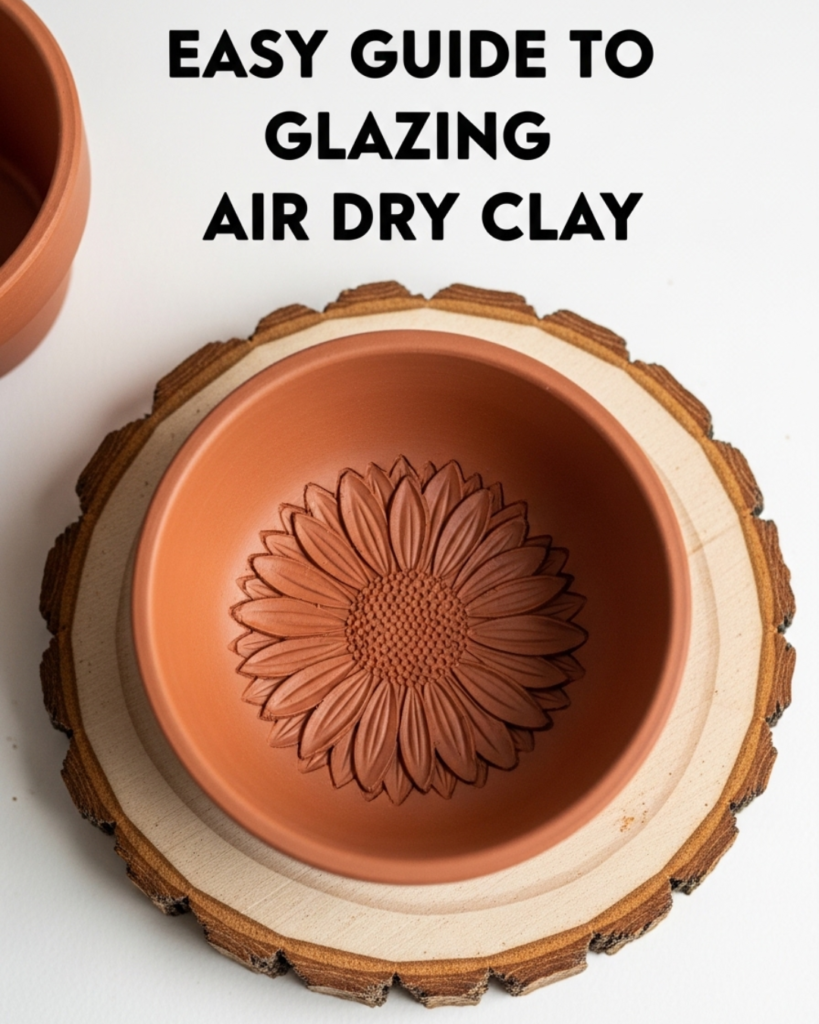
Learn how to master the finish of your pottery with our Easy Guide to Glazing Air Dry Clay. Discover the best sealants and techniques for a professional shine!
Have you ever spent hours sculpting a beautiful piece of art, only to have it look a bit “chalky” or unfinished once it dries? You are not alone! Many creators love the accessibility of air dry clay but struggle to give their projects that professional, high-end look seen in professional ceramic studios. The secret lies in the finishing process. By following this Easy Guide to Glazing Air Dry Clay, you will learn how to transform dull, porous clay into vibrant, glossy masterpieces that look like they came straight out of a kiln.
Whether you are making handmade jewelry, decorative bowls, or personalized gifts, knowing how to properly seal and “glaze” your work is a total game-changer. This guide will walk you through the most effective methods to achieve a durable, water-resistant finish while saving you the cost of expensive firing equipment. Get ready to unlock your creative potential and discover just how satisfying the final step of the DIY process can be!
Foundation: Understanding “Glaze” for Air Dry Clay
Before we dive into the “how-to,” it is important to understand a basic concept: air dry clay cannot be used with traditional ceramic glazes. Traditional glazes are made of minerals that must melt in a high-temperature kiln to turn into glass. If you put air dry clay in a kiln, it will simply burn or crumble! Therefore, when we talk about an Easy Guide to Glazing Air Dry Clay, we are actually talking about using specialized sealants, resins, and varnishes that mimic the look of traditional ceramics.
Many beginners hesitate because they worry about their paint smearing or the clay cracking during the sealing process. Reassurance is key here: as long as your clay is 100% dry, the process is very forgiving! Using the right finish not only makes your piece look better but also protects it from humidity and dust, which are the main enemies of air dry projects.
H3: Selecting Your Finishing Material
There are three main ways to “glaze” your air dry clay, depending on the look you want to achieve:
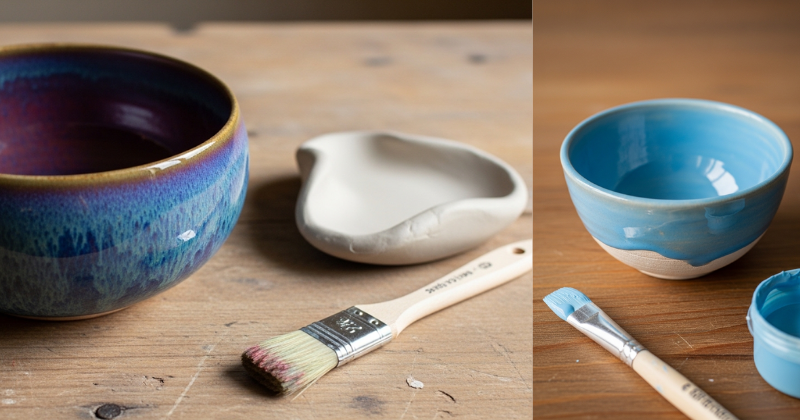
- Glossy Varnish: Provides a classic, shiny pottery look and is very easy to apply with a brush.
- UV Resin: Creates a thick, glass-like coating that is incredibly durable and professional.
- Mod Podge or Acrylic Sealers: Great budget-friendly options for decorative items that won’t be handled frequently.
Step-by-Step Process: Achieving the Perfect Shine
Ready to start? Follow these manageable steps to ensure a smooth, bubble-free finish every time. Patience is your best friend here, so make sure you don’t rush the drying times!
1. The Essential Prep Work
You must ensure your clay is completely “bone dry.” This usually takes 24 to 48 hours depending on the thickness. Once dry, use a fine-grit sandpaper (around 400 grit) to smooth out any bumps or fingerprints. Wipe away all dust with a dry cloth; any leftover particles will get trapped in your glaze and create a gritty texture.
2. Painting Your Base
Before applying your sealant, you’ll likely want to add color. Acrylic paints are the gold standard for air dry clay. Apply thin, even layers rather than one thick coat to prevent peeling. If you want a more natural look, you can skip this and go straight to the clear coat to highlight the clay’s raw texture.
3. Applying the “Glaze”
If you are using a liquid varnish, use a soft-bristled synthetic brush to prevent brush strokes. Apply the first coat in one direction. Let it dry completely—usually 30 to 60 minutes—before applying a second coat in the perpendicular direction. This “cross-hatching” technique ensures total coverage and a smoother surface.
4. Curing Time
Even if the piece feels dry to the touch, “curing” takes longer. For the most durable finish, let your glazed piece sit in a dust-free area for at least 24 hours. This allows the chemicals in the sealant to fully harden, ensuring your work doesn’t feel sticky later on.
Advanced Strategies: Pro Tips for a Professional Finish
Once you have mastered the basics, you can start experimenting with advanced techniques to make your DIY projects stand out. These pro tips will help you customize your approach and achieve results that rival professional pottery.
The “Dipping” Method
For small items like jewelry or beads, brushing can be tedious. Instead, pour your high-gloss varnish into a small container and dip the items directly into the liquid. Use a toothpick or a wire rack to let the excess drip off. This creates an incredibly even, mirror-like finish without any brush marks.
Creating a Faux-Ceramic Texture
If you want your air dry clay to look like real stoneware, try mixing a tiny bit of baking soda into your acrylic paint before applying the glaze. This creates a slight grit. When you follow up with a thick coat of glossy varnish, the light hits the texture in a way that perfectly mimics fired ceramic.
H3: Working with UV Resin
For those who want the ultimate “glass” finish, UV resin is the secret.
- Application: Squeeze a small amount onto the center of your piece and spread it to the edges with a silicone tool.
- Curing: You will need a UV lamp (like those used for gel nails). It hardens in just 2-3 minutes!
- Safety: Always work in a well-ventilated room and wear gloves when handling resin.
Troubleshooting: Solving Common Glazing Issues
Even pros run into hiccups! If things aren’t looking quite right, don’t get discouraged. Most issues with air dry clay are easy to fix with these simple solutions.
- “My glaze is sticky even after drying!” This usually happens if the air is too humid or if the coat was applied too thickly. Try moving the piece to a cooler, drier room. If it’s still tacky after 48 hours, you can sometimes fix it by applying a thin layer of a different, high-quality spray sealer.
- “The paint is smearing when I brush on the varnish.” This happens if the acrylic paint wasn’t fully dry. To prevent this in the future, use a spray-on sealer for the first “tack coat” to lock the paint in place, then follow up with your brush-on glaze.
- “I see tiny bubbles in my finish.” If you are using resin or thick varnish, avoid shaking the bottle! Shaking introduces air. If you see bubbles after applying, gently blow on them through a straw or use a toothpick to pop them before the glaze sets.
Preventive Measures
Always do a “test patch” on a scrap piece of dried clay. Different brands of clay and varnish react differently. A quick test can save you from ruining a piece you spent hours sculpting!
Maximizing Results: Maintenance and Longevity
How do you make sure your beautiful new creations last for years? Since air dry clay never becomes “food safe” or truly waterproof like fired clay, maintenance is important.
Cleaning Your Glazed Pieces
Never put your air dry clay in the dishwasher or soak it in a sink! Even with the best glaze, the clay inside can absorb water and soften. Instead, use a damp microfiber cloth to gently wipe away dust or smudges. This keeps the shine bright without risking the structural integrity of the piece.
Long-Term Care
Avoid leaving your projects in direct sunlight for extended periods, as some varnishes can yellow over time. If you notice the shine starting to dull after a year or two, you can simply “refresh” the piece with a quick new coat of spray gloss. This acts as a maintenance “top-off” to keep your art looking brand new.
H3: Complementary Projects
Now that you know how to glaze, why not try:
- Hand-painted Plant Pots: (Keep the plant in a plastic liner inside!)
- Custom Ring Dishes: A perfect use for high-gloss finishes.
- Wall Hangings: Use a matte sealer for a modern, boho look.
Conclusion: Unleash Your Inner Potter
Mastering the art of the finish is what separates a hobbyist from a true maker. By following this Easy Guide to Glazing Air Dry Clay, you have gained the tools to protect your hard work and give it the professional polish it deserves. From choosing the right varnish to troubleshooting bubbles, you are now equipped to handle every step of the process with confidence.
Remember, every masterpiece starts with a little bit of mud and a lot of imagination. Don’t be afraid to experiment with different textures and shines to find your unique style. You have the capability to succeed and create stunning pieces that will wow your friends and family. Happy sculpting!