
Discover easy DIY natural bathroom cleaners you can make at home to save money and reduce toxins. Transform your cleaning routine with simple, effective recipes.
Have you ever stepped into your bathroom after a deep clean, only to be hit by a cloud of harsh, stinging chemicals that make you want to hold your breath? You aren’t alone. Many of us want a sparkling sanctuary but worry about the toxic fumes found in conventional products. The good news is that you don’t need industrial-strength acids to achieve a professional shine. You can actually transform your home using common pantry staples that are safe, cheap, and incredibly effective.
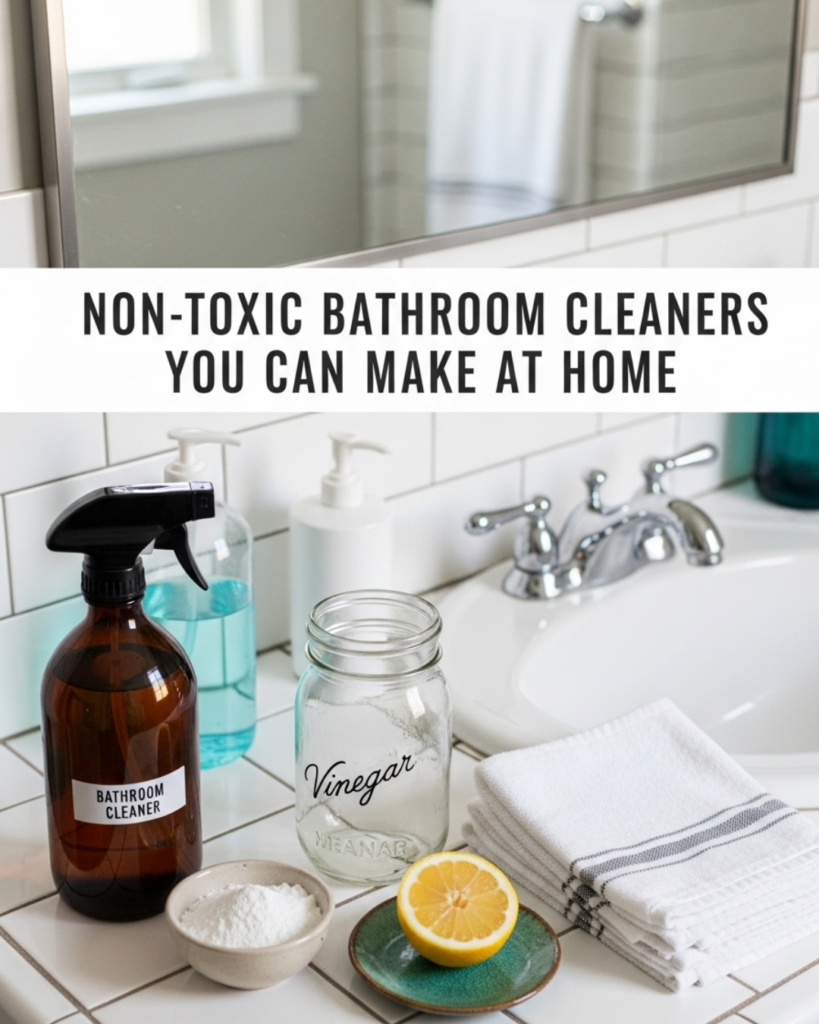
In this guide, you will discover Easy DIY Natural Bathroom Cleaners You Can Make at Home using ingredients you likely already have. From dissolving stubborn soap scum to making your mirrors streak-free, these recipes will empower you to take control of your environment. Get ready to unlock a fresher, healthier bathroom that smells like a spa rather than a laboratory. You have the power to clean smarter, not harder—let’s dive in!
Section 1: The Foundation of Natural Cleaning
Before we start mixing, it’s important to understand why making the switch to homemade solutions is such a game-changer. Most commercial cleaners rely on ammonia, bleach, and synthetic fragrances that can irritate your lungs and skin. By choosing Easy DIY Natural Bathroom Cleaners You Can Make at Home, you are opting for a “green” lifestyle that protects your family and the planet.
Building your DIY cleaning kit is surprisingly simple. You only need a handful of core ingredients to tackle nearly every surface. If you’ve ever wondered [how to keep your house clean] without spending a fortune on specialty sprays, this is the answer. You’ll be amazed at how basic science can do the heavy lifting for you!
H3: The “Big Three” Ingredients
- White Vinegar: The ultimate acetic acid powerhouse. It dissolves mineral deposits and cuts through grease with ease.
- Baking Soda: A mild abrasive that provides the “scrub” you need for tubs and sinks without scratching the finish.
- Essential Oils: Beyond just smelling great, oils like tea tree, eucalyptus, and lemon have natural antimicrobial properties that boost your cleaning power.
H3: Safety First
Even natural ingredients require respect. Never mix bleach with vinegar, as it creates toxic chlorine gas. Also, keep in mind that while these are “natural,” they are still cleaners. Always label your spray bottles clearly and keep them out of reach of children and pets.
Section 2: Step-by-Step Recipes for Every Surface
Let’s get practical! Here is how you can break down your bathroom cleaning into manageable, actionable steps using your new DIY arsenal.
The All-Purpose “Everything” Spray
This is your go-to for countertops, handles, and baseboards.
- Combine: Mix 1 part white vinegar with 1 part distilled water in a spray bottle.
- Scent: Add 15-20 drops of lemon or peppermint essential oil.
- Apply: Spray generously, let it sit for two minutes, and wipe with a microfiber cloth.
The Heavy-Duty Bathtub Scrub
If your tub has that dull, textured feeling from soap scum, this paste will be your hero.
- Mix: Create a thick paste using 1/2 cup of baking soda and a few tablespoons of liquid castile soap.
- Scrub: Apply the paste to the tub surface using a sponge.
- Rinse: Let it sit for 10 minutes, then rinse with warm water. You’ll be shocked at the shine!
The “No-Scrub” Toilet Cleaner
Why scrub if you don’t have to?
- Fizz: Pour 1 cup of baking soda into the bowl, followed by 1 cup of white vinegar.
- Wait: Let the chemical reaction (the fizzing) do the work for 15 minutes.
- Flush: Give it a quick swish with the brush and flush. It’s that easy.
Section 3: Advanced Strategies and Pro Tips
Once you’ve mastered the basics of Easy DIY Natural Bathroom Cleaners You Can Make at Home, you can use these expert-level insights to customize your approach and achieve even better results.
- Infused Vinegars: Don’t throw away those citrus peels! Put lemon, orange, or grapefruit peels in a jar of vinegar for two weeks. Strain it, and you have a powerful, degreasing cleaner that smells like a grove.
- The “Rain-X” Natural Hack: After cleaning your glass shower doors, rub a tiny bit of lemon oil onto the glass. This helps water bead off, preventing future soap scum buildup.
- Steam Power: For the ultimate deep clean, use a handheld steamer alongside your vinegar spray. The heat opens up the pores of the tile, allowing the vinegar to penetrate deeper.
- Microfiber Magic: The cloth you use matters as much as the spray. Use high-quality microfiber cloths that are color-coded: blue for glass, yellow for counters, and red for the “danger zones” like the toilet.
Section 4: Troubleshooting Common Challenges
Even with natural cleaners, some stains are extra stubborn. Don’t get discouraged if a spot doesn’t vanish instantly! Here is how to handle the frequent obstacles people face.
- Obstacle: Hard Water Spots.
- Solution: For crusty buildup on faucets, soak a rag in pure vinegar and wrap it around the fixture for an hour. The minerals will dissolve right off.
- Obstacle: Persistent Mold in Grout.
- Solution: Make a paste of hydrogen peroxide and baking soda. Apply it to the grout lines, let it sit for 30 minutes, and scrub with an old toothbrush. Hydrogen peroxide is a natural, safe alternative to bleach for whitening.
- Obstacle: The “Vinegar Smell.”
- Solution: If you hate the scent of vinegar, swap it for citric acid powder dissolved in water. It provides the same acidity without the salad-dressing aroma.
Preventive Measures
To keep your bathroom cleaner for longer, always run the exhaust fan during and for 20 minutes after a shower. This reduces the moisture that mold and mildew need to grow. Much like a [Body Detox], keeping your environment “ventilated” prevents the buildup of unwanted elements.
Section 5: Maximizing Results and Long-Term Success
Making your own cleaners is a sustainable lifestyle choice that builds upon itself. Here is how to ensure your DIY journey is successful in the long run.
- Batch Prep: Spend 20 minutes once a month refilling your bottles. Having them ready to go is the best way to ensure you don’t reach for a chemical bottle out of convenience.
- Tool Maintenance: Rinse your sponges and wash your cleaning cloths in hot water with a dash of vinegar to keep them sanitized.
- Scent Rotation: Change your essential oils with the seasons. Use eucalyptus in the winter for a fresh, decongestant feel, and floral lavender in the spring.
- Cost Comparison: Keep a mental note of the savings. A gallon of vinegar costs a fraction of a single “branded” bathroom spray. This is a massive win for your household budget!
Conclusion: Achieve the Sparkle You Deserve
Switching to Easy DIY Natural Bathroom Cleaners You Can Make at Home is one of the most rewarding changes you can make for your living space. You have learned how to harness the power of vinegar, baking soda, and essential oils to create a sanctuary that is as healthy as it is clean. The transformative power of these simple recipes will not only save you money but also provide the satisfaction of a job well done without the toxic trade-off.
You are fully capable of maintaining a beautiful home on your own terms. Start with one recipe today—perhaps the all-purpose spray—and watch how quickly your bathroom (and your lungs!) feel the difference. You’ve got this!