Tired, scuffed, or outdated walls dramatically affect how your entire home feels — dragging down the energy of even well-furnished spaces through visual clutter, dated colors, or simply the accumulated wear of daily life. The good news is that freshening up your walls DIY-style doesn’t require professional painters, expensive materials, or even a full weekend commitment for many projects. From strategic cleaning and spot repairs that make existing paint look renewed, to quick accent walls and creative alternatives to traditional painting, these wall refresh techniques deliver transformative visual impact through accessible methods requiring modest budgets and beginner-friendly skills. You’ll discover that the walls defining your living space can shift from neglected backgrounds to intentional design elements through approaches ranging from 30-minute quick fixes to weekend transformation projects — all achievable without contractor costs or specialized expertise.
Assessing Your Walls: Determining the Right Refresh Approach
Before selecting a wall freshening method, systematically evaluating your walls’ current condition determines which techniques deliver maximum impact with minimum effort.
The Wall Condition Spectrum
Wall refresh needs exist along a spectrum from minor maintenance to complete renewal. At the minimal intervention end, walls showing light scuff marks, dust accumulation, or minor discoloration benefit from thorough cleaning and spot touch-ups — often restoring walls to near-original appearance within hours. Mid-spectrum walls display more significant issues: noticeable color fading, multiple scuffs and marks, small holes or cracks, or outdated colors requiring aesthetic updating. These warrant strategic repainting of focal walls or full rooms. At the maximum intervention end, walls with extensive damage (large cracks, water stains, texture deterioration) require repair before cosmetic improvement.
Walk through your space with a notebook, categorizing each wall or room by condition level. Many homeowners discover that strategic intervention on 20-30% of wall surfaces (the most visible focal walls in high-traffic areas) produces 70-80% of the perceived improvement — making selective freshening far more efficient than whole-house projects.
Paint Finish Considerations
The existing paint finish significantly affects both cleaning effectiveness and repainting requirements. Flat or matte finishes, while aesthetically subtle, show scuffs readily and resist cleaning (water and cleaning solutions can remove paint along with dirt). Eggshell and satin finishes offer moderate durability and cleanability — gentle cleaning removes most marks without paint damage. Semi-gloss and gloss finishes withstand aggressive cleaning and scrubbing but show surface imperfections more readily and require excellent surface preparation before repainting.
Identify your current finish by observing light reflection (flat shows no sheen, satin shows subtle sheen at angles, gloss shows obvious shine) and testing inconspicuous areas with damp cleaning to gauge durability. This information guides both cleaning intensity and repainting finish selection.
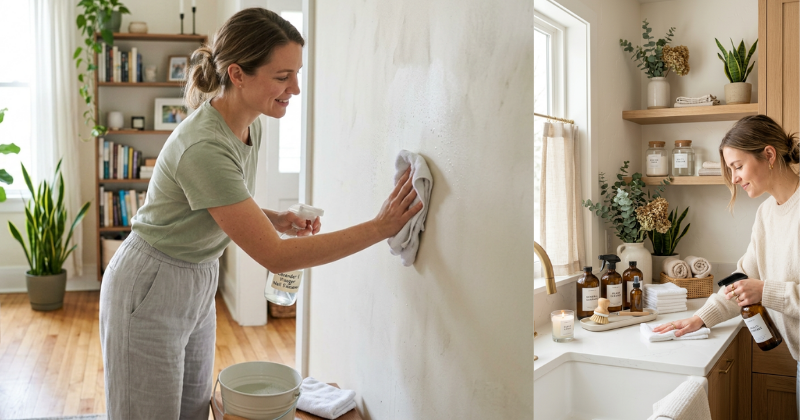
The Deep Clean Refresh: Maximum Impact With Minimal Cost
For walls in fundamentally good condition showing accumulated grime, strategic deep cleaning often produces dramatic improvements that delay or eliminate repainting needs.
The Complete Wall Cleaning Protocol
Step 1: Preparation and protection. Remove wall hangings, outlet covers, and switch plates. Move furniture away from walls or cover with drop cloths. Place towels or absorbent cloths at baseboards to catch dripping cleaning solution.
Step 2: Dust removal. Using a microfiber duster with extension pole or vacuum with soft brush attachment, remove dust and cobwebs from ceiling lines, corners, and wall surfaces working from top to bottom. This prevents creating mud when applying wet cleaning solutions to dusty surfaces.
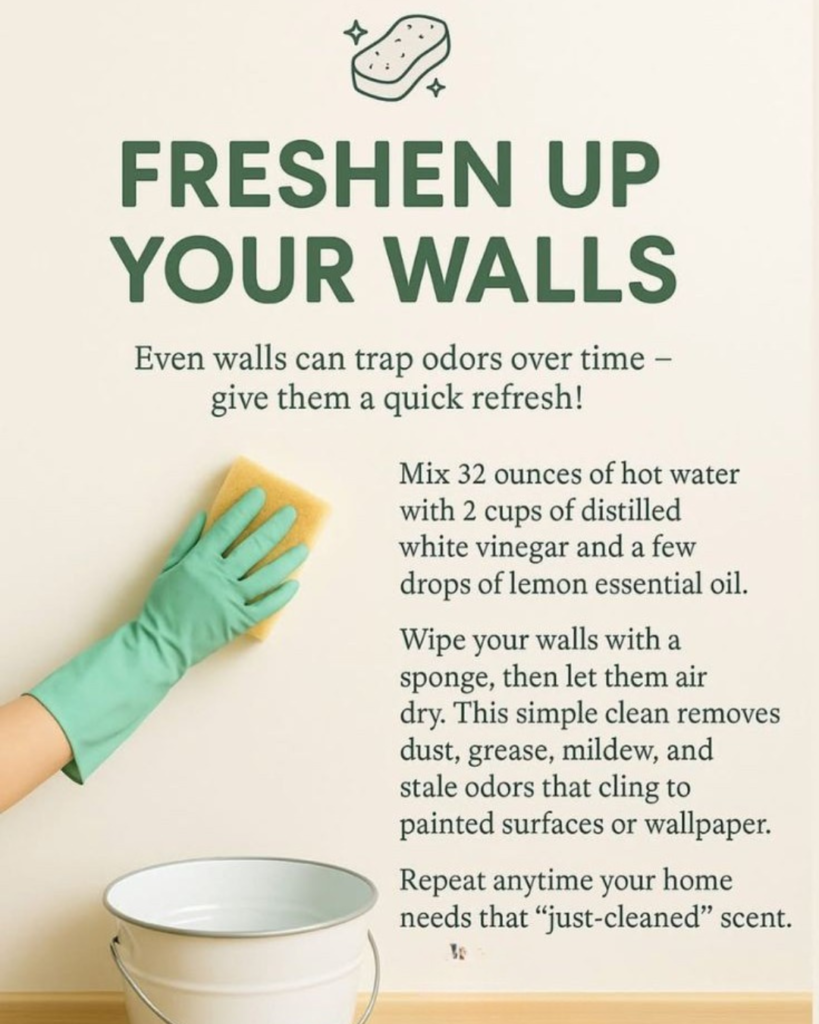
Step 3: Cleaning solution application. For most walls, a solution of warm water with 1-2 teaspoons of dish soap per gallon provides effective, gentle cleaning. For greasy kitchen walls, add 1/4 cup white vinegar for enhanced degreasing. For stubborn marks on durable finishes (satin, semi-gloss), consider Magic Eraser-type melamine foam sponges — these work through micro-abrasion and should be tested in inconspicuous areas first.
Step 4: Systematic washing. Using a well-wrung sponge or microfiber cloth (excess water damages drywall and paint), wash walls in sections starting from the bottom and working upward. The bottom-up approach prevents drip streaks on clean areas. Use gentle circular motions, applying minimal pressure — scrubbing removes paint along with dirt. Rinse each section with clean water and dry with clean towels to prevent water marks.
Step 5: Targeted spot treatment. For stubborn marks remaining after washing, create a baking soda paste (baking soda plus just enough water to form paste), apply to marks, let sit 5 minutes, then wipe clean with damp cloth. For crayon or marker, try isopropyl alcohol on a cotton ball (test first in hidden area). For grease splatters, undiluted dish soap applied directly and left briefly before wiping often succeeds.
The complete cleaning process for an average bedroom (12×12 feet, 8-foot ceilings) typically requires 45-90 minutes depending on soil level — a modest time investment that frequently eliminates perceived need for repainting.
Strategic Accent Walls: Maximum Visual Impact With Minimal Surface Area
When complete room repainting exceeds available time or budget, accent walls deliver disproportionate visual transformation by focusing effort on single focal surfaces.
Selecting the Optimal Accent Wall
The most effective accent walls occupy positions where occupants naturally focus attention: the wall behind a bed’s headboard in bedrooms, the wall behind the sofa in living rooms, or the wall visible when entering a room. Avoid selecting walls interrupted by multiple doors or windows — the fragmented surface dilutes impact. Similarly, avoid walls with extensive built-in shelving or large mounted televisions where the color becomes secondary to the fixtures.
Beyond position, consider architectural features that naturally draw attention: walls with fireplaces, walls with interesting angles or alcoves, or the longest uninterrupted wall in a room. These inherent focal points amplify accent color impact through architectural emphasis.
Accent Wall Color Selection Strategy
Accent walls succeed when the selected color relates intentionally to the existing palette while providing sufficient contrast for visual interest. Effective strategies include: (1) selecting a darker or more saturated version of existing wall color (if walls are pale blue, accent with navy or cobalt), (2) choosing a complementary color from artwork or textiles already in the space (pulling a color from throw pillows or artwork creates cohesive design), or (3) introducing a completely contrasting color that energizes the space (charcoal or deep green in predominantly white rooms).
Test colors using sample pots before committing — paint large swatches (2×2 feet minimum) directly on the intended accent wall and observe under different lighting conditions (morning, afternoon, evening with artificial light) for 2-3 days before purchasing full quantities.
The Efficient Accent Wall Painting Process
Preparation (30-45 minutes): Clean the wall thoroughly using the protocol described earlier. Fill any holes or cracks with spackling compound, let dry completely, and sand smooth. Apply painter’s tape along ceiling line, baseboards, and adjacent walls with precision — proper taping determines the difference between professional and amateur results.
Priming (optional, adds 1-2 hours including dry time): If painting dramatically darker color over light walls or covering bold existing colors, primer ensures even coverage and reduces required paint coats. Skip priming when moving from light to similar or slightly darker shades.
First coat application (45-60 minutes): Using a roller with appropriate nap (3/8 inch for smooth walls, 1/2 inch for light texture), apply paint in W-pattern rolling vertically to even distribution. Cut in edges (the area adjacent to tape) with angled brush before or after rolling — both sequences work; choose based on preference. Allow to dry per manufacturer’s specifications (typically 2-4 hours).
Second coat application (45-60 minutes): Apply second coat using same technique. Most quality paints achieve full coverage in two coats. Remove painter’s tape while the final coat remains slightly tacky (waiting until fully dry risks pulling dried paint).
Total project time: 4-8 hours including drying time, with approximately 2-3 hours of active work spread across a day.
Creative Wall Refresh Alternatives Beyond Traditional Paint
For renters, commitment-phobes, or those seeking texture and pattern beyond solid color, removable and semi-permanent options provide freshening impact with minimal permanence.
Peel-and-Stick Wallpaper Revolution
Modern removable wallpaper has evolved dramatically from the frustrating vinyl contact paper of decades past. Current products feature: (1) repositionable adhesive allowing adjustment during installation, (2) residue-free removal making them genuinely temporary, and (3) designs ranging from subtle textures to bold patterns matching permanent wallpaper quality.
Application technique: Measure wall height and width precisely. Order 10-15% extra for pattern matching and mistakes. Clean walls thoroughly and let dry completely. Starting from the top corner, apply the first strip, smoothing with a plastic smoother or credit card to eliminate air bubbles, working downward. Trim excess at top and bottom with sharp utility knife. Subsequent strips require careful pattern alignment where applicable.
Best applications: Accent walls, rental apartments, children’s rooms (where tastes change rapidly), and spaces where commitment to permanent changes feels premature. The removability provides flexibility while delivering visual impact comparable to traditional wallpaper.
Gallery Wall Arrangements
Strategic gallery walls transform blank expanses into curated focal points without altering wall surfaces permanently. The key to successful gallery walls lies in intentional arrangement rather than haphazard hanging.
Planning approach: Lay out the complete arrangement on the floor, experimenting with frame positions until achieving balanced composition. Photograph the final floor arrangement for reference. Create paper templates matching each frame’s dimensions, tape to wall in planned positions, adjust until satisfied, then hang frames matching template positions. This process eliminates the random holes that result from trial-and-error hanging.
Composition strategies: Symmetrical grids work for uniform frame sizes creating clean, organized aesthetic. Organic arrangements with varied frame sizes and styles suit eclectic spaces. Maintaining consistent spacing between frames (typically 2-4 inches) creates cohesion even in mixed arrangements.
Wainscoting and Board-and-Batten Treatments
Adding dimensional trim elements creates architectural interest transforming plain walls into designed features. While traditional wainscoting requires carpentry skills, simplified versions use inexpensive materials for accessible DIY execution.
Simple board-and-batten technique: Purchase 1×2 or 1×3 pine boards from home improvement stores. Plan vertical board spacing (typically 12-18 inches on center). Paint boards and wall in desired colors (contrasting or monochromatic — both work). Attach boards to wall using construction adhesive and finishing nails, ensuring plumb vertical alignment. Caulk edges, touch up paint. The resulting vertical lines add dimension and visual height to rooms.
Cost and time: Materials for 12-foot wall section typically cost $40-80. Installation requires 3-4 hours for beginners. The transformation rivals complete room painting for visual impact while creating permanent architectural upgrade.
Troubleshooting Common DIY Wall Refresh Challenges
Paint Finish Inconsistencies After Touch-Ups
When spot-painting scuffs or damage, the new paint often appears shinier or different than surrounding areas even when using “matching” paint. This occurs because: (1) paint sheen changes as it ages and accumulates dirt, (2) slight formula variations exist between different batches, and (3) application method affects appearance.
Solutions: Lightly sand the touch-up area after it dries to match surrounding sheen. Feather paint edges by blending new paint into old using light brush strokes extending several inches beyond the damaged area. For persistent mismatches, paint corner-to-corner (from one inside corner to the next) rather than arbitrary stopping points — corners hide subtle color differences better than mid-wall stops.
Tape Bleed and Uneven Lines
Paint bleeding under painter’s tape creates fuzzy, unprofessional edges that require meticulous cleanup or repainting. Prevention works better than correction.
Prevention technique: After applying tape, seal the edge by painting a thin coat of the existing wall color over the tape edge. This seals any gaps before applying the new color. When the new color is applied, bleed occurs into the sealing coat rather than onto the protected surface. Remove tape at 45-degree angle while paint remains slightly damp for cleanest lines.
Coverage Problems With Bold Color Changes
Painting light colors over dark or vice versa often requires 3-4 coats for even coverage — frustrating and time-consuming. The solution is proper priming.
Primer selection: Use tinted primer when making dramatic color changes. Many paint stores will tint primer to a gray tone between the existing and new colors, substantially reducing required finish coats. High-hide primers specifically formulated for color changes cost slightly more but save time and paint quantity.
Maintaining Fresh Walls Long-Term
Protective Strategies for High-Traffic Areas
Prevention reduces future wall refresh frequency. Install chair rails in dining rooms where chair backs damage walls. Use bumper pads on furniture that contacts walls. Place washable mats in high-traffic hallways. Apply clear protective film (like screen protector material) to light switches and high-contact areas — invisible but prevents oil transfer and wear.
Periodic Maintenance Schedule
Implement simple maintenance preventing major interventions: dust walls quarterly using microfiber duster or vacuum with soft brush, spot-clean marks immediately before they set (fresh marks remove easily; aged marks often require scrubbing or repainting), touch up chips and scratches within weeks rather than months (small touch-ups blend better than large areas).
This regular attention keeps walls looking fresh for years, potentially extending repainting intervals from the typical 5-7 years to 8-10 years or more.
Conclusion
Freshening up your walls DIY-style delivers transformative home improvement through accessible techniques spanning the spectrum from thorough cleaning (often restoring walls to near-original appearance in hours) to strategic accent walls (providing maximum visual impact from minimal surface area), creative alternatives like peel-and-stick wallpaper and gallery arrangements (offering flexibility and reversibility), and dimensional trim additions (creating architectural interest). Begin by assessing current wall condition to match intervention intensity to actual needs — many walls benefit dramatically from cleaning alone. Choose approaches aligning with available time, budget, and commitment level. The walls surrounding your daily life powerfully influence how your space feels; these DIY methods unlock that transformative potential through achievable projects requiring more intention than expertise or expense.