
Discover the best all natural solid dish soap bar recipe to cut through grease and save money. Learn how to make eco-friendly dish soap that actually works!
Have you ever stood at your kitchen sink, staring at a mountain of greasy pots, and wondered if there was a better way to clean them without all that plastic waste? You are not alone! Many of us are looking for ways to reduce our environmental footprint while still maintaining a sparkling clean home. What if you could replace those bulky plastic bottles of liquid detergent with a sleek, powerful, and all natural solid dish soap bar recipe? You are about to discover that you don’t have to sacrifice performance for sustainability.
This guide will empower you to create a high-sudsing, grease-cutting soap bar right in your own kitchen. By mastering this DIY process, you will unlock a more intentional way of cleaning that is gentle on your hands and the planet. You have the capability to achieve a zero-waste kitchen without spending a fortune on specialty boutique products. Get ready to transform your daily chores into a satisfying, eco-friendly ritual. Let’s dive in and achieve that spotless shine together!
Foundation: Why a Solid Dish Soap Bar?
Before we start mixing, let’s build your confidence with the basic concepts of soap science. Understanding how a solid bar differs from your typical hand soap is the first step toward a successful all natural solid dish soap bar recipe.
The Grease-Cutting Secret: 0% Superfat
In the world of handmade soap, “superfatting” refers to the extra oil left in the bar to moisturize your skin. While that is great for your body, it is the enemy of clean dishes! A dish soap bar is formulated with a 0% superfat. This means every molecule of oil is converted into soap, allowing the bar to strip away oils and stubborn grease from your pans with incredible efficiency.
Key Ingredients for Success
To make a bar that truly works, we rely on a few powerhouses:
- Coconut Oil: This is the star of the show. It creates a very hard bar with massive, fluffy bubbles and unparalleled cleaning power.
- Citric Acid: Adding this helps reduce “soap scum” or film, especially if you have hard water in your area.
- Essential Oils: Lemon, Lime, or Eucalyptus oils aren’t just for scent; they have natural antibacterial properties and help dissolve grease.
Reassurance for Beginners
If you have never worked with lye (sodium hydroxide) before, it is natural to feel a bit hesitant. However, with the right safety gear and a calm environment, you can safely navigate this process. Think of it like a high-stakes baking project—precision and safety are your best friends!
Step-by-Step: Crafting Your Dish Soap Bar
Ready to create your own kitchen hero? Follow these manageable, actionable steps to achieve a professional-quality solid soap.
Safety and Tools First
- Safety Gear: Always wear long sleeves, safety goggles, and rubber gloves. Work in a well-ventilated area.
- The “Soap-Only” Kit: Use stainless steel or heat-safe plastic bowls. Never use aluminum, as it reacts dangerously with lye.
The Core Method
- Prepare the Lye Solution: Slowly add 4.8 oz of sodium hydroxide to 10 oz of distilled water. Always add lye to water, never the other way around! Stir until clear and let it cool in a safe spot.
- Melt the Coconut Oil: Melt 32 oz of 76-degree coconut oil in a large pot over low heat.
- The Temperature Match: Wait until both the lye water and the melted oil are between 100°F and 110°F.
- The Emulsion: Carefully pour the lye solution into the oil. Use a stick blender (immersion blender) to mix. Pulse for 30 seconds, then stir manually. Repeat until the mixture reaches “trace”—this is when it looks like thick pudding.
- Add Boosters: Stir in 1 tablespoon of citric acid (dissolved in a tiny bit of water) and 1 oz of Lemon or Orange essential oil.
- Mold It: Pour the thick mixture into a silicone loaf mold. Tap it firmly on the counter to remove air bubbles.
- The Set: Let the soap sit for 24 hours. Coconut oil soap gets hard very quickly, so be ready to cut it into bars the very next day!
Timing and Planning
The active making time is about 45 minutes. However, handmade soap requires a “cure” time. Your bars will need to sit in a dry, airy spot for 4 to 6 weeks. This allows the water to evaporate, resulting in a harder, longer-lasting bar.
Advanced Strategies: Pro Tips for Performance
Once you have mastered the basic all natural solid dish soap bar recipe, you can share expert-level insights by customizing your bars for specific needs.
Customizing for Hard Water
If your glasses often come out with white spots, you have hard water. You can increase the citric acid slightly or add a teaspoon of fine sea salt to the lye water. This helps the soap perform better in mineral-heavy environments.
The “Scrub” Variation
For extra-tough scrubbing power on cast iron or baking sheets, try adding a tablespoon of used coffee grounds or fine pumice to the soap at trace. This creates a built-in “scouring pad” effect directly in the soap bar.
Featured Snippet: How do you use a solid dish soap bar effectively?
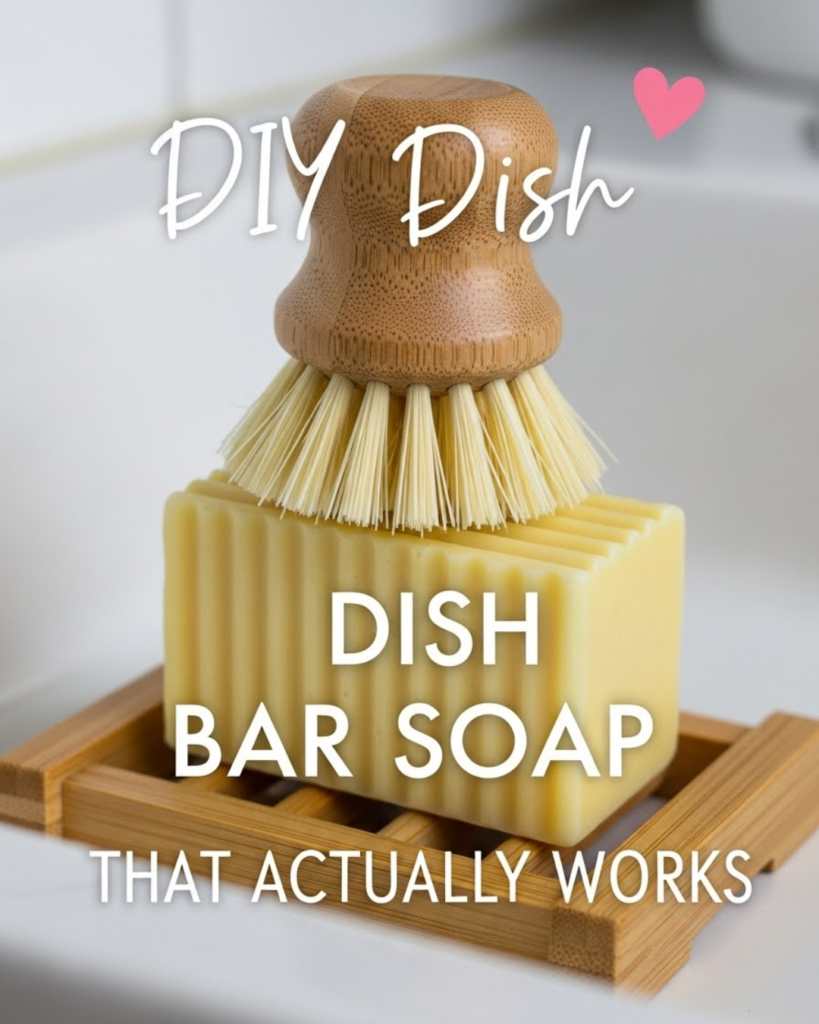
To use a solid dish soap bar, simply wet your sponge, cloth, or dish brush and rub it directly onto the surface of the soap to create a rich lather. For a sink full of dishes, hold the bar under the running faucet for a few seconds. Because the bar is highly concentrated, a little bit goes a long way—avoid leaving the bar sitting in a puddle of water to ensure it lasts as long as possible.
Troubleshooting: Common Challenges and Solutions
Even seasoned soap makers encounter a few bumps. Here is how to handle them with encouragement:
- “My soap is crumbly when I cut it”: Coconut oil soap gets hard fast! If you wait too long to cut it (more than 24 hours), it can crumble. Try cutting it while it is still slightly warm.
- “There is a white powder on top”: This is called “soda ash.” it is harmless and happens when the soap reacts with air. You can simply rinse it off or spray the top of your fresh soap with rubbing alcohol immediately after pouring to prevent it.
- “The soap doesn’t seem to lather”: Check your water! If you have very hard water, the minerals can “kill” the bubbles. Adding a little more citric acid to your next batch will solve this.
Preventive Measures
Always use a digital scale to measure your ingredients by weight, not volume. Precision is the key to ensuring your soap is safe to use and effective at cleaning.
Maximizing Results: A Holistic Zero-Waste Kitchen
Now that you have your powerful dish bars, you can build upon your success by looking at the rest of your home maintenance routine.
Complementary DIY Projects
- Internal Link Opportunity: Pair your new bars with a DIY non-toxic candle to keep your kitchen smelling fresh and clean.
- Internal Link Opportunity: If the dish soap is a bit drying on your skin, learn how to make homemade organic magnesium lotion for your hands.
- Internal Link Opportunity: Keep your sink area pristine by learning why mold keeps coming back in bathrooms and applying those same ventilation tips to your kitchen.
- Internal Link Opportunity: Need to clean the backsplash too? Find out how to clean walls fast using simple, natural ingredients.
Long-Term Sustainability
One single 5 oz dish soap bar can replace up to three bottles of liquid detergent. By adopting an all natural solid dish soap bar recipe, you are significantly reducing your plastic waste and saving money. This is a sustainable lifestyle change that pays off every time you do the dishes.
Conclusion: Achieve a Sparkling, Sustainable Home
You have now discovered the ultimate all natural solid dish soap bar recipe. You have moved from being a consumer of plastic-heavy detergents to a creator of powerful, eco-friendly cleaning tools. By following these steps, you have achieved a way to keep your home sparkling while honoring your commitment to the planet.
The journey to a zero-waste home is a series of small, achievable victories. We encourage you to pour your first batch of dish soap this weekend and experience the satisfaction of a job well done. You are more than capable of mastering this DIY skill and enjoying the beautiful, bubbly results!
Would you like me to help you create a “Zero-Waste Kitchen” shopping list to get you started? Your sustainable transformation begins today!
Important Disclaimer: This article is for informational purposes only and should not replace professional advice. Soap making involves working with lye (sodium hydroxide), which is a caustic substance. Always follow safety procedures, wear protective gear, and verify current best practices. Individual results may vary.