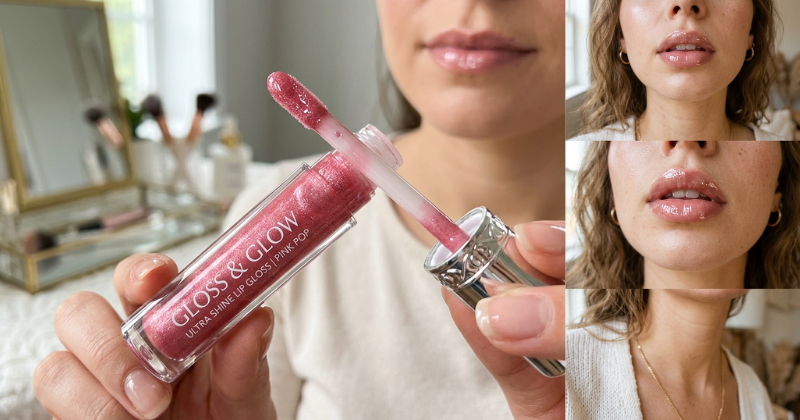
If you love shiny, smooth lips but want a more natural option, making your own DIY glossy lip gloss at home is a fun and simple solution. With just a few ingredients, you can create a moisturizing lip gloss that gives your lips a beautiful shine while keeping them soft and hydrated.
Homemade lip gloss allows you to control what goes on your skin. You can avoid unnecessary additives and customize the texture, color, and scent to match your personal preference.
The best part? This DIY glossy lip gloss recipe takes only about 5 minutes to make.
Why Make Your Own Lip Gloss?
Creating lip gloss at home has several advantages compared to many store-bought products.
Simple Ingredients
Most DIY lip gloss recipes use basic ingredients like oils and waxes that are easy to find.
Customizable
You can adjust the gloss depending on your preferences by adding:
- Natural color pigments
- Essential oils for scent
- Extra oils for hydration
Budget-Friendly
Making your own lip gloss can be more affordable, especially if you already have some of the ingredients.
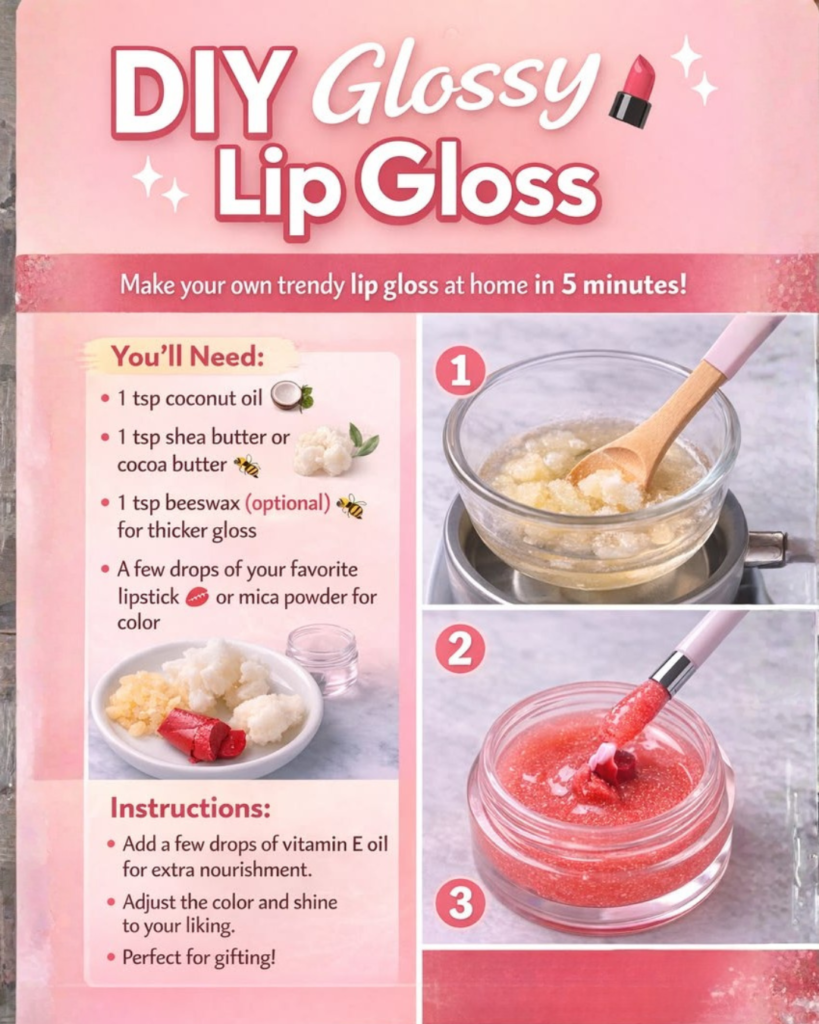
Ingredients for DIY Glossy Lip Gloss
This quick recipe creates a smooth, glossy finish while helping moisturize your lips.
You will need:
- 1 tablespoon coconut oil
- 1 teaspoon beeswax pellets
- 1 teaspoon sweet almond oil or olive oil
- 1–2 drops vitamin E oil (optional)
- A tiny amount of natural color powder (optional)
Optional scent ideas:
- Vanilla extract
- Peppermint oil
- Lavender oil
Step-by-Step Instructions
1. Melt the Base Ingredients
In a small heat-safe bowl, combine the coconut oil and beeswax. Melt them using a double boiler or microwave in short intervals.
2. Add Oils
Once melted, mix in the almond oil and vitamin E oil. Stir gently until well combined.
3. Add Color or Flavor (Optional)
If you want tinted lip gloss, add a very small amount of natural color powder and mix thoroughly.
You can also add a drop of vanilla or peppermint for a pleasant scent.
4. Pour into a Container
Carefully pour the mixture into a small lip gloss container or lip balm tube.
5. Let It Cool
Allow the gloss to cool and solidify for about 10–15 minutes.
Your homemade lip gloss is now ready to use.
Tips for the Best Results
Small adjustments can help improve the texture and finish of your lip gloss.
For Extra Shine
Add a little more almond oil for a smoother and glossier texture.
For a Thicker Gloss
Add slightly more beeswax.
For a Tinted Gloss
Use natural color sources such as:
- Beetroot powder
- Cocoa powder
- Cosmetic mica powder
Always add small amounts to avoid overly strong color.
How to Store Homemade Lip Gloss
Proper storage helps maintain freshness.
Helpful tips:
- Store in a clean airtight container
- Keep away from direct heat
- Use within 3–6 months
Because homemade products contain fewer preservatives, keeping them clean and sealed is important.
Benefits of Natural Lip Care
Lips can easily become dry due to weather, dehydration, or daily habits. Natural lip care products help maintain moisture and protect the delicate skin on the lips.
Good lip care habits include:
- Staying hydrated
- Avoiding excessive lip licking
- Using moisturizing products regularly
- Protecting lips from extreme weather
Small habits can help keep lips soft and healthy.
Conclusion
Making your own DIY glossy lip gloss is quick, simple, and customizable. With just a few ingredients and a few minutes, you can create a moisturizing lip gloss that leaves your lips shiny and smooth.
Homemade beauty recipes are a great way to experiment with natural ingredients while enjoying a fun and creative self-care routine.
Sometimes the best beauty products are the ones you make yourself.