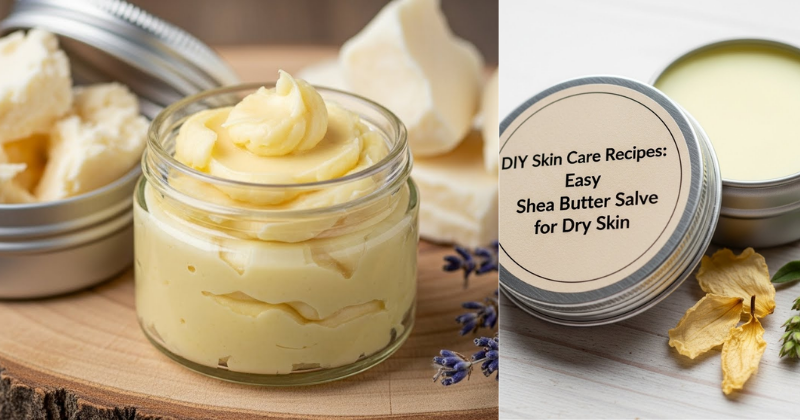
Learn how to create DIY skin care recipes like this easy shea butter salve for dry skin. Achieve glowing, hydrated skin with natural, moisturizing ingredients.
Have you ever looked at the back of a luxury moisturizer bottle only to find a list of ingredients you can’t pronounce? It is a common frustration for anyone dealing with the discomfort of flaky, tight, or itchy skin. You want relief, but you also want to know exactly what you are putting on your body. You are about to discover one of the most effective DIY skin care recipes: an easy shea butter salve for dry skin that rivals any high-end boutique product.
By mastering this simple craft, you unlock the ability to nourish your skin with 100% natural, wholesome ingredients. This guide will transform your bathroom cabinet into a personal apothecary, saving you money while providing superior hydration. You have the capability to customize your scent and texture, ensuring your skincare routine feels like a daily spa retreat. Get ready to achieve soft, supple skin and discover how empowering it is to “make it yourself.” Let’s dive into the world of botanical beauty!
Foundation: Why Shea Butter is a Skin Care Superhero
Before we start melting and mixing, let’s build your confidence with the basic concepts of natural moisturizing. Understanding the “why” behind this easy shea butter salve for dry skin will help you appreciate the healing journey your skin is about to embark on.
The Magic of Shea
Shea butter is extracted from the nuts of the shea tree, native to West Africa. It has been used for centuries as a natural shield against harsh winds and sun. Unlike synthetic lotions that often sit on the surface, shea butter is rich in fatty acids and vitamins A and E, allowing it to sink deep into the dermal layers to provide lasting moisture.
Key Components of a Salve
A salve is different from a lotion because it doesn’t contain water. This means it is more concentrated and doesn’t require chemical preservatives. To create the perfect texture, we use three pillars:
- The Base (Shea Butter): Provides the creamy, protective barrier.
- The Carrier (Liquid Oils): Oils like jojoba or sweet almond help the butter spread easily and absorb faster.
- The Sealant (Beeswax): Locks the moisture in and gives the salve a sturdy, travel-friendly consistency.
Reassurance for Beginners
If you have never made your own beauty products before, don’t be intimidated! Making DIY skin care recipes is very similar to following a simple baking recipe. There are no complex chemical reactions—just gentle heating and cooling. You are taking a proactive step for your wellness, and your skin will thank you for the lack of artificial fragrances and alcohols!
Step-by-Step: Crafting Your Shea Butter Salve
Ready to say goodbye to dry patches? Follow these manageable steps to create your first batch of this easy shea butter salve for dry skin.
Ingredients and Supplies
- 1/2 cup Raw Unrefined Shea Butter
- 1/4 cup Coconut Oil or Sweet Almond Oil
- 2 tablespoons Beeswax Pellets
- 10-15 drops Essential Oils (Lavender or Frankincense work beautifully)
- Glass jars for storage
- Double boiler (or a glass bowl over a pot of simmering water)
The Core Method
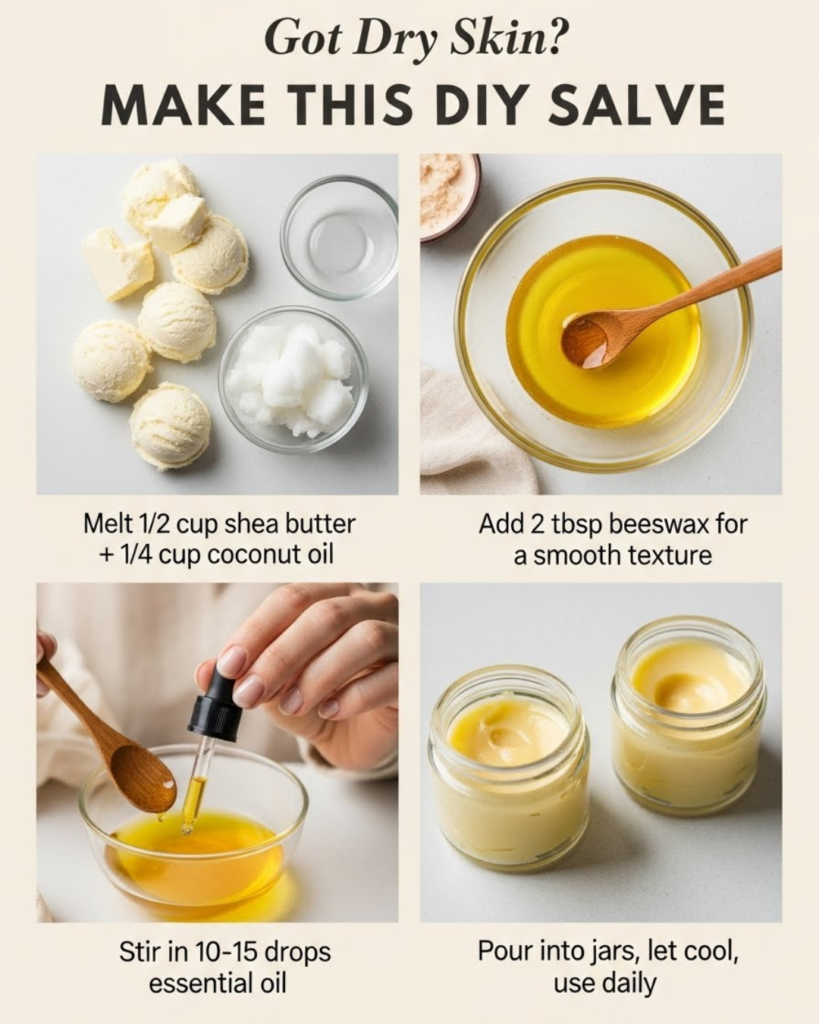
- Melt the Base: Place the shea butter, carrier oil, and beeswax in your double boiler. Keep the heat on low. Rushing the process with high heat can make the shea butter feel “gritty.”
- Stir Gently: Use a wooden skewer or a dedicated silicone spatula to stir the mixture until it is completely liquid and clear.
- The Cooling Phase: Remove the bowl from the heat. Let it sit for about 5–10 minutes until it begins to look slightly opaque but is still liquid.
- Add Aromatherapy: Stir in your essential oils now. Adding them while the mixture is boiling hot can cause the delicate scents to evaporate.
- Pour and Set: Carefully pour the liquid into your clean glass jars. Leave the lids off and let the salve sit undisturbed for at least 2–4 hours (or overnight) until it is firm.
- Label Your Creation: Write the date and the scent on the jar. Since there is no water, this salve will stay fresh for up to a year!
Featured Snippet: How do you use a shea butter salve for maximum results?
For the best results, apply your easy shea butter salve for dry skin immediately after a shower while your skin is still slightly damp. This “traps” the water on your skin’s surface, allowing the fats in the shea butter to seal that hydration in for hours. A little goes a long way—start with a pea-sized amount and warm it between your palms before massaging it into your skin.
Advanced Strategies: Customizing Your Glow
Once you have mastered the basic easy shea butter salve for dry skin, share expert-level insights by tailoring the recipe to your specific needs.
Seasonal Variations
- Winter Shield: Add an extra tablespoon of beeswax to create a thicker barrier against freezing temperatures.
- Summer Glow: Use rosehip oil as your carrier oil to help repair skin after sun exposure.
- Internal Link Opportunity: If you are feeling creative, pair your skincare with other handmade items! These salves make wonderful DIY handmade gifts for friends and family.
Targeted Benefits
If you struggle with specific issues, you can “power up” your salve. Adding a teaspoon of Vitamin E oil acts as a natural antioxidant. For those with highly sensitive skin, omit the essential oils entirely and use “calendula-infused” oil as your carrier to soothe redness and irritation.
Troubleshooting: Common Challenges and Solutions
DIY home tips for wellness sometimes require a little fine-tuning. Here is how to handle frequent obstacles:
- “My salve feels grainy”: This happens if shea butter cools too slowly. To fix it, gently re-melt the salve and then place the jar in the refrigerator immediately. Rapid cooling prevents the fat crystals from clumping.
- “It’s too greasy”: Shea butter is an intensive moisturizer. If you find it too heavy for daytime, try adding a teaspoon of arrowroot powder to the melted mixture; it helps create a “matte” finish on the skin.
- “The scent is too weak”: You can add more essential oils, but remember that “natural” doesn’t mean “weak.” Always stick to recommended dilution rates (about 1-2% of the total volume) to avoid skin sensitization.
Preventive Measures
Always “patch test” your new salve on a small area of your inner arm before applying it all over. Even natural ingredients like almond oil or lavender can cause reactions in some individuals.
Maximizing Results: A Holistic Approach to Hydration
Now that you have your easy shea butter salve for dry skin, build upon your success by looking at other ways to support your body’s health and your home environment.
Complementary Wellness Strategies
- Internal Hydration: Support your skin from the inside out! Making a cozy immune-boosting flu bomb tea recipe or a spicy fire honey for immune support keeps your system hydrated and healthy.
- Environment: Dry skin is often caused by dry air. Find out why mold keeps coming back in bathrooms to ensure you are managing humidity correctly without encouraging fungal growth.
- Muscle Relief: If your dry skin is accompanied by body aches, try home remedies for knee swelling to keep your joints as mobile as your skin is soft.
- Clean Surfaces: Don’t let dust irritate your skin; learn how to clean walls fast to maintain a pristine, allergen-free home.
Long-Term Maintenance
Consistency is the secret to glowing skin. Make it a habit to apply your salve every evening before bed. Over time, you will notice that you need less product as your skin’s natural barrier becomes stronger and more resilient.
Conclusion: Achieve Radiant Skin Naturally
You have now discovered the complete process for creating DIY skin care recipes like this easy shea butter salve for dry skin. You have moved from being a frustrated consumer to an empowered creator of your own beauty rituals. By following these steps, you have achieved a way to nourish your body that is safe, effective, and deeply luxurious.
The transformation to a natural lifestyle is a journey of small, mindful choices. We encourage you to whip up your first batch today—the beeswax is waiting, and your skin is ready for its glow-up! You are more than capable of achieving professional-grade results from the comfort of your own kitchen.
Would you like me to help you create a “Custom Essential Oil Blend” guide for different skin types? Your path to natural, radiant beauty starts with your very first jar!
Important Disclaimer: This article is for informational purposes only and should not replace professional advice. For health-related topics, consult healthcare providers or dermatologists. If you have nut allergies, avoid shea butter or almond oil. For safety procedures, verify current best practices. Individual results may vary.
Caption: Pure moisture, handcrafted for your glow.