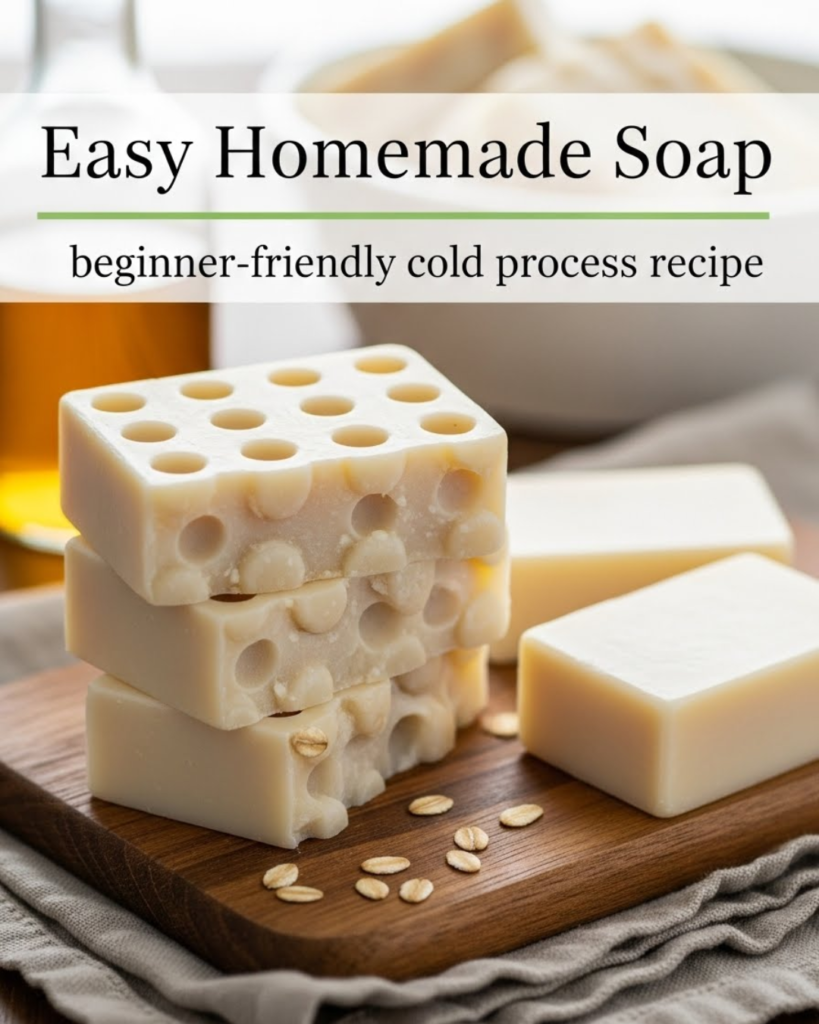
Learn this easy homemade soap beginner-friendly cold process recipe to create luxurious, natural bars of soap at home using simple oils and safe DIY techniques.
Important Disclaimer: This article is for informational purposes only and should not replace professional advice. For health-related topics, consult healthcare providers. For safety procedures, verify current best practices and local regulations. Individual results may vary, and personal circumstances should always be considered when implementing any suggestions.
Have you ever stood in the beauty aisle, reading the back of a soap package, only to realize you don’t recognize half of the ingredients? Many commercial “cleansing bars” are actually synthetic detergents that strip your skin of its natural oils. If you are looking for a way to nourish your skin while embracing a traditional craft, learning to make your own soap is the ultimate transformation. By following an easy homemade soap beginner-friendly cold process recipe, you can take full control of what touches your family’s skin.
In this comprehensive guide, we are going to demystify the “cold process” method. While the idea of working with lye might seem intimidating at first, it is a safe and incredibly rewarding process when you have the right guidance. You are about to discover how simple oils from your kitchen can be turned into creamy, bubbly bars of soap. Get ready to unlock your creative potential and achieve the satisfaction of a handmade lifestyle!
Foundation: Understanding the Cold Process Method
Before we dive into the oils and lye, let’s build your confidence with the basic concepts. Cold process soapmaking is the act of mixing oils with an alkali (sodium hydroxide) to trigger a chemical reaction called saponification.
What is Saponification?
Saponification is the “magic” that turns oil and water into soap. When the lye molecules meet the oil molecules, they bond and transform completely. By the time your soap has cured, there is no lye left in the bar—only pure, skin-loving soap and natural glycerin. This is the foundation of an easy homemade soap beginner-friendly cold process recipe.
Addressing Safety Concerns
The word “lye” often makes beginners hesitate. However, lye is simply a tool that requires respect, not fear. By wearing long sleeves, gloves, and eye protection, you eliminate the risks. Think of it like using a hot stove—once you know the safety rules, it becomes a standard part of your DIY toolkit.
Essential Tool Requirements
To get started, you will need a few specific items that should be dedicated solely to soapmaking:
- Digital Scale: Precision is key in soapmaking; everything is measured by weight, not volume.
- Immersion Blender: This “stick blender” reduces mixing time from hours to minutes.
- Stainless Steel or Heat-Safe Plastic Pitchers: Never use aluminum, as it reacts dangerously with lye.
- Silicone Molds: These make it incredibly easy to “pop” your soap out once it’s set.
Step-by-Step: Your First Batch of Soap
Ready to start? This recipe is designed to be “foolproof,” using three accessible oils that create a balanced, hard, and bubbly bar.
Ingredients (Measured by Weight)
- Olive Oil (10 oz): Provides conditioning and a gentle feel.
- Coconut Oil (7 oz): Creates a hard bar and a big, fluffy lather.
- Shea Butter or Cocoa Butter (3 oz): Adds luxury and creaminess.
- Lye (Sodium Hydroxide) (2.8 oz): The essential reactant.
- Distilled Water (6.5 oz): The carrier for the lye.
The Core Method
- Safety First: Put on your gear and ensure your workspace is well-ventilated.
- Mix the Lye Water: Weigh your distilled water in a heat-safe pitcher. Carefully pour the lye into the water (never the other way around!). Stir until clear and set aside to cool.
- Melt the Oils: Weigh and melt your coconut oil and shea butter, then stir in the liquid olive oil. Aim for both your oils and lye water to be between 100°F and 110°F.
- The Big Mix: Pour the lye water into the oils. Use your immersion blender in short bursts.
- Achieving “Trace”: Continue blending until the mixture reaches the consistency of thin pudding. This is called “trace.” If you drizzle a bit of soap on the surface, it should leave a visible “trail.”
- Mold and Pour: Pour the soap into your silicone mold. Tap it on the counter to release air bubbles.
Advanced Strategies: Customizing Your Bars
Once you’ve mastered the easy homemade soap beginner-friendly cold process recipe, you can share expert-level insights by experimenting with natural additives.
Adding Natural Scents and Colors
Instead of synthetic fragrances, use high-quality essential oils. For this batch size, about 0.5 oz of essential oil is perfect. Lavender or Lemongrass are great starting points. For color, look at your spice cabinet! A teaspoon of turmeric creates a vibrant yellow, while [clove-infused oil] can add a warm, spicy scent and deep brown hue.
Superfatting for Extra Moisture
This recipe includes a “superfat,” meaning there is a little extra oil left over that doesn’t turn into soap. This ensures the bar is extra moisturizing. You can customize this by adding a teaspoon of Vitamin E oil at trace for added skin-rejuvenation benefits.
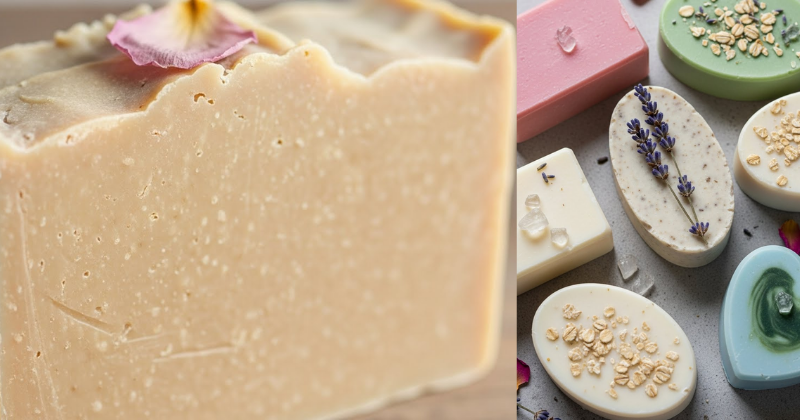
Creative Solutions with Botanicals
You can garnish the top of your soap with dried flowers. However, be careful—most botanicals will turn brown inside the soap. To keep them pretty, press them only onto the very top of the bar after you’ve poured it into the mold.
Troubleshooting: Common Challenges and Solutions
Even seasoned soapmakers face obstacles! Here is how to handle frequent issues with encouragement.
“My soap has a white ashy layer on top”
This is called “Soda Ash.” It’s purely cosmetic and happens when the soap reacts with air.
- The Solution: Spray the top of your freshly poured soap with 91% isopropyl alcohol. If it already happened, you can simply steam the bar or shave the top off.
“The mixture separated in the mold”
This usually means it didn’t reach a thick enough trace before pouring.
- Alternative Approach: If the soap is still soft, you can scoop it back into a bowl, re-blend it until it thickens, and pour it again. It’s very forgiving!
“The soap is too soft to unmold”
- Reassurance: Patience is the most important ingredient. Some recipes take 48–72 hours to harden. If it’s still sticky, give it another day. You can also try adding a teaspoon of sodium lactate to your cooled lye water next time to speed up the hardening process.
Maximizing Results: Curing and Longevity
To build upon your success, you must understand the “Cure Time.” This is the most critical part of an easy homemade soap beginner-friendly cold process recipe.
The 4-6 Week Cure
While your soap is technically “safe” to use after 48 hours, it needs time to cure. During this period, the remaining water evaporates, making the bar harder and longer-lasting. A cured bar produces a much better lather and is gentler on the skin. Place your cut bars in a cool, dry place with plenty of airflow.
Complementary Home Tips
Now that you have a non-toxic cleanser, consider other [simple swaps for a non-toxic kitchen] or creating a [homemade toilet bomb] to keep your bathroom as fresh as your new soap. Using your own soap is a wonderful step toward a [sustainable lifestyle change].
Featured Snippet: How long does homemade soap last?
Homemade cold process soap typically lasts 1–2 years if stored in a cool, dry place away from direct sunlight. Once in use, a single bar will last 3–4 weeks for one person, provided it is kept on a draining soap dish between uses.
Conclusion
Mastering this easy homemade soap beginner-friendly cold process recipe is a powerful way to reclaim your self-care routine. You have discovered that you have the capability to succeed in a craft that is as old as time itself. By creating your own bars, you achieve a level of purity and creativity that store-bought products simply cannot match.
You’ve got this! Start with this basic recipe, and soon you’ll be the person everyone asks for skincare advice. The transformation from a beginner to a confident maker is an incredible journey. Enjoy the bubbles!