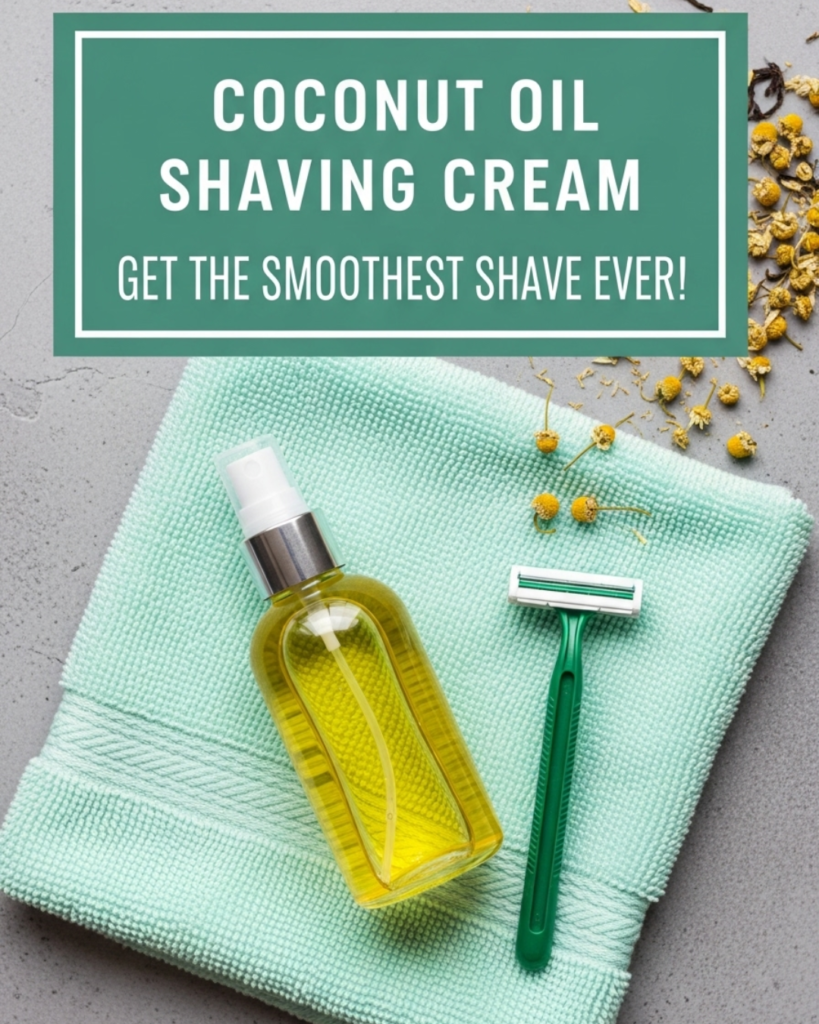
Learn how to make an essential DIY coconut oil shaving cream for soft, smooth skin. Discover the natural way to prevent razor burn and transform your grooming routine.
Important Disclaimer: This article is for informational purposes only and should not replace professional advice. For safety procedures, verify current best practices and local regulations. Individual results may vary, and personal circumstances should always be considered when implementing any suggestions.
Have you ever finished a shave only to find your skin tight, itchy, and covered in those dreaded red bumps? You aren’t alone. Many store-bought shaving foams are packed with drying alcohols and synthetic fragrances that strip your skin of its natural moisture. But what if the secret to a professional-grade, irritation-free shave was already sitting in your kitchen pantry? By crafting an essential DIY coconut oil shaving cream, you can unlock a level of smoothness you never thought possible. This homemade solution doesn’t just provide a barrier for your razor; it deeply nourishes your skin, leaving it silky and hydrated long after you’ve stepped out of the shower.
In this comprehensive guide, we are going to walk you through the simple, satisfying process of making your own luxury shaving cream. You will discover how to blend raw, natural ingredients to create a whipped, airy texture that rivals boutique brands. Whether you are looking for a [sustainable lifestyle change] or simply want to save money on grooming, this project is for you. You have the capability to transform your daily routine into a spa-like experience—let’s dive into the world of natural skincare together!
Foundation: Why Coconut Oil is a Shaving Powerhouse
Before we start mixing, it is essential to build confidence in why we use these specific ingredients. Understanding the “why” helps you appreciate the transformation your skin is about to undergo.
The Science of the Glide
The primary goal of any shaving cream is to reduce friction. Coconut oil is unique because it is composed mostly of medium-chain fatty acids, which provide an incredibly slick surface for the razor blade. This “glide” is what prevents nicks and cuts. Unlike soap-based lathers that can dry out, an essential DIY coconut oil shaving cream creates a protective moisture barrier. This is a perfect example of a [sustainable lifestyle change] that replaces aerosol cans with biodegradable, plant-based goodness.
Addressing Common Concerns
A common hesitation for beginners is the fear that coconut oil will clog their drains or their pores. I want to reassure you that when balanced with other ingredients like shea butter and castile soap, the mixture becomes much more water-soluble. If you have already experimented with [DIY non-toxic cleaning recipes], you know that natural ingredients often require a slightly different approach but offer superior results. You are fully capable of mastering this technique!
Key Ingredients for Success
- Virgin Coconut Oil: Provides the base glide and antimicrobial properties.
- Shea Butter: Adds thickness and intense vitamins (A and E) for skin repair.
- Castile Soap: Provides just enough “suds” to help the razor stay clean during the process.
Step-by-Step: Crafting Your Whipped Shaving Cream
Ready to get started? Follow these clear, actionable steps to create a batch of shaving cream that will last for months. This process is achievable, cost-effective, and deeply rewarding.
1. The Melting Phase
- Combine Fats: In a double boiler (or a glass bowl over a pot of simmering water), combine 1/3 cup of coconut oil and 1/3 cup of raw shea butter.
- Melt Gently: Heat them until they are completely liquid. Do not let the oils boil, as high heat can degrade the beneficial vitamins.
- Add Carrier Oil: Stir in 2 tablespoons of sweet almond oil or jojoba oil. This ensures the cream stays soft even in cooler temperatures.
2. The Cooling Phase
- Chill: Remove the bowl from the heat and let it cool slightly.
- Solidify: Place the mixture in the refrigerator for about 15–20 minutes.
- The Sweet Spot: You want the mixture to be “semi-solid”—it should look opaque and have the consistency of soft butter, but it shouldn’t be rock hard. This is the crucial moment that allows for a perfect whip.
3. The Whipping Phase
- Add Soap and Scent: Stir in 2 tablespoons of liquid castile soap and 10 drops of your favorite essential oil (lavender or peppermint are excellent choices).
- Whip It: Use a hand mixer or a stand mixer to whip the mixture on high speed for 3–5 minutes.
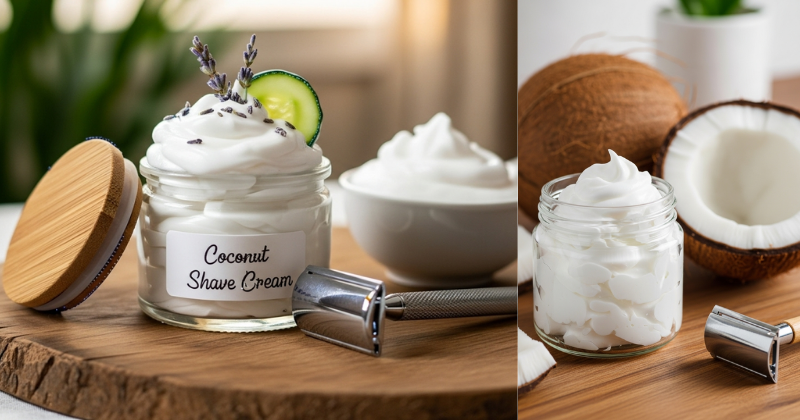
- The Result: Watch as it transforms from a yellow oil into a brilliant, fluffy white cream. It should look like stiff cake frosting! Transfer it into a clean glass jar.
Advanced Strategies: Customizing Your Shave
Once you have mastered the basic recipe, you can share expert-level insights by tailoring the formula to your specific skin type or climate.
Blending for Benefits
While the base recipe is fantastic, you can customize your approach for specialized needs:
- For Sensitive Skin: Add 1 tablespoon of Aloe Vera gel during the whipping phase for extra soothing power.
- The “Cooling” Shave: Use peppermint and eucalyptus oils to create a refreshing sensation similar to [DIY eucalyptus shower steamers].
- For Rugged Hair: Increase the shea butter ratio slightly to provide a thicker cushion for coarse facial hair.
Aesthetic Upgrades and Gifting
This shaving cream makes an incredible gift. If you use [9 everyday items you can turn into beautiful home decor], you might upcycle a small mason jar with a ribbon and a wooden spatula. Not only is it practical, but it demonstrates your commitment to a [sustainable lifestyle].
Pro-Tip: The “Dry” Storage
Because this is a natural product without heavy preservatives, try to keep water out of the jar. Use a small spoon or a dry finger to scoop out what you need. This keeps your essential DIY coconut oil shaving cream fresh and effective for up to six months.
Troubleshooting: Common Challenges
Even the best DIY projects can run into obstacles. Here is how to address frequent issues with simple, encouraging solutions.
“My shaving cream melted back into oil!”
- The Solution: This happens if your bathroom gets very warm (coconut oil melts at 76°F). Simply pop it back in the fridge for 10 minutes and re-whip it. To prevent this in the summer, you can add a teaspoon of beeswax to the melting phase to raise the melting point.
“The cream is clogging my razor.”
- Alternative Approach: You might be using too much! A nickel-sized amount is usually enough for an entire leg or face. Also, ensure you are rinsing your razor in hot water between every few strokes. The heat helps the coconut oil stay liquid so it washes away easily.
“I’m getting minor breakouts.”
- Preventive Measures: Ensure you are using “Fractionated” coconut oil if you have oily skin, or simply increase the castile soap in the recipe to help the oil wash off more thoroughly. You are capable of tweaking the recipe until it’s perfect for you!
Maximizing Results: The Ultimate Grooming Routine
To build upon your success, integrate your new shaving cream into a holistic self-care routine.
Pre-Shave Preparation
For the smoothest results, exfoliate before you shave. You can use a simple sugar scrub or a loofah. If you enjoy [gardening topics], think of this as “preparing the soil” before planting—it removes the dead cells so the razor can reach the hair effortlessly.
Post-Shave Care
After rinsing with cool water to close the pores, follow up with a light moisturizer. If you’ve already made our [light & nongreasy easy homemade lotion], it makes the perfect aftershave balm. This layer of protection helps you achieve that glowing, healthy skin look year-round.
Featured Snippet: How do you make coconut oil shaving cream?
To make coconut oil shaving cream, melt 1/3 cup coconut oil and 1/3 cup shea butter together. Once melted, stir in 2 tablespoons of jojoba oil. Chill the mixture in the fridge until semi-solid (about 20 minutes), then add 2 tablespoons of liquid castile soap. Whip the mixture with a hand mixer for 5 minutes until it reaches a fluffy, frosting-like consistency. Store in an airtight jar for a smooth, moisturizing shave.
Conclusion
Creating your own essential DIY coconut oil shaving cream is an empowering step toward a healthier, more intentional lifestyle. You have discovered that you have the capability to succeed in making a high-end skincare product with just a few natural ingredients. By ditching the chemicals and embracing this whipped wonder, you achieve a level of skin comfort and smoothness that commercial products simply can’t match.
You’ve got this! Start by grabbing a jar of virgin coconut oil today. You will be amazed at how a simple kitchen staple can transform your daily shave into something you actually look forward to.