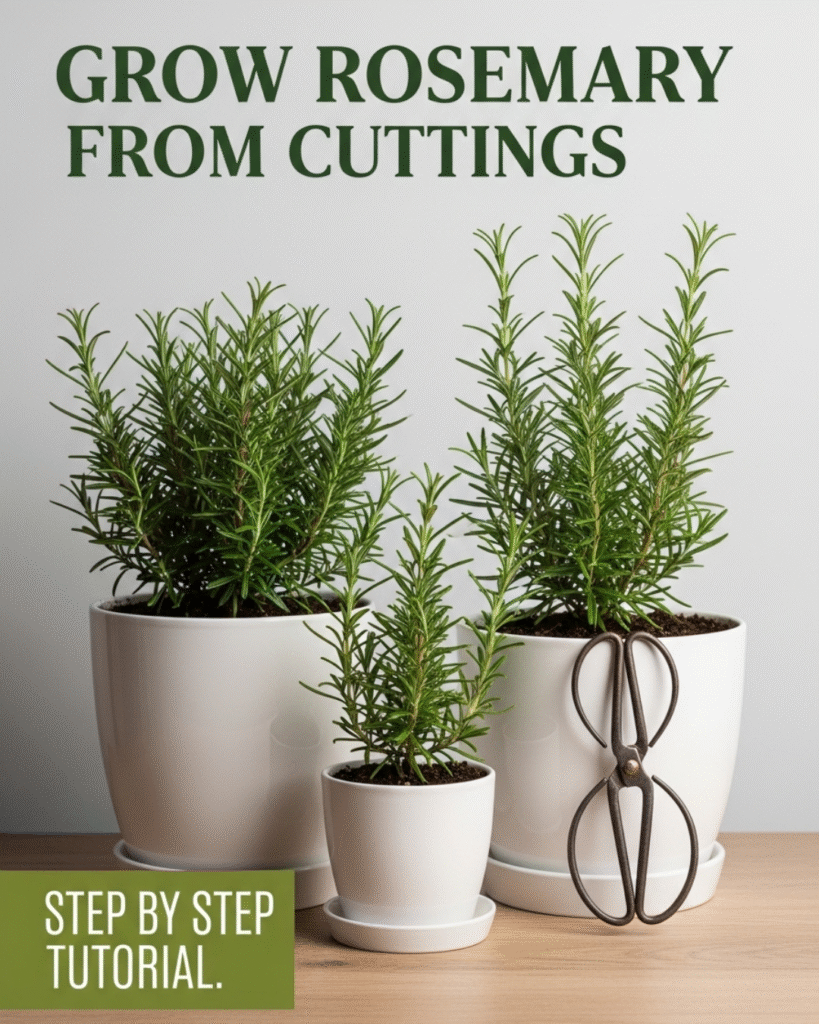
Propagating rosemary from cuttings transforms a simple gardening technique into an intimate conversation with Mediterranean resilience itself. This aromatic herb, guardian of ancient wisdom and culinary traditions, reveals its secrets generously when approached with patience and understanding. Growing rosemary from cuttings offers not merely multiplication of plants, but participation in a timeless botanical ritual where each tender shoot represents possibility, connection, and the profound satisfaction of nurturing life from life.
Understanding the Soul of Rosemary Propagation
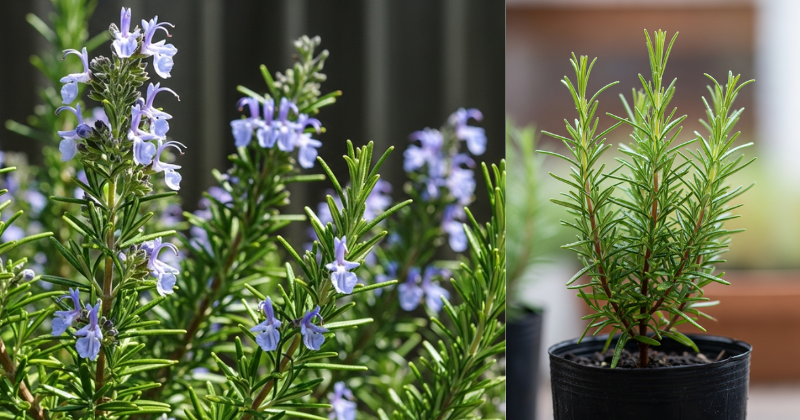
Before your hands touch soil or scissors meet stem, comprehending rosemary’s essential nature elevates technique into artistry. This woody perennial, born from sun-drenched Mediterranean hillsides, carries within its cells an ancestral memory of limestone cliffs, salt-kissed breezes, and relentless summer light.
The Philosophy of Vegetative Reproduction
When you take a cutting, you’re not simply creating a copy—you’re extending the very essence of the parent plant. Each cell contains the complete genetic blueprint, waiting for the precise conditions that whisper “grow” to dormant potential. This cloning process bypasses the uncertainty of seed propagation, guaranteeing that your new rosemary will inherit every characteristic of its source: the same needle-like leaves, the identical aromatic profile, the matching vigor.
The beauty of propagating rosemary from cuttings lies in this certainty. Unlike seeds, which introduce genetic variation and unpredictability, cuttings offer you a dialogue with known qualities, a relationship already established.
Seasonal Rhythms and Optimal Timing
Spring and early summer compose rosemary’s most receptive period for propagation, when the plant channels energy into new growth rather than survival or dormancy. During these months, stems possess heightened hormonal activity, their cells primed for transformation from branch to root-bearing individual.
That said, rosemary’s Mediterranean constitution allows for propagation throughout most of the year in temperate climates. Avoid the deepest winter months when growth energy retreats inward, and the height of summer when stress from heat can compromise success. The ideal window opens when you observe vigorous new growth appearing on your parent plant—this vitality transfers directly to your cuttings.
Selecting Your Mother Plant
Not all rosemary plants offer equal propagation potential. Seek out specimens demonstrating robust health, vibrant color, and vigorous growth patterns. The parent plant becomes ancestor to all future generations, its strengths and weaknesses encoded in every cutting you take.
Examine your chosen rosemary during morning hours when hydration peaks within its tissues. Look for stems showing fresh growth—recognizable by their softer texture and lighter green coloration compared to woody older branches. These semi-hardwood cuttings, neither too tender nor too mature, strike the perfect balance between flexibility and established cellular structure.
The Sacred Ritual of Taking Cuttings
Approach this moment with intention, for here begins the transformation. Each cut you make creates both wound and opportunity, separation and new beginning.
Gathering Your Implements
Your tools become extensions of your care and precision. Sharp, clean scissors or pruning shears ensure clean cuts that heal quickly rather than torn tissue vulnerable to infection. Sterilize blades with rubbing alcohol before beginning—this simple act demonstrates respect for the plant’s vulnerability during this transition.
Prepare small containers or pots filled with well-draining propagation medium. A mixture combining equal parts perlite and peat moss creates the perfect environment—retaining sufficient moisture while preventing the waterlogged conditions that invite rot. Some gardeners prefer pure vermiculite or sand; each medium has devoted practitioners, all roads leading to rooted success when accompanied by proper attention.
The Cutting Ceremony
Select stems measuring four to six inches in length, choosing growth that appeared this season rather than old woody branches. Make your cut at a 45-degree angle just below a leaf node—that slight bump on the stem where leaves emerge. This angled cut increases the surface area available for root development while preventing water from pooling on the cut surface.
Strip away leaves from the lower two inches of each cutting, leaving foliage only on the upper portion. Those remaining leaves will continue photosynthesis, providing energy for root formation, while the bare lower section focuses entirely on the crucial task of developing roots. Handle each cutting gently; despite rosemary’s eventual toughness, these fresh cuttings represent vulnerability itself.
Some gardeners dip the cut end in rooting hormone powder, a synthetic auxin that accelerates root development. While not absolutely necessary—rosemary possesses natural rooting ability—this addition can improve success rates, especially for beginners building confidence through reliable results.
Creating the Nurturing Environment
Insert each cutting into your prepared medium, burying approximately two inches of the stripped stem. Firm the medium gently around the base, ensuring good contact between stem and soil without compressing so tightly that air cannot reach developing roots.
Water thoroughly but gently, settling the medium around cuttings. The soil should feel evenly moist like a wrung-out sponge—present but not saturated. Cover your container with a clear plastic bag or dome, creating a miniature greenhouse that maintains humidity while allowing light penetration.
Place your cuttings in bright, indirect light. Direct sun will overwhelm these vulnerable starts, but insufficient light prevents the photosynthesis necessary for root development. A north-facing window or location receiving filtered morning sun provides ideal conditions.
Patience as Practice: The Rooting Phase
The weeks following planting test your patience while teaching invaluable lessons about botanical time, which moves differently than human urgency.
Daily Observations and Minimal Intervention
Check your cuttings daily, observing without disturbing. Look for signs of distress—yellowing leaves, wilting, or fuzzy mold growth. Remove any covering for a few minutes each day to refresh air circulation and prevent excessive moisture buildup.
Resist the temptation to tug on cuttings to check for roots. This interference disrupts the delicate root hairs forming beneath the soil surface. Instead, watch for subtle signs of success: the maintenance of turgor pressure in leaves, perhaps the emergence of tiny new growth at stem tips.
Root development typically requires three to six weeks, though patience sometimes demands longer. Temperature influences timing significantly—warmer conditions (65-75°F) accelerate the process while cooler environments slow everything to near-stillness.
Recognizing Root Development
The unmistakable sign of successful rooting appears when cuttings develop new growth—tiny leaves unfurling at stem tips. This visible expansion indicates established roots are now feeding the plant, supporting not just survival but growth.
You might also notice gentle resistance when very softly testing the cutting’s stability in its medium. Developed roots anchor the plant, creating perceptible firmness compared to the initial loose placement.
Troubleshooting the Unexpected
Even with careful attention, propagation sometimes presents challenges. Understanding common obstacles prepares you to respond effectively rather than abandoning hope.
When Cuttings Wilt or Turn Brown
Wilting typically signals either excessive transpiration or insufficient rooting. Increase humidity around cuttings by ensuring proper covering, or mist lightly if leaves appear stressed. However, if stems turn dark and soft, rot has taken hold—remove affected cuttings immediately to prevent spread.
Brown, crispy leaves suggest too much direct light or insufficient humidity. Adjust placement and ensure adequate moisture levels while maintaining good air circulation to prevent fungal issues.
Mold and Fungal Challenges
White fuzzy growth on soil surface indicates excessive moisture and insufficient air exchange. Remove covers more frequently, reduce watering slightly, and ensure your growing location offers adequate ventilation. A light sprinkle of cinnamon on the soil surface provides natural antifungal properties without harming developing roots.
Low Success Rates
If multiple cuttings fail despite proper technique, evaluate your parent plant’s health and the timing of your attempt. Stressed plants produce less viable cuttings. Additionally, consider trying different stem selections—slightly more mature semi-hardwood sections sometimes root more reliably than very tender new growth.
Transitioning to Independence: Transplanting and Beyond
Once roots establish solidly—usually after six to eight weeks—your rosemary cuttings graduate from vulnerable starts to independent plants ready for their permanent homes.
The Hardening Off Process
Before transplanting to outdoor locations, gradually acclimate your rooted cuttings to less protected conditions. Begin by removing humidity covers for progressively longer periods, eventually leaving them uncovered continuously. Then introduce brief outdoor exposure, increasing duration daily over one to two weeks.
This hardening off prevents transplant shock, allowing plants to adjust their cellular structures to handle direct sun, wind, and temperature fluctuations they’ve been sheltered from during propagation.
Choosing Permanent Homes
Rosemary thrives in well-draining soil, full sun exposure, and conditions mimicking its Mediterranean heritage. Whether transplanting to garden beds or larger containers, ensure drainage excellence—rosemary tolerates drought far better than waterlogged roots.
Container growing offers advantages in cold climates, allowing you to bring plants indoors during harsh winters. Select pots with ample drainage holes and use quality potting mix amended with extra perlite or sand for superior drainage.
Long-Term Care and Cultivation
Your rooted cuttings will develop into substantial plants over the following months and years, eventually becoming parent plants themselves, offering cuttings to share with others or expand your own collection. Regular harvesting for culinary use encourages bushier growth while providing you with fresh aromatic leaves for cooking.
Water established rosemary sparingly, allowing soil to dry between waterings. Feed lightly with balanced fertilizer monthly during the growing season, though rosemary’s modest nutrient needs rarely demand intensive feeding.
Prune annually to maintain shape and vigor, removing woody older growth to encourage fresh branching. These pruned sections, incidentally, provide perfect material for your next round of propagation, completing the beautiful cycle you initiated with those first cuttings.
Growing rosemary from cuttings transcends simple plant multiplication—it becomes a meditation on continuity, patience, and the generous nature of botanical life. Each successful rooting represents a small victory, a moment when you’ve successfully partnered with natural processes to create something beautiful and useful. As your collection grows and you share cuttings with friends and neighbors, you join an ancient tradition of gardeners who’ve passed along not just plants, but connection, knowledge, and the quiet joy of nurturing growth. Your rosemary cuttings carry forward this legacy, each plant a living testament to your care and the timeless dance between human intention and plant resilience.