Discover how to create your own soothing Headache Balm with this easy DIY guide. Learn to use essential oils and natural ingredients for fast, effective relief!
Important Disclaimer: This article is for informational purposes only and should not replace professional advice. For health-related topics, consult healthcare providers. For safety procedures, verify current best practices and local regulations. Individual results may vary, and personal circumstances should always be considered when implementing any suggestions.
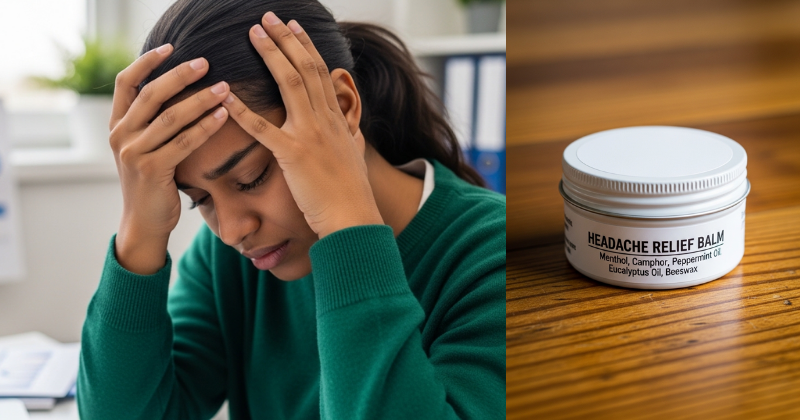
We have all been there: that dull throb behind the eyes or the tightening pressure around the temples that threatens to derail your entire day. Whether it is caused by stress, screen fatigue, or seasonal changes, head tension is an unwelcome guest. While many reach for the medicine cabinet immediately, there is a growing movement toward holistic, gentle alternatives that work in harmony with your body.
By learning to craft your own Headache Balm, you are unlocking a powerful tool for self-care that is both portable and potent. Imagine having a pocket-sized remedy that smells divine and provides a cooling, tingly sensation the moment it touches your skin. This guide will empower you to take control of your wellness routine using simple, high-quality ingredients you can trust. Get ready to transform your approach to comfort and discover the restorative power of nature’s apothecary!
Foundation: Understanding the Power of Topical Relief
Before we dive into the melting and mixing, it is vital to build your confidence in how a Headache Balm actually works. Unlike oral supplements, a topical balm provides localized relief. When you apply these ingredients to your pulse points—like your temples, the back of your neck, or your wrists—the active compounds are absorbed through the skin while the aromatic molecules travel directly to the limbic system in your brain.
Many beginners wonder if a “natural” product can truly stand up to a stubborn tension headache. The secret lies in the concentrated chemistry of plants. By combining a soothing carrier base with specific essential oils, you create a synergistic effect that addresses both the physical tightness and the emotional stress often associated with pain.
H3: Why Choose a DIY Balm Over Store-Bought?
Creating your own remedy allows you to avoid synthetic fragrances and petroleum-based jellies. Many commercial “rubbing” ointments contain artificial dyes that can irritate sensitive skin. When you make it yourself, you ensure that every drop is pure, therapeutic, and tailored to your specific needs. This is a core part of a sustainable lifestyle that prioritizes quality over convenience.
H3: The Key Players in Your Balm
To achieve professional results, you need a balanced “formula.” Here are the essential components:
- Beeswax or Candelilla Wax: This provides the structure and makes the balm portable.
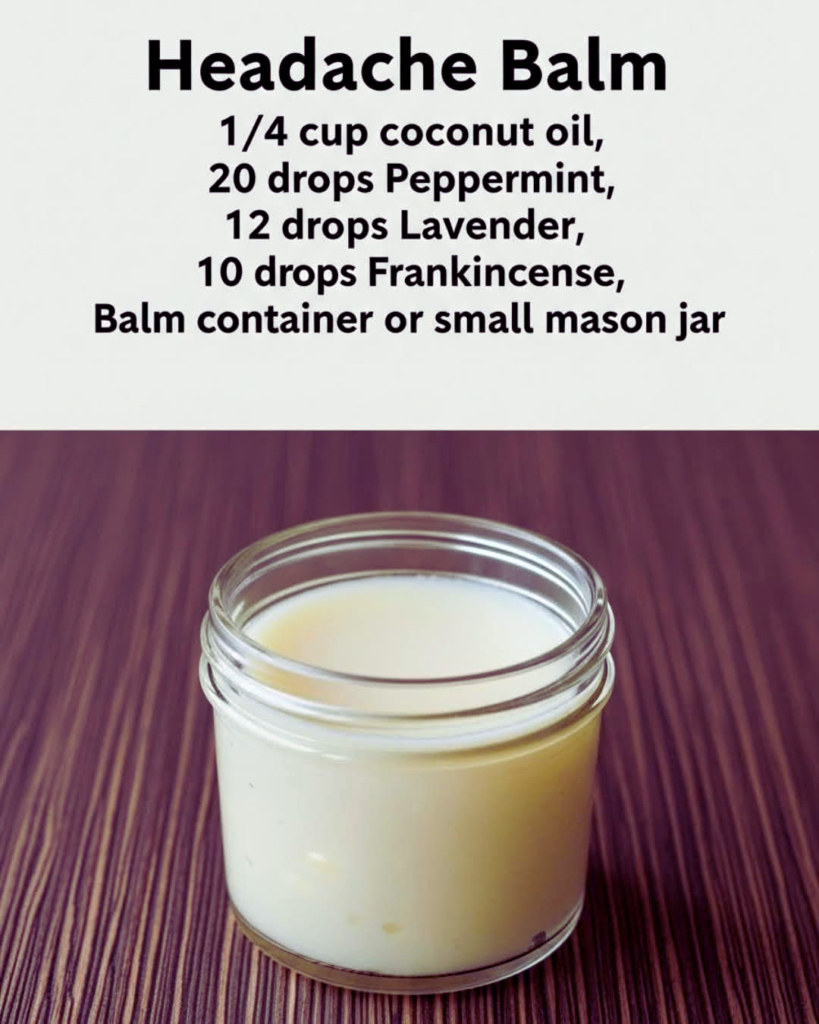
- Carrier Oils: Ingredients like coconut or sweet almond oil dilute the essential oils for safe skin application.
- Peppermint Oil: Contains menthol, which creates a cooling sensation and promotes blood flow.
- Lavender Oil: Renowned for its ability to induce relaxation and calm the nervous system.
Step-by-Step Process: Crafting Your Soothing Remedy
Creating your Headache Balm is an achievable and rewarding process. You don’t need a lab—just your kitchen and a few simple tools. Follow these clear, actionable steps to achieve a perfect consistency every time.
Step 1: Prepare Your Equipment
Gather a small double boiler (or a glass bowl over a pot of simmering water), a stirring rod (a glass stir rod or even a clean popsicle stick), and small tin or glass jars for storage. Ensure everything is clean and dry; water is the enemy of a long-lasting balm!
Step 2: Melt the Base
- Measure: Use a ratio of 1 part wax to 4 parts carrier oil (e.g., 1 tablespoon beeswax to 4 tablespoons coconut oil).
- Heat: Place the wax and oil in your double boiler over low heat.
- Stir: Gently stir until the wax has completely melted into a clear, golden liquid.
Step 3: Cool and Scent
- Remove from Heat: This is crucial! Essential oils are volatile and can “flash off” or lose their potency if added to boiling liquid.
- Add the Oils: For a 2-ounce jar, add approximately 15 drops of Peppermint oil and 10 drops of Lavender oil.
- Mix: Give it a quick, thorough stir to ensure the oils are evenly distributed.
Step 4: Pour and Set
Carefully pour the liquid into your containers. Leave them undisturbed for at least two hours. As the balm cools, it will transform from a liquid into a smooth, buttery solid. Once set, cap them tightly and store them in a cool, dark place to maintain the integrity of the essential oils.
Advanced Strategies: Customizing Your Relief
Now that you have mastered the basic recipe, you can experiment with variations to address different types of discomfort. Not every headache is the same, and your Headache Balm shouldn’t have to be either!
H3: The Migraine Support Blend
If you suffer from intense sensitivity, consider adding Frankincense or Helichrysum essential oils to your mixture. These oils are prized in wellness circles for their grounding properties and ability to support a healthy inflammatory response. Adding a touch of natural homemade mouthwash principles—using fresh, clean scents—can also help distract the senses during an episode.
H3: Texture Modifications
Do you prefer a “harder” balm for summer travel so it doesn’t melt in your bag? Increase the beeswax by half a teaspoon. If you prefer a “melty” cream for a deeper neck massage, swap half of the coconut oil for shea butter. This level of customization is something you simply can’t find in a store.
H3: The Sinus Relief Variation
When a headache is caused by congestion, adding Eucalyptus or Rosemary oil to your balm can help open up the airways. This dual-action approach provides comfort for the head while clearing the nose, making it a versatile tool for your winter wellness kit.
Troubleshooting: Overcoming Common Challenges
Even simple DIY projects can have a few hiccups. Don’t be discouraged! Most issues with your Headache Balm are easily fixed with a little “re-melting” magic.
- Problem: The balm is too hard to scoop out.
- Solution: Your ratio of wax was likely too high. Simply put the balm back into the double boiler, add another teaspoon of carrier oil, and re-set it.
- Problem: The essential oil scent is too weak.
- Solution: If the balm is already set, you can gently melt it again and add a few more drops. Remember, a little goes a long way—always start with less and build up.
- Problem: My skin feels irritated after use.
- Solution: You may have a sensitivity to peppermint. Always perform a patch test on your inner arm before full application. If irritation occurs, dilute the balm further with more carrier oil or switch to a “Lavender-only” blend.
Preventive Measures for Long Shelf Life
To keep your balm fresh for up to a year, avoid dipping dirty fingers into the jar. Using a small spatula or ensuring your hands are washed will prevent bacteria from entering the product. Also, keep the balm away from direct sunlight, which can oxidize the oils and reduce their effectiveness.
Maximizing Results: Next-Level Application Tips
To truly achieve the best results with your Headache Balm, how you apply it is just as important as how you make it. Building upon the basic application can turn a quick fix into a meditative ritual.
The “Pulse Point” Strategy
Don’t just rub it on your forehead! Apply the balm to your mastoid bone (the bony bump behind your ear) and the base of your skull. These areas have thin skin and high blood flow, allowing the menthol to penetrate deeply into the muscles where tension often starts.
Complementary Wellness Habits
While the balm provides immediate sensory relief, pairing it with other healthy choices can prevent headaches before they start:
- Hydration: Drink plenty of water; even mild dehydration is a leading cause of head pain.
- Posture: Combine your balm application with some gentle neck stretches to release physical strain.
- Digital Detox: Use your balm as a cue to step away from the screen for five minutes of deep breathing.
Once you see how effective this DIY remedy is, you might feel inspired to expand your collection. From learning how to make coffee logs without wax using egg cartons for a cozy environment to mastering other herbal salves, each step toward self-sufficiency brings a sense of accomplishment and peace.
Conclusion: Empower Your Wellness Journey
You now possess a comprehensive guide to creating a high-quality, effective Headache Balm right in your own home. By choosing natural ingredients and crafting them with care, you are treating your body with the respect and gentleness it deserves.
The transformation from feeling overwhelmed by tension to having a reliable, handmade solution at your side is truly empowering. Remember, wellness is a journey of small, sustainable changes. This balm is a beautiful reminder that you have the capability to nurture yourself using the simple gifts of the earth. Keep a tin in your purse, one at your desk, and one on your nightstand—you’re ready to face the day with a clear head and a calm spirit!