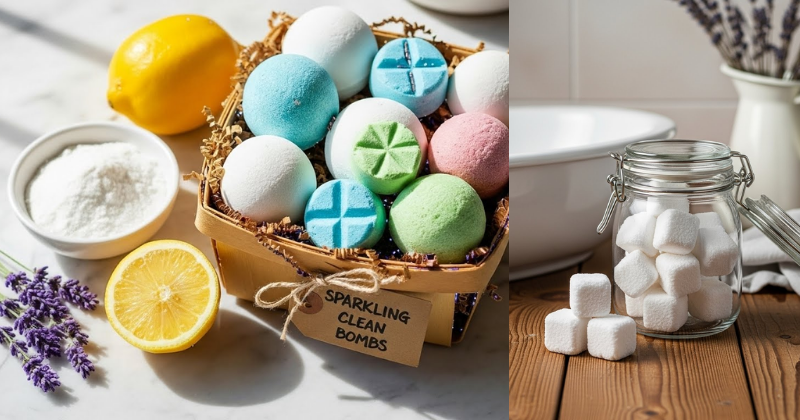
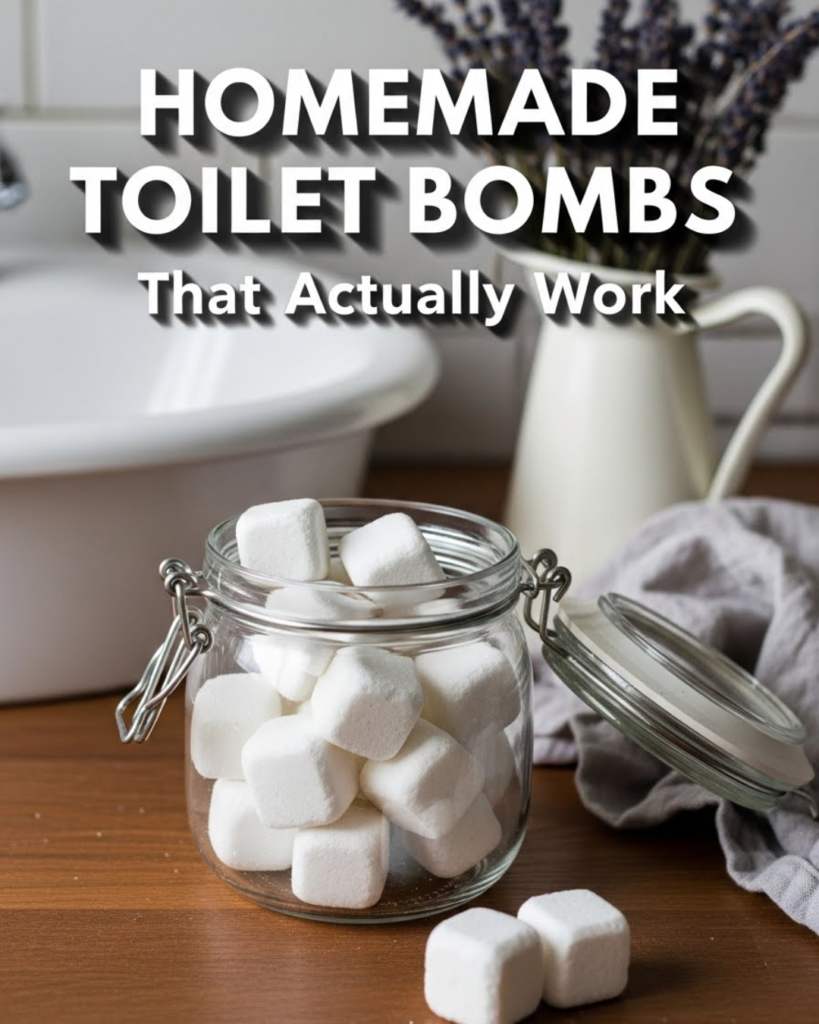
Discover how to make homemade toilet bombs for a sparkling clean bathroom using simple, non-toxic ingredients that deodorize and sanitize with every single fizz.
Cleaning the bathroom is rarely at the top of anyone’s “favorite things to do” list. We often associate this chore with harsh chemical smells, back-breaking scrubbing, and a general sense of dread. But what if you could maintain a fresh, sanitized porcelain throne without ever touching a bottle of bleach? Imagine a cleaning day where you simply drop a small, fizzy tablet into the bowl and let the chemistry do the heavy lifting for you. By learning to make homemade toilet bombs for a sparkling clean bathroom, you are embracing a faster, safer, and much more enjoyable way to keep your home pristine.
In this comprehensive guide, you will discover the secrets to crafting high-performance cleaning tabs that cost pennies to make. We will break down the science of why these ingredients work so well together and provide a foolproof, step-by-step process for creating your own batch. This transformation isn’t just about a cleaner toilet; it’s about reclaiming your time and ensuring your home environment is free from unnecessary toxins. Get ready to feel empowered as you master this essential DIY household hack!
Foundation: The Science of the Fizz
Building confidence in DIY cleaners starts with understanding the basic concepts of natural chemistry. You don’t need a degree to see why these work; you just need to know how two common pantry staples interact to destroy grime.
The Power Couple: Baking Soda and Citric Acid
The “fizz” in homemade toilet bombs for a sparkling clean bathroom comes from the reaction between sodium bicarbonate (baking soda) and citric acid. When these two dry ingredients meet water, they create carbon dioxide gas. This effervescent action physically lifts dirt and stains away from the surface of the porcelain.
- Baking Soda: Acts as a gentle abrasive and a powerful odor neutralizer.
- Citric Acid: Helps break down hard water minerals and limescale.
Reassurance for Beginners
If you are worried about the safety of these ingredients, take heart. These are “food-grade” materials often used in baking or canning. Unlike commercial toilet cleaners that can emit volatile organic compounds (VOCs), these homemade versions are safe for homes with pets, children, and septic systems. You can achieve professional-level results with total peace of mind.
Essential Tool Kit
Before you begin, gather these simple items:
- Mixing Bowl: A medium glass or stainless steel bowl works best.
- Fine-Mist Spray Bottle: This is key for adding moisture without triggering the reaction early.
- Silicone Molds: Ice cube trays or fun shapes make the bombs easy to pop out once dry.
Step-by-Step: Crafting Your Cleaning Bombs
Ready to transform your cleaning routine? This core method is designed to be manageable and effective. Follow these steps to ensure your bombs are durable and powerful.
Step 1: Combine the Dry Ingredients
In your mixing bowl, whisk together 1 cup of baking soda and 1/4 cup of citric acid. Ensure there are no clumps.
Pro Tip: Use a sifter if your baking soda is particularly lumpy to ensure a smooth, even consistency in your finished tablets.
Step 2: Add the Aromatic Boosters
Add 20–30 drops of essential oils to the dry mix. For a bathroom, peppermint, tea tree, or lemon oils are incredible because they possess natural antibacterial and antifungal properties. Stir them in well.
Step 3: The “Damp Sand” Technique
This is the most important part! Lightly mist the mixture with water or a bit of hydrogen peroxide using your spray bottle. Stir as you go. You are looking for a consistency like damp sand—if you squeeze a handful, it should hold its shape without crumbling.
- Safety Note: Do not pour water in directly, or the mixture will fizz up instantly and lose its cleaning power!
Step 4: Mold and Dry
Press the mixture firmly into your silicone molds. Pack them down as tightly as possible. Let them sit in a dry place for at least 12 to 24 hours. Once they are rock hard, pop them out and store them in an airtight glass jar.
Advanced Strategies: Pro Tips for Targeted Cleaning
Once you’ve mastered the basic homemade toilet bombs for a sparkling clean bathroom, you can share expert-level insights by customizing your recipe for specific household challenges.
The “Heavy Duty” Hydrogen Peroxide Swap
If you are dealing with particularly stubborn stains or high-traffic bathrooms, use hydrogen peroxide in your spray bottle instead of water when mixing. This adds an extra layer of oxygen-based bleaching power that kills germs even more effectively than water alone.
Creative Variations for Hard Water
Living in an area with high mineral content? Increase the ratio of citric acid to 1/2 cup. This customized approach helps dissolve the stubborn white or orange rings that form at the water line, keeping your bowl looking brand new without extra scrubbing.
Scent Customization for the Seasons
You can adapt your approach to match the time of year. Use pine and cedarwood oils for [winter cleaning hacks] that make the room feel cozy, or shift to lavender and eucalyptus for a spa-like spring atmosphere. Experimenting with scents makes the act of cleaning feel like a creative project rather than a chore.
Troubleshooting: Common Challenges and Solutions
Even the best DIY projects can hit a snag. Address these frequent obstacles with these alternative approaches and preventive measures.
“My toilet bombs are crumbling”
This usually means the mixture was too dry when you put it in the mold.
- The Fix: You can actually crumble the failed bombs back into a bowl, mist them slightly more, and re-mold them. Next time, ensure the “clump test” is successful before filling the trays.
“They are expanding out of the mold!”
If your bombs look like they are growing or “puffing up,” you added too much moisture too quickly.
- Preventive Measures: Next time, use fewer sprays of water and stir more vigorously between mists. If they are already expanding, just press them back down into the mold every 10 minutes until the reaction stops.
“They don’t seem to be cleaning the hard stains”
Toilet bombs are excellent for maintenance, but they might need a partner for deep-set stains.
- Alternative Approach: Drop the bomb in and let it fizz, then use a toilet brush to give a quick swish. For the exterior of the toilet, pair this with a [DIY all-purpose cleaner] to ensure the whole fixture sparkles.
Maximizing Results: Next Level Bathroom Maintenance
To build upon your basic success, look at long-term considerations that keep your bathroom fresh between deep cleans.
Proper Storage for Longevity
Humidity is the enemy of the toilet bomb. Store your jar in a cool, dry place. If you live in a very humid climate, consider adding a small silica gel packet (the kind often found in shoe boxes) to the jar to absorb excess moisture and prevent the bombs from losing their “fizz” prematurely.
Complementary Strategies
A sparkling toilet is just the beginning. To achieve a truly fresh bathroom, consider these complementary hacks:
- Air Quality: Use a [simmer pot recipe] in the kitchen to carry fresh scents through the house.
- Soft Surfaces: Sprinkle baking soda on bath mats before vacuuming to pull out trapped odors.
- Grout Care: Use any leftover “damp sand” mixture from your toilet bomb session to scrub grout lines in the shower.
Featured Snippet: How often should I use a toilet bomb?
To maintain a sparkling clean bathroom, you should use one homemade toilet bomb 2–3 times a week. Simply drop it into the bowl, let it fizz for 5 minutes, and flush. For deeper cleaning, let it sit overnight before brushing and flushing.
Conclusion
Creating homemade toilet bombs for a sparkling clean bathroom is an empowering way to simplify your life. You have discovered that you have the capability to succeed in maintaining a healthy, beautiful home without relying on expensive, harsh chemicals. These small tablets are a transformative takeaway—proof that sometimes the most effective solutions are the ones we create ourselves.
You’ve got this! Start by checking your pantry for baking soda and a bit of citrus. The satisfaction of watching that first “bomb” fizz away the grime is a feeling of pure achievement. Your bathroom will smell better, your surfaces will shine brighter, and you’ll feel like the master of your domain.