Discover how I make stainless steel shine like new using simple household items. Learn the best DIY methods to remove fingerprints and restore that mirror finish today.
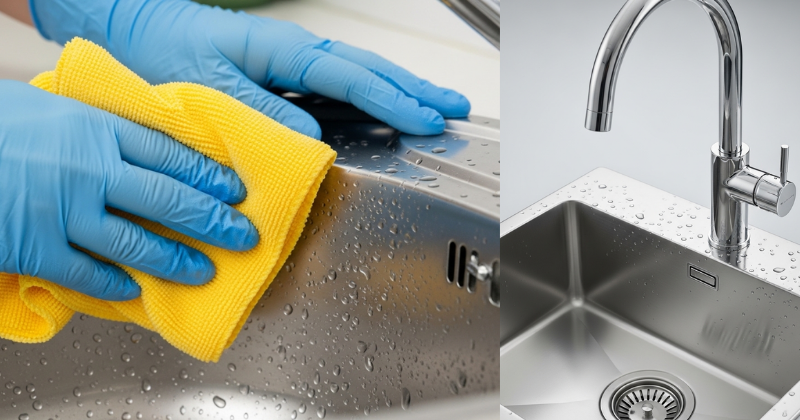
Have you ever walked into your kitchen, caught a glimpse of your refrigerator under the morning light, and felt a sink in your stomach? We have all been there. What started as a sleek, modern appliance now looks like a chaotic map of greasy fingerprints, water spots, and mysterious smudges. It is frustrating because you bought those appliances for their high-end look, but maintaining that “showroom” glow feels like a full-time job. But don’t worry! I’ve spent years experimenting with every product on the market, and I’m here to tell you that you don’t need expensive, harsh chemicals. How I make stainless steel shine like new is actually a surprisingly simple, budget-friendly process that anyone can master.
In this comprehensive guide, you will unlock the secrets to restoring your metal surfaces to a mirror-like finish. We are going to transform your cleaning routine from a chore into a source of pride. By using items you likely already have in your pantry, you’ll achieve professional-grade results while keeping your home eco-friendly. You have the capability to make your kitchen look like a magazine spread, and I am going to show you exactly how. Let’s get started on your journey to a brighter, shinier home!
Section 1: Foundation and the “Grain” Secret
Before we pick up a cloth, let’s build your confidence with the most important concept in metal care. To understand how to clean stainless steel, you must first understand the “grain.” Just like wood, stainless steel has a direction in which the metal was brushed during manufacturing. If you look closely at your dishwasher or sink, you will see tiny horizontal or vertical lines.
Many beginners make the mistake of scrubbing in circular motions. This is the fastest way to trap dirt and create permanent micro-scratches. By always working with the grain, you ensure that your cleaning solution penetrates the grooves and lifts out every speck of grime. This fundamental shift in technique is the first step toward achieving a streak-free shine. Reassure yourself that even if your appliances look dull now, they are incredibly resilient. With the right approach, we can unlock their original luster.
H3: Why Avoid Commercial Cleaners?
Many store-bought sprays contain waxes and silicone that “fill in” dirt rather than removing it. Over time, this creates a cloudy buildup that makes the steel look yellow or hazy. DIY methods focus on deep cleaning the surface and then providing a natural, thin protective layer.
H3: The Power of Microfiber
If you want to achieve a professional finish, you need the right tools. Skip the paper towels, which can leave lint and streaks. Instead, invest in high-quality microfiber cloths. They are designed to grab oil and dust at a microscopic level, which is essential for [Natural Home Maintenance].
Section 2: The Step-by-Step Process to Mirror Perfection
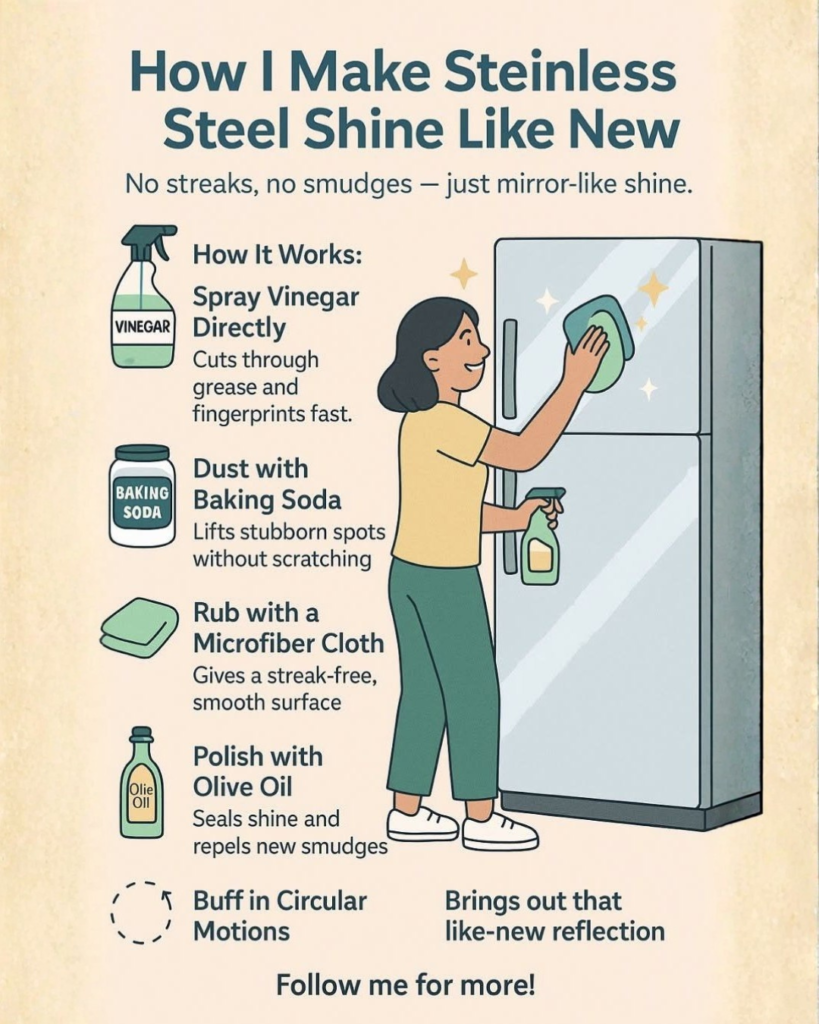
Ready to see the magic happen? Follow this manageable, three-step method. This is the core of how I make stainless steel shine like new every single time.
Step 1: The Deep Clean (The Vinegar Wash)
First, we need to remove the grease. Fill a spray bottle with undiluted white vinegar.
- Spray: Generously mist the surface of your appliance.
- Wait: Let it sit for about 60 seconds to break down oily residue and hard water deposits.
- Wipe: Using a microfiber cloth, wipe firmly in the direction of the grain. You will see the smudges disappear instantly.
Step 2: The Polishing Phase (The Oil Buff)
Vinegar cleans, but it doesn’t “shine.” For that, we need a natural oil. You can use olive oil, coconut oil, or even baby oil.
- Apply: Put a dime-sized amount of oil on a fresh, dry microfiber cloth.
- Buff: Rub the oil into the surface, again following the grain. This fills in the microscopic pores of the metal and creates a barrier against future fingerprints.
- Level Up: Keep buffing until the surface no longer feels “greasy” to the touch but looks incredibly reflective.
Step 3: The Final Buff
Take a third, completely dry cloth and do one final pass. This removes any excess oil and ensures there are no streaks left behind. This “triple-cloth” method is a practical shortcut to achieving that coveted [Luxury Kitchen Look] on a budget.
Section 3: Advanced Strategies for Stubborn Stains
Once you’ve mastered the basics, you can handle the “advanced” challenges like heat tint, rust spots, or baked-on food. These share expert-level insights for those tricky areas around the stove or inside the sink.
- The Baking Soda Paste: If you have a stubborn, burnt-on stain on your stainless steel cookware or stovetop, mix baking soda with a little water to make a paste. Apply it to the spot, let it sit for 15 minutes, and then gently scrub with the grain. It’s a natural abrasive that won’t damage the finish.
- Club Soda for Sinks: If your sink looks dull, pour club soda over it and buff with a soft cloth. The carbonation helps lift minerals from hard water, leaving a brilliant sparkle.
- Flour Polishing: This is an old-school pro tip! After cleaning your dry sink, sprinkle a layer of all-purpose flour over it and buff it with a cloth. It sounds messy, but it’s one of the best ways to achieve a high-gloss finish.
H3: Customizing for Different Finishes
Not all “stainless” is the same. Some modern appliances have a “fingerprint-resistant” coating. For these, skip the oil phase and use only a damp microfiber cloth with a tiny drop of dish soap. Always check your manufacturer’s guide to ensure you are following the [Best Appliance Care] practices.
Section 4: Troubleshooting Common Challenges
Even the most careful DIYers can run into obstacles. Here is how to address frequent challenges with encouraging solutions.
- Obstacle: “My surface looks streaky no matter what I do.”
- Solution: Streaks are almost always caused by using too much product. If you used too much oil, go over it with a vinegar-dampened cloth to “cut” the excess, then buff again with a dry cloth.
- Obstacle: “There are tiny rust spots on my steel.”
- Solution: Don’t panic! This is often “surface rust” from other items. Use a paste of lemon juice and cream of tartar. Let it sit for 30 minutes, then wipe away. It’s a gentle way to [Remove Metal Oxidation] without scratching.
- Obstacle: “The smell of vinegar is too strong.”
- Solution: Add a few drops of lemon or orange essential oil to your vinegar bottle. It provides a fresh scent and adds a little extra degreasing power.
Preventive Measures
To keep your appliances looking new longer, try to wipe up spills immediately. Acids from foods like tomato sauce or lemon can “etch” the steel if left too long. A quick 10-second wipe-down every evening will save you from a 30-minute deep clean later!
Section 5: Maximizing Results and Long-Term Maintenance
How do you build upon this success? Consistency is the secret to a home that always looks ready for company. Now that you know the method, you can integrate it into your [Weekly Cleaning Routine].
- The Daily Wipe: Keep a small spray bottle of vinegar and a cloth under the sink. A quick “spritz and wipe” after doing the dishes keeps the shine alive.
- Educate the Household: Show your family how to use the handles instead of pushing on the metal surface. It sounds simple, but it reduces fingerprints by 50%!
- Complementary Strategies: Combine your shiny appliances with [Clean Kitchen Organization]. A clutter-free counter makes your sparkling stainless steel stand out even more.
- Community Pride: Share your results! There is nothing more satisfying than showing a “before and after” of a dull fridge turned into a mirror. It inspires others to try [Sustainable DIY Cleaning].
Conclusion
You have successfully mastered the art of metal restoration! By following this guide, you’ve discovered that how I make stainless steel shine like new isn’t about expensive products—it’s about the right technique and a little bit of natural magic. You have achieved a transformation that not only looks amazing but also protects your valuable appliances for years to come.
Remember the key takeaways: always clean with the grain, use vinegar to degrease, and oil to polish. This empowering routine is your ticket to a home that feels fresh and high-end. You’ve got the tools, you’ve got the knowledge, and now you’ve got the shine. Enjoy your beautiful, reflective kitchen!