
Learn how to make your own orange peel powder for soap making using simple tools, save money, reduce waste, and add natural color and exfoliation to handmade soaps.
If you’ve ever made handmade soap—or dreamed of trying—you already know how powerful natural ingredients can be. Orange peel powder is one of those simple, beautiful additions that can transform your soap from basic to botanical. It adds gentle exfoliation, a warm natural color, and a subtle citrus character that feels fresh and uplifting.
The best part? You don’t need special equipment or expensive supplies. You can make orange peel powder at home using peels you would normally throw away. This guide walks you step by step through the entire process, from selecting oranges to storing your finished powder, so you can confidently use it in cold process, hot process, or melt-and-pour soaps.
Whether you’re a beginner soap maker or looking to deepen your natural ingredient toolkit, you’ll discover how easy—and satisfying—this process really is.
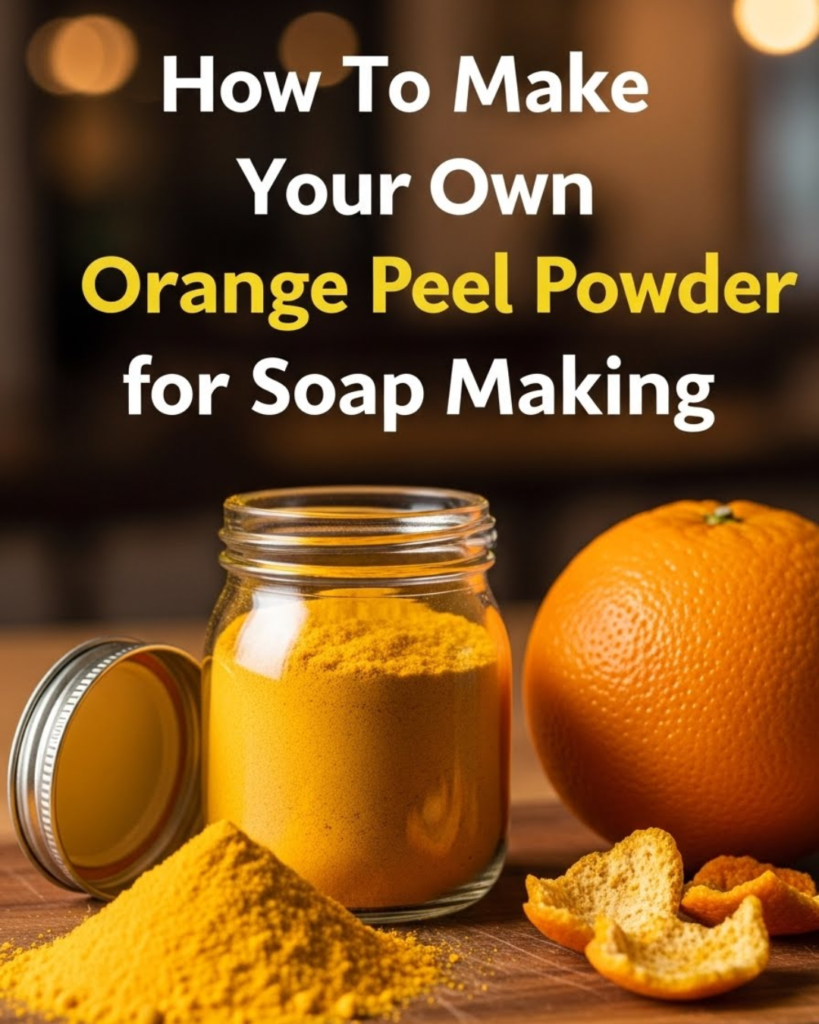
H1: How To Make Your Own Orange Peel Powder for Soap Making
H2: Why use orange peel powder in soap making?
Orange peel powder is more than a pretty addition. It serves both functional and aesthetic roles in handmade soap.
H3: Natural exfoliation without harshness
When finely ground, dried orange peel provides gentle exfoliation. It helps remove dead skin cells without the scratchiness of larger botanical additives. This makes it suitable for facial soaps when used sparingly and body soaps when used more generously.
H3: Natural color and plant-based appeal
Orange peel powder gives soap a warm yellow, golden, or light orange tone depending on usage rate. Many soap makers love it because it colors naturally—no synthetic dyes required.
H3: Sustainability and zero-waste benefits
Using orange peels you already have:
- Reduces kitchen waste
- Lowers ingredient costs
- Aligns your soap making with eco-friendly values
Internal linking opportunities:
This article could link to related topics such as:
- Natural exfoliants for handmade soap
- How to dry herbs for soap making
- Beginner cold process soap recipes
- Natural colorants for soap
H2: What type of oranges work best for orange peel powder?
Not all oranges are equal when it comes to soap making ingredients.
H3: Organic vs conventional oranges
Whenever possible, choose organic oranges. Conventional citrus is often treated with waxes and pesticides that are difficult to remove completely. Since the peel is the main ingredient, clean sourcing matters.
If organic isn’t available:
- Scrub peels thoroughly
- Wash with warm water and mild vinegar rinse
- Avoid visibly waxy fruit
H3: Best orange varieties to use
Common varieties work well:
- Navel oranges
- Valencia oranges
- Blood oranges (for slightly deeper color)
Avoid overly thick peels with bitter white pith dominating, as they take longer to dry and grind less evenly.
H2: Step-by-step process: how to make orange peel powder at home
This is the core method. It’s simple, flexible, and beginner-friendly.
H3: Step 1 – Prepare the peels
- Peel the oranges carefully
- Try to remove excess white pith (optional but recommended)
- Cut peels into small strips or squares
Smaller pieces dry faster and more evenly.
H3: Step 2 – Dry the orange peels completely
Drying is the most important step. Any moisture left behind can cause mold later.
H4: Air-drying method
- Spread peels in a single layer on a clean tray
- Place in a warm, dry, well-ventilated area
- Turn daily
- Drying time: 7–14 days
H4: Oven-drying method
- Set oven to lowest temperature (around 50–60°C / 120–140°F)
- Place peels on parchment-lined tray
- Leave door slightly open
- Dry for 2–4 hours, checking often
H4: Dehydrator method
- Set to fruit/herb setting
- Dry for 6–10 hours
Peels should snap cleanly when fully dry.
H3: Step 3 – Grind into powder
Once completely dry:
- Use a spice grinder, coffee grinder, or high-speed blender
- Grind in short pulses
- Sift if needed for finer texture
The finer the powder, the smoother it feels in soap.
H2: How fine should orange peel powder be for soap making?
Texture matters depending on how you plan to use the powder.
H3: Fine powder for smooth soaps
Use finely ground powder if:
- Making facial soap
- Wanting color without exfoliation
- Working with melt-and-pour bases
Fine powder disperses evenly and feels gentle.
H3: Coarser powder for exfoliating bars
Leave the powder slightly coarse if:
- Making body scrubs
- Targeting rough skin (feet, hands)
Always test small batches first to avoid scratchiness.
Featured snippet answer:
For soap making, orange peel powder should be finely ground for smooth bars and slightly coarse only when gentle exfoliation is desired.
H2: How to store orange peel powder safely
Proper storage protects your hard work.
H3: Best storage containers
Use:
- Glass jars with tight lids
- Airtight metal tins
- Food-grade plastic containers
Avoid paper or breathable packaging.
H3: Storage conditions
Store in:
- Cool, dry place
- Away from sunlight
- Away from moisture
Properly dried and stored orange peel powder can last 6–12 months.
H2: Maximizing results in soap making with orange peel powder
Once you’ve made your powder, here’s how to get the most from it.
H3: How much to use in soap recipes
General guideline:
- 1–2 teaspoons per pound (450 g) of oils
Start small. You can always increase in future batches.
H3: Best soap methods for orange peel powder
- Cold process: Add at light trace
- Hot process: Stir in after cook
- Melt-and-pour: Mix with a small amount of alcohol or glycerin before adding
H3: Combine with complementary ingredients
Orange peel powder pairs beautifully with:
- Sweet orange essential oil
- Honey
- Oatmeal
- Calendula
- Turmeric (for deeper color)
Experiment and make it your own.
Conclusion: You can create beautiful soap ingredients at home
Making your own orange peel powder for soap making is simple, affordable, and deeply satisfying. With just oranges, patience, and basic tools, you unlock a natural ingredient that adds color, texture, and plant-based beauty to your handmade soaps.
You don’t need perfection—just consistency and care. Start with a small batch, test it in soap, and adjust as you go. Each step connects you more deeply to your craft and reduces reliance on store-bought additives.
You already have everything you need. The next bar of soap you make can carry a story—one that starts in your kitchen and ends in something truly handmade.