Learning how to seal air dry clay properly transforms your handmade creations from fragile crafts into durable, long-lasting pieces you’ll treasure for years. If you’ve spent hours sculpting the perfect figurine, bowl, or ornament only to worry about it crumbling or getting damaged, you’re in the right place. This comprehensive guide walks you through everything you need to know about sealing air dry clay, from choosing the right sealant to applying it like a pro. Whether you’re protecting a child’s artwork or finishing a sophisticated home decor piece, you’ll discover exactly how to give your clay projects the professional finish they deserve.
Why Sealing Air Dry Clay Is Essential
Before diving into the how-to process, understanding why sealing matters will help you appreciate each step and make better decisions for your specific projects.
Protection from Moisture and Humidity
Air dry clay remains porous even after fully drying, meaning it can absorb moisture from the environment. Unsealed clay pieces can soften, warp, or even dissolve when exposed to water or high humidity. A proper sealant creates a protective barrier that keeps moisture out, ensuring your creation maintains its shape and integrity regardless of environmental conditions. This protection becomes especially crucial if you’re creating items for bathrooms, kitchens, or outdoor spaces where humidity levels fluctuate.
Enhanced Durability and Strength
While air dry clay hardens as it dries, it never becomes as strong as kiln-fired ceramics. The material remains somewhat brittle and susceptible to chips, cracks, and breakage. Sealing adds an extra layer of protection that reinforces the surface, making your pieces more resistant to accidental bumps and handling. Think of it as adding a shield that helps your clay withstand the normal wear and tear of everyday life.
Improved Appearance and Finish
Beyond protection, sealing dramatically enhances how your clay projects look. Sealants can transform a matte, chalky surface into a glossy, professional finish, intensify painted colors, and create depth that makes details pop. You can choose from matte, satin, or glossy finishes depending on your aesthetic preferences, giving you complete control over the final appearance.
Preserving Paint and Decorative Elements
If you’ve painted your air dry clay creation, sealing becomes even more critical. Paint on unsealed clay can chip, fade, or rub off with handling. A good sealant locks in your paint job, preserving colors and preventing the frustration of watching your detailed work deteriorate over time. This protection extends to other decorative elements like glitter, markers, or mixed media additions.
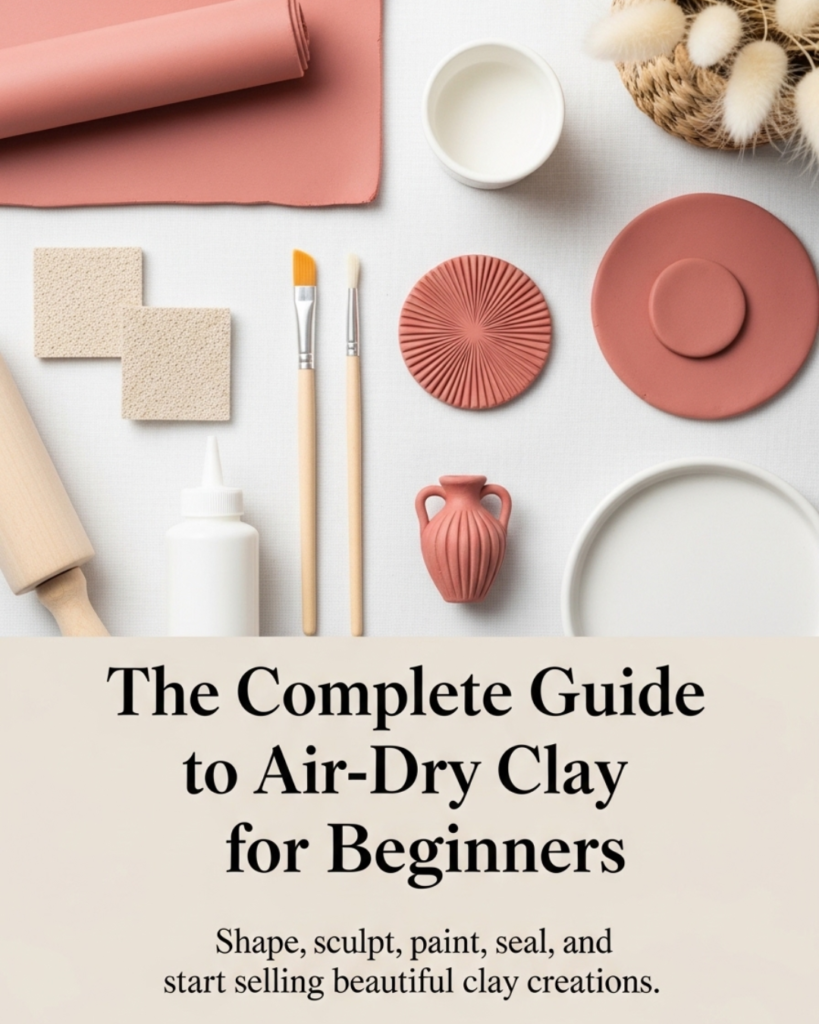
Choosing the Right Sealant for Your Project
Not all sealants work equally well for air dry clay, and selecting the appropriate product makes the difference between a professional result and a disappointing outcome.
Acrylic Sealers: The Most Popular Choice
Acrylic sealants represent the go-to option for most air dry clay projects. These water-based sealers offer excellent protection, dry clear, and come in various finishes. Mod Podge, arguably the most recognized brand, works wonderfully for general purposes and comes in matte, satin, and glossy versions. For even stronger protection, dedicated acrylic spray sealers like Krylon or Rust-Oleum provide durable, even coatings that resist yellowing over time.
Acrylic sealers work particularly well because they’re flexible enough to move slightly with the clay, reducing the risk of cracking. They’re also non-toxic once dry, making them safe for children’s projects. The water-based formula means easy cleanup and minimal odor during application, though you should still work in a ventilated area.
Polyurethane: Maximum Protection
For projects that need serious durability—outdoor decorations, garden stakes, or functional items like coasters—polyurethane sealers offer the strongest protection available. These sealants create a harder, more water-resistant finish than acrylic options. You can choose between water-based and oil-based polyurethane, though water-based versions work better for air dry clay since they’re less likely to yellow over time.
Keep in mind that polyurethane has a stronger odor and requires better ventilation during application. It also takes longer to cure fully, sometimes requiring several days before the piece can be handled regularly. However, the trade-off in durability makes it worth considering for high-use items.
Varnish: For Artistic Projects
Artists often prefer varnish for gallery-quality pieces or fine art sculptures. Varnishes provide excellent color depth and can create beautiful glossy finishes that enhance artistic details. Both water-based and solvent-based varnishes work with air dry clay, though water-based versions are easier to work with and less toxic.
Resin: The Ultimate Shine
For an ultra-glossy, glass-like finish, epoxy resin creates stunning results on air dry clay. This option requires more skill and careful application, but the dramatic shine and extreme durability make it perfect for jewelry, decorative pieces, or items you want to look truly professional. Resin completely encapsulates the clay, providing maximum water resistance and a unique depth that other sealants can’t match.
Step-by-Step Guide: How to Seal Air Dry Clay
Now that you understand your options, let’s walk through the complete sealing process to ensure your project turns out perfectly.
Step 1: Ensure Complete Drying
Patience during this initial step prevents disaster later. Air dry clay must be completely dry before sealing—no exceptions. Most air dry clay takes 24-72 hours to dry thoroughly, depending on thickness, humidity, and temperature. Thicker pieces may require up to a week. Test for dryness by touching the coolest part of your piece (usually the thickest section). If it feels even slightly cool or damp, it needs more time.
Sealing wet or partially dry clay traps moisture inside, leading to mold, cracking, or deterioration. Set your piece in a warm, dry location with good air circulation, rotating it occasionally to ensure even drying. A fan can speed the process without causing temperature-related cracking.
Step 2: Sand and Smooth the Surface
Once fully dry, examine your piece for rough spots, fingerprints, or imperfections. Fine-grit sandpaper (220-400 grit) smooths these issues effectively. Sand gently using circular motions, working gradually rather than applying heavy pressure. This step creates a smooth base for your sealant, ensuring an even, professional finish.
After sanding, wipe away all dust with a slightly damp cloth, then let the piece dry completely again. Even tiny dust particles can create bumps or cloudiness in your sealed finish, so this cleaning step matters more than you might think.
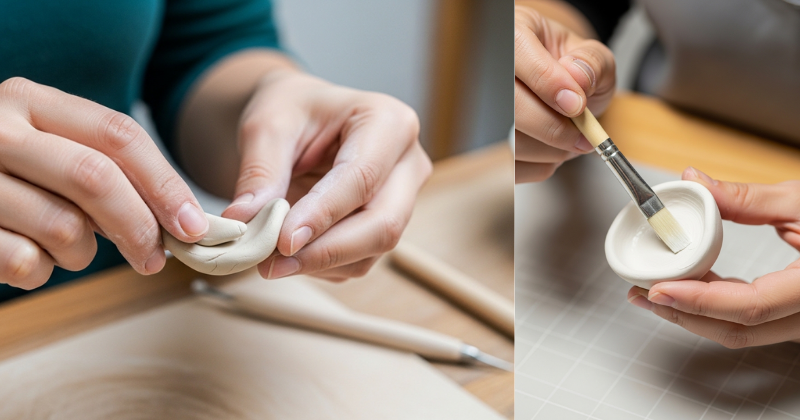
Step 3: Apply Paint or Decoration (If Desired)
If you plan to paint or decorate your clay piece, do this before sealing. Acrylic paints work best on air dry clay, offering good coverage and fast drying times. Apply thin, even coats rather than one thick layer, allowing each coat to dry completely before adding the next. This approach prevents paint from pooling or cracking.
For intricate details, fine brushes and patience produce the best results. Don’t rush this stage—quality painting enhances your final sealed piece dramatically. Once all painting is complete and thoroughly dry, you’re ready to seal.
Step 4: Choose Your Application Method
Sealants can be applied via brush or spray, each method offering distinct advantages. Brush application gives you precise control and works well for smaller projects or pieces with lots of detail. Use soft, synthetic brushes designed for water-based products, and apply thin, even coats following the natural contours of your piece.
Spray sealants provide the smoothest, most even finish with no brush marks. They’re ideal for larger pieces or when you want that flawless, professional look. Hold the spray can 8-12 inches from your piece and apply in light, sweeping motions. Multiple thin coats always beat one heavy application.
Step 5: Apply the First Coat
Whether brushing or spraying, your first coat should be thin and even. Don’t try to achieve full coverage in one go—that’s a recipe for drips, runs, and uneven finish. Brush strokes should follow one direction when possible, creating consistency. For spray application, keep the can moving constantly to prevent buildup in any one spot.
Work in a well-ventilated area and protect your workspace with newspaper or a drop cloth. If you’re brushing sealant on, work quickly but carefully to avoid going over the same area repeatedly, which can create brush marks or lift underlying paint.
Step 6: Allow Proper Drying Time
This step requires discipline. Follow the manufacturer’s recommended drying time exactly—usually 1-4 hours between coats depending on the product. Resist the temptation to touch the piece to test dryness, as fingerprints in tacky sealant are nearly impossible to fix. The surface should feel completely dry and not sticky before applying additional coats.
Temperature and humidity affect drying time significantly. On humid days, add extra time between coats. Working in a warm, dry environment speeds the process and improves final results.
Step 7: Apply Additional Coats
Most projects benefit from 2-3 coats of sealant for adequate protection. Each additional layer strengthens the moisture barrier and enhances appearance. Sand lightly between coats with very fine sandpaper (400-600 grit) if you notice any imperfections, always wiping away dust before applying the next coat.
For maximum durability on functional items or outdoor pieces, apply 3-4 coats. Decorative pieces that won’t be handled much can get by with 2 coats. Let your final coat cure for at least 24 hours before handling the piece regularly.
Troubleshooting Common Sealing Problems
Even with careful attention, issues can arise. Here’s how to fix the most common problems and prevent them from happening again.
Cloudy or Milky Appearance
Cloudiness usually results from applying sealant too thickly, in high humidity, or over paint that wasn’t completely dry. If you catch this problem before the sealant dries, you can sometimes gently wipe it away and start over. Once dry, light sanding followed by another thin coat often clears the cloudiness.
Prevent this issue by applying multiple thin coats rather than one thick layer, ensuring your workspace isn’t too humid, and confirming all paint layers are bone-dry before sealing.
Sticky or Tacky Surface
If your sealed piece remains sticky after the recommended drying time, you’ve likely applied the sealant too heavily. Some cheaper sealants also never fully cure. Give the piece several more days in a warm, dry location. If stickiness persists after a week, you may need to sand down the sticky layer and start over with a higher-quality product or thinner coats.
Brush Marks or Streaks
Visible brush strokes happen when you apply sealant too thickly or go over the same area multiple times. To fix dried brush marks, sand lightly with fine-grit sandpaper and apply another thin coat. Prevent this by using high-quality brushes, working quickly with thin layers, and considering spray application for perfectly smooth results.
Cracks or Peeling
If your sealant cracks or peels, the clay likely wasn’t completely dry when sealed, or you applied an incompatible product over certain paints. Unfortunately, fixing this requires removing the failed sealant, ensuring the piece is thoroughly dry, and starting over. Always check that your paint and sealant are compatible—both should ideally be acrylic-based for best results.
Yellowing Over Time
Yellowing typically affects oil-based sealants or lower-quality products exposed to sunlight. Prevent this by choosing non-yellowing formulas specifically designed for crafts and keeping finished pieces away from direct, prolonged sun exposure. Water-based acrylic sealers resist yellowing far better than oil-based options.
Pro Tips for Professional Results
Take your sealing skills to the next level with these expert techniques that separate amateur results from professional finishes.
Test on Scrap Pieces First
Whenever trying a new sealant or technique, test it on a small scrap piece of air dry clay first. This experimental approach lets you see how the sealant affects your specific clay brand and paint combination without risking your main project. Keep a few test pieces on hand specifically for this purpose.
Use a Lazy Susan for Even Application
Placing your piece on a turntable or lazy Susan while sealing allows you to rotate it smoothly for even coverage without touching the wet sealant. This simple tool produces dramatically better results, especially for three-dimensional sculptures or pieces with complex shapes.
Apply Sealant in Opposite Directions
When applying multiple coats, alternate your brush direction or spray pattern with each layer. If you brushed vertically on the first coat, brush horizontally on the second. This technique ensures complete coverage and minimizes visible brush marks or thin spots.
Consider a Primer for Painted Pieces
For heavily painted projects, applying a thin layer of clear acrylic paint (heavily diluted with water) as a primer before sealing can help the sealant adhere more evenly and prevent paint from lifting. This extra step takes only minutes but can prevent frustrating paint damage during sealing.
Create Custom Finishes by Mixing
You can blend different finish types to create custom effects. Mix matte and glossy sealants to achieve a satin finish that’s not available in your preferred brand, or apply matte sealant as a base with glossy accents on specific areas for dimensional interest.
Store Sealed Pieces Properly
Even sealed air dry clay benefits from thoughtful storage. Keep finished pieces away from extreme temperatures, direct sunlight, and high humidity. While sealing provides excellent protection, avoiding harsh conditions extends the life of your creations indefinitely.
Taking Your Clay Projects to the Next Level
You’ve now mastered the fundamentals of sealing air dry clay, opening up endless creative possibilities. The protection and professional finish that proper sealing provides mean you can confidently create functional items, not just decorative pieces. Consider making jewelry, keychains, plant markers, ornaments, or even small bowls and dishes now that you know how to protect them properly.
Experiment with different sealant types and application techniques to discover which combinations work best for your personal style. Some artists prefer the organic look of matte finishes, while others love the drama of high-gloss resin coatings. There’s no single right answer—just the perfect finish for each individual project.
Remember that sealing is a skill that improves with practice. Your first few projects might not turn out exactly as you envisioned, and that’s completely normal. Each piece you seal teaches you something new about timing, technique, and product behavior. Keep notes about what works well and what doesn’t, building your own reference guide for future projects.
The satisfaction of creating a beautiful, sealed air dry clay piece that will last for years can’t be overstated. You’ve moved beyond simple craft projects into creating genuine artwork and functional items with professional-quality finishes. Now grab that project you’ve been working on, choose your sealant, and give it the protective finish that will preserve your hard work for years to come!