
Breathe easier with this natural chest rub recipe for congestion and cold relief! This DIY balm uses essential oils to soothe airways and support your recovery.
Have you ever spent a restless night tossing and turning because a stubborn cough or a stuffy nose wouldn’t let you catch a wink of sleep? We have all been there, feeling drained and desperate for a bit of comfort. While many store-bought vapor rubs have been household staples for decades, they often contain petroleum-based ingredients and synthetic fragrances that can be harsh on sensitive skin. What if you could unlock the power of nature to soothe your symptoms using a natural chest rub recipe for congestion and cold relief that you made yourself?
Creating your own wellness products is a transformative way to care for your family. By blending pure essential oils with nourishing plant-based butters, you are providing effective, gentle support for your respiratory system. This guide will walk you through everything you need to know to achieve professional-grade results right in your kitchen. You are about to discover how simple and rewarding it is to take charge of your home apothecary. Get ready to breathe deep and feel empowered!
Foundation: Why a Natural Chest Rub Recipe Works
Before we dive into the making process, it is important to build your confidence in how these ingredients actually help you feel better. A natural chest rub recipe for congestion and cold relief isn’t just about a pleasant smell; it’s about the topical application of volatile plant compounds that support the body’s natural defenses.
The Power of Essential Oils
The primary reason this DIY balm is so effective lies in aromatherapy. When you apply the rub to your chest, your body heat warms the oils, releasing therapeutic vapors.
- Eucalyptus Oil: Contains cineole, which research suggests has anti-inflammatory and clearing properties for the airways.
- Peppermint Oil: Provides a cooling sensation that can make breathing feel more open and relaxed.
- Tea Tree Oil: Acts as a natural antimicrobial agent to support your environment during cold season.
The Benefit of a Salve Base
Unlike a liquid oil, a salve made with beeswax and coconut oil stays on the skin longer. This creates a “slow-release” effect, ensuring you continue to inhale the beneficial vapors throughout the night. It also provides a wonderful opportunity for gentle massage, which can help break up mucus and provide emotional comfort during a period of illness.
Reassurance for Beginners
If you are new to working with essential oils or beeswax, don’t worry! This is an achievable, low-stress project. You don’t need fancy lab equipment—just basic kitchen tools. We will guide you through the safety considerations to ensure your natural chest rub is perfect for your specific needs.
Step-by-Step: Crafting Your Natural Chest Rub
Ready to create your first batch? Follow this clear, actionable process to ensure your balm has the perfect consistency and potency.
Gathering Your Ingredients
- 1/2 cup Coconut Oil: This serves as your moisturizing base.
- 2 tablespoons Beeswax Pellets: This provides the structure and makes it easy to apply.
- 1/4 cup Shea Butter (Optional): For an extra creamy, luxurious feel.
- The Essential Oil Blend: 20 drops Eucalyptus, 15 drops Peppermint, and 10 drops Lavender.
- Glass Jars: Small 2-ounce tins or glass jars work best.
The Core Method
- The Double Boiler: Place your coconut oil, shea butter, and beeswax in a glass bowl set over a pot of simmering water. Never place the ingredients directly on a burner!
- Melt Gently: Stir the mixture occasionally until everything is completely liquid and clear. This usually takes about 5 to 10 minutes.
- Cool Slightly: Once melted, remove the bowl from the heat. Let it sit for about 2 minutes. If you add essential oils to boiling-hot wax, the heat can “flash off” the beneficial properties of the oils.
- Add the Oils: Carefully drop your essential oils into the mixture and stir well with a glass rod or a clean spoon.
- The Final Pour: Carefully pour the liquid into your jars. Let them sit undisturbed at room temperature for 2 to 3 hours until they are completely solid.
Timing and Planning
Total active prep time is less than 15 minutes. It is a great idea to make a batch before cold season starts, so you have it ready to go the moment you feel a tickle in your throat!
Advanced Strategies: Customizing Your Relief
Once you have mastered the basic natural chest rub recipe for congestion and cold relief, you can start to share expert-level insights by adapting the formula for different members of your household.
Creating a Kid-Friendly Version
Standard eucalyptus and peppermint can sometimes be too strong for very young children. To make a “Junior” version, swap out Eucalyptus globulus for Eucalyptus radiata or Pine essential oil, and reduce the total number of drops by half. Always use a 1% dilution or less for children under the age of six.
The “Foot Hack” Strategy
Did you know many people find relief by applying chest rub to the soles of their feet? This is a popular “pro tip” in the wellness community. After applying the rub to your feet, put on a pair of thick wool socks. The warmth helps the oils absorb into the thick skin of the feet, providing a different pathway for the aromatic benefits.
Featured Snippet: Where is the best place to apply chest rub for congestion?
The most effective places to apply a natural chest rub are the chest, the back (between the shoulder blades), and the throat. Applying it to the chest allows the vapors to rise directly toward the nose and mouth, while application to the back can provide a soothing sensation near the lungs.
Troubleshooting: Common Challenges and Solutions
Even with a simple recipe, things don’t always go perfectly. Here is how to handle frequent obstacles with encouragement:
- The rub is too hard: If your balm feels like a candle and is hard to scoop, you used too much beeswax. Simply melt it down again and add a tablespoon of coconut oil.
- The rub is too liquid: If it melts the moment you touch it, add a teaspoon more of beeswax pellets.
- The scent is fading: Essential oils are volatile. Ensure you are using airtight lids and keeping your jars in a cool, dark place. Light and heat are the enemies of essential oil potency!
Preventive Measures
To avoid skin irritation, always do a small “patch test” on the inside of your elbow before applying the rub to your chest. This ensures that you aren’t sensitive to any of the specific oils in the blend.
Maximizing Results: Next Level Wellness Tips
To build upon the success of your natural chest rub, consider integrating it into a holistic routine for recovery.
Complementary Strategies
- Hydration: No amount of chest rub can replace the need for water. Keeping your body hydrated helps thin out mucus, making it easier for the rub to do its job.
- Internal Link Opportunity: Pair your chest rub with DIY Herbal Steam Inhalation for an intensive respiratory treatment.
- Internal Link Opportunity: Learn how to make Homemade Elderberry Syrup to support your immune system from the inside out.
- Internal Link Opportunity: Explore The Benefits of Humidifiers during the dry winter months.
Long-Term Maintenance
A well-made chest rub can last for 6 to 12 months. If the smell starts to change or the oil begins to smell “rancid,” it is time to whip up a fresh batch. Because this recipe is so cost-effective, you can afford to refresh your supply every season.
Conclusion: Achieve a Restful Recovery
You have successfully learned how to create a natural chest rub recipe for congestion and cold relief that is safe, effective, and tailored to your needs. This simple act of DIY wellness is a powerful way to care for yourself and your loved ones. You have moved from the foundation of herbal knowledge through the steps of creation and into advanced customization.
The transformation from feeling “stuck” with congestion to breathing clearly is a beautiful thing. We encourage you to keep this recipe in your wellness toolkit and share your success with others. You are capable of providing high-quality care right from your own home, one small jar at most.
Would you like me to help you create a recipe for a soothing throat spray next? Your journey to a more natural, healthy home is just beginning!
Important Disclaimer: This article is for informational purposes only and should not replace professional advice. For health-related topics, consult healthcare providers. For financial or legal matters, seek qualified professional guidance. For safety procedures, verify current best practices and local regulations. Individual results may vary, and personal circumstances should always be considered when implementing any suggestions.
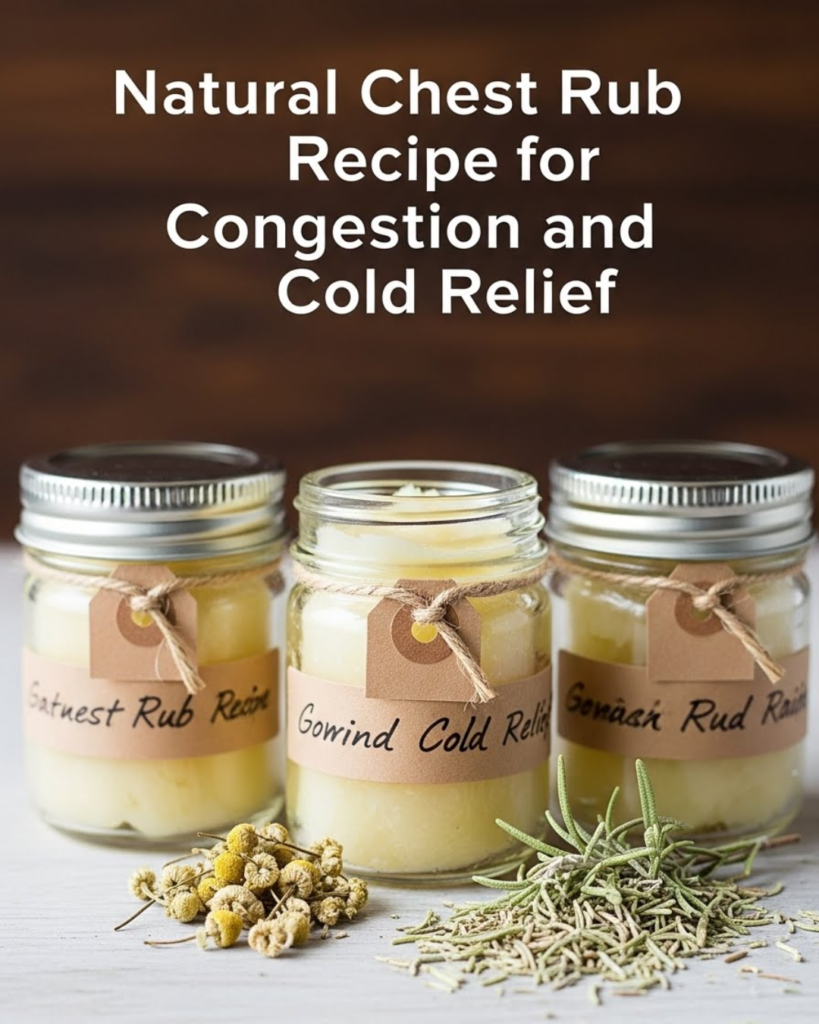
Caption: Breathe in the power of nature for a restful night’s sleep!