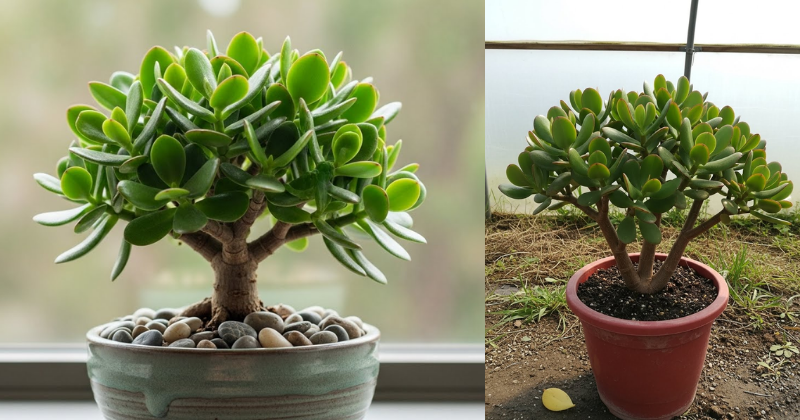
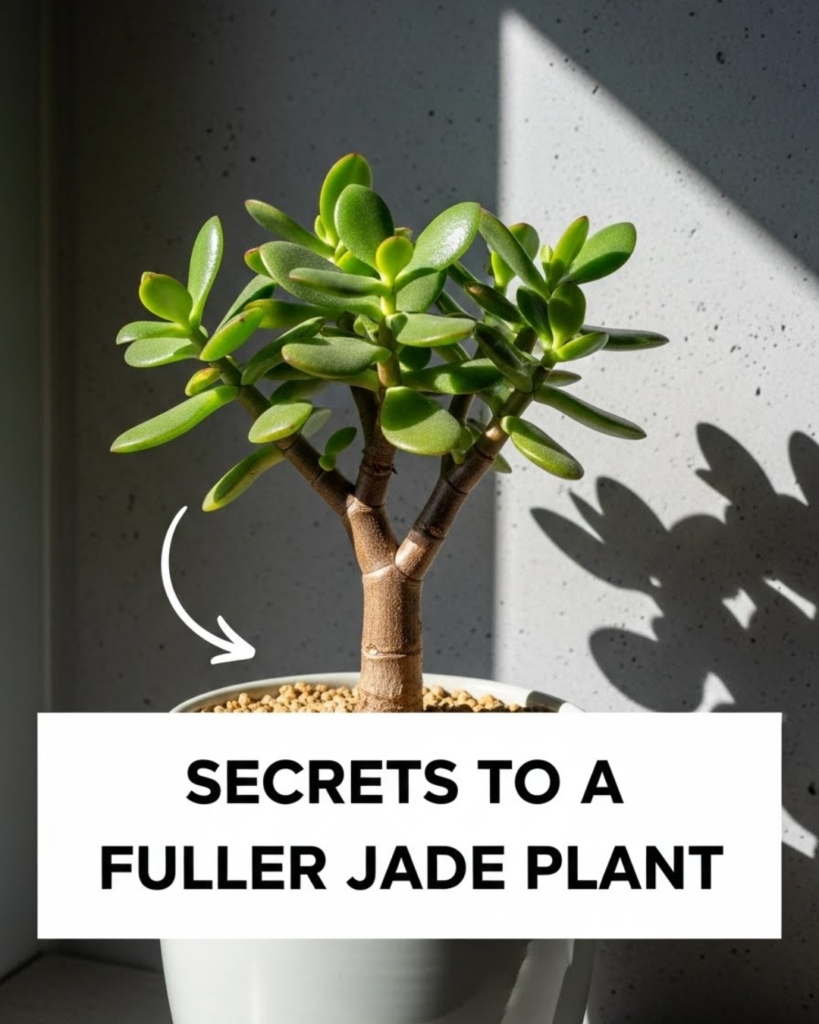
Do you look at your jade plant (Crassula ovata) and wish it had that lush, branching, tree-like structure instead of being tall and spindly? You’re not alone! Mastering the Secrets to a Fuller Jade Plant involves simple, intentional adjustments to light, watering, and, most importantly, pruning. This comprehensive guide will provide the achievable, step-by-step guidance you need to transform your leggy succulent into a beautiful, dense specimen, deepening your connection with nature through hands-on care. Get ready to discover how to encourage healthy branching, unlock the plant’s natural growth potential, and achieve a truly magnificent jade plant.
☀️ Section 1: Foundation First: The Critical Role of Light
The single most important factor for a fuller jade plant is adequate light. Without it, the plant stretches out in a process called etiolation, leading to weak, spindly growth that cannot support a dense, bushy shape. You must build confidence with basic concepts about the jade plant’s light requirements.
H3: Building Confidence with Basic Concepts: Etiolation Explained
Etiolation is the plant’s frantic attempt to reach a light source. The stems lengthen rapidly, and the space between the leaves (internodes) becomes excessively long. This weakens the structure and is the opposite of a desirable fuller jade plant.
- The Optimal Light Spectrum: Jade plants thrive in bright, indirect light, but they absolutely adore direct sunlight—especially morning sun. Aim for at least four to six hours of bright light daily. South or west-facing windows are usually best indoors.
- Encouraging Reassurance for Beginners: Don’t be afraid of sunlight! Unlike some houseplants, the jade plant needs strong light to stay compact. If you notice yellow or red tips on the leaves, that’s generally a sign of happy stress, not burning.
H3: Addressing Common Concerns: Identifying Insufficient Light
If you are unsure if your plant is getting enough light, look for these tell-tale signs:
- Weak, Pale Growth: New leaves are much smaller and paler than older ones.
- Stretching: The distance between each set of leaves along the stem is over $1 \text{ inch}$ (or $2.5 \text{ cm}$).
- Dropping Leaves: Lower leaves drop off because the plant cannot sustain the stretched-out structure.
If you cannot provide natural bright light, consider using grow lights (LED full-spectrum preferred) placed $12 \text{-} 24 \text{ inches}$ above the canopy to supplement your plant’s needs.
✂️ Section 2: Step-by-Step Process: Core Methods for Pruning
Pruning is the real secret to a fuller jade plant. This action signals the plant to produce two or more new stems where one was cut, creating the desired dense, bushy canopy. This is the achievable, step-by-step guidance for effective pruning.
Step 1: Tool Selection and Timing (Actionable Language)
You must use the right tools at the right time for a clean, successful cut.
- Tool Requirements: Use sharp, sterilized shears, scissors, or even a craft knife. Sterilizing the blade with rubbing alcohol prevents the spread of disease.
- Timing and Planning Considerations: The best time to prune is during the active growing season (spring or early summer). This allows the plant to quickly heal and dedicate energy to producing new growth before winter dormancy.
- Identify the Target: Look for a section of the stem where you want the new branching to occur.
Step 2: Making the Pruning Cut
The location and cleanliness of the cut are critical to successful branching.
- The Cut Location: Locate a node, which is the point where a set of leaves emerges from the stem. Make your cut approximately $1/4 \text{ inch}$ above this node. Practical Tips and Shortcuts: By cutting above a node, you ensure the plant has dormant buds ready to activate and sprout new branches.
- The Healing Process: After making the cut, the raw wound needs time to callus over. Keep the cut area dry and do not water the plant for a few days. The wound will dry and seal itself, which acts as a preventive measure against infection.
Step 3: Encouraging New Branching
After the cut heals, new growth will emerge in the subsequent weeks.
- Observation: Over the next $2 \text{-} 4 \text{ weeks}$, you should observe tiny new sprouts emerging from the dormant buds located just below where you made the cut. Most often, two new branches will emerge, creating a ‘Y’ shape.
- Watering: Resume your regular, deep watering schedule (only when the soil is completely dry) after the cut has healed and you see new growth. This provides the energy the plant needs to push out new branches. (Internal Linking Opportunity: Read our guide on “The Essential Guide to Succulent Watering Schedules.”)
💧 Section 3: Advanced Strategies: Root Pruning and Repotting
For a truly magnificent and fuller jade plant, managing the roots is just as important as pruning the canopy. This involves expert-level insights into root maintenance.
H3: Creative Solutions: Root Pruning for Compactness
If your jade plant is becoming top-heavy or perpetually leggy, the roots might be signaling it’s time for a trim and repotting.
- When to Prune Roots: Root pruning is best performed during repotting, typically every $2 \text{-} 4 \text{ years}$. Look for roots circling the pot or growing out of the drainage holes.
- The Process: Gently remove the plant from its pot and use sterilized scissors or shears to trim away up to $1/3$ of the tangled or circling root mass. This rejuvenates the roots and signals the plant to produce new, fibrous feeder roots, which are essential for nutrient uptake.
- Ways to Customize Approach: Immediately repot the plant into fresh, fast-draining soil (succulent/cactus mix). You can often use the same size pot or one only slightly larger, as root pruning helps maintain a smaller, more manageable size for indoor gardening topics.
H3: Encouraging Experimentation: The Importance of Soil and Drainage
The right soil and drainage setup are non-negotiable for a healthy, fuller jade plant structure.
- The Soil Mix: Jade plants despise sitting in damp soil. A commercial succulent or cactus mix is a great starting point. Encourage Experimentation: Many experts create their own mix: $50\%$ standard potting soil, $25\%$ coarse sand, and $25\%$ perlite or pumice for exceptional drainage.
- Pots with Drainage: Always use pots with drainage holes. Without proper drainage, water collects, leading to root rot—the number one killer of jade plants. Root rot prevents the plant from accessing the water and nutrients it needs to grow a dense, healthy canopy.
🐛 Section 4: Troubleshooting and Common Challenges
Even when applying the secrets to a fuller jade plant, you may encounter obstacles like pests or soft leaves. Here are practical troubleshooting tips to address these issues.
Featured Snippet Potential: “Why are my jade plant leaves soft and shrivelled?”
Soft, shrivelled, or wrinkled leaves on a jade plant are almost always a sign of dehydration or root rot. If the soil is dry, the plant needs water. If the soil is wet, the soft leaves are a critical sign of root rot, where the roots can no longer take up water. To solve this, immediately remove the plant from its wet soil, trim away any black or mushy roots (which is where the infection lies), and repot it in fresh, dry, fast-draining soil. Do not water for at least a week to allow the remaining roots to heal.
Practical Troubleshooting Tips (Pests and Diseases)
- Problem: Cottony white masses appearing in leaf crevices (Mealybugs).
- Obstacle: Mealybugs suck the sap from the plant and weaken its structure.
- Solution: Preventive Measures: Isolate the plant immediately. Spot treat by dipping a cotton swab in rubbing alcohol and touching the mealybugs directly. For a larger infestation, spray the entire plant with insecticidal soap or diluted neem oil, ensuring you hit the underside of the leaves.
- Problem: The pruned area is black and mushy.
- Obstacle: Fungal infection or rot setting in due to moisture.
- Solution: Encouragement for Setbacks: This requires drastic action. Sterilize your cutting tool again. Cut off the mushy, blackened area completely, moving further down the stem until you reach healthy, white tissue. Allow the newly cut end to callus for several days before watering, preventing the rot from spreading further.
- Problem: New growth is weak and pale.
- Obstacle: Insufficient light after pruning.
- Solution: Offer Alternative Approaches: Immediately move the plant to the brightest location you have. New growth needs maximum light intensity to emerge compact and green, ensuring the successful formation of a fuller jade plant.
📈 Section 5: Maximizing Results: Fertilizing and Shaping
To truly maximize results and maintain a compact, tree-like appearance, you need to understand the right feeding schedule and shaping techniques.
- Show How to Build Upon Basic Success: Pinching for Density. Once your jade plant starts producing new branches from a pruning cut, you can use the technique of ‘pinching.’ This involves using your fingernails to simply pinch off the tiny, new growth tip at the end of a branch. This forces the single branch to fork again, doubling the density. Repeat this technique during the growing season to rapidly create a dense canopy.
- Maintenance and Long-Term Considerations: Fertilizing Discipline. Over-fertilizing, especially with high-nitrogen fertilizers, promotes rapid, soft, and leggy growth—the exact opposite of the desired result. Feed your jade plant only $2 \text{-} 3$ times during the active growing season (spring and summer) with a diluted, balanced fertilizer (e.g., NPK 10-10-10) or a fertilizer specifically formulated for succulents. Do not fertilize in the fall or winter.
- Suggest Complementary Strategies: Seasonal Considerations and Regional Variations. If you live in a region with warm summers, moving your jade plant outdoors after the last risk of frost is one of the best ways to provide the intense light it craves. The natural strong sunlight will keep the growth exceptionally compact and green, quickly helping you achieve a fuller jade plant. Bring it inside before temperatures drop below $50^{\circ}\text{F}$ ($10^{\circ}\text{C}$).
✅ Conclusion: Your Capability to Nurture a Fuller Jade Plant
You are now equipped with the ultimate secrets to a fuller jade plant, understanding that its beauty lies not just in watering, but in the strategic application of intense light and purposeful pruning. By embracing these achievable, step-by-step guidance techniques—from targeted cutting to ensuring proper root health—you have demonstrated your capability to succeed in cultivating a magnificent, dense specimen. This hands-on Gardening Topic skill will transform your plant care and reward you with years of lush, vibrant growth.
Ready to start shaping your Crassula ovata? Will you begin by moving it to a brighter location or by making that strategic first pruning cut to encourage new branches?