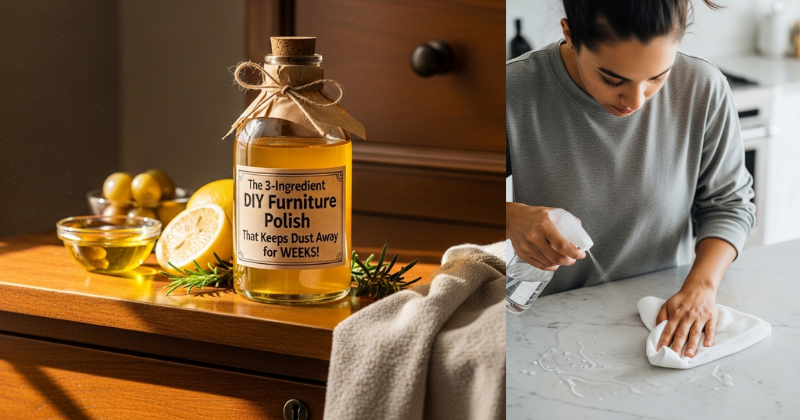
Discover the secret to a dust-free home with this 3-ingredient DIY furniture polish. This easy, natural recipe keeps dust away for weeks while nourishing your wood!
Do you ever feel like you just finished dusting, only to see a thin layer of grey fuzz settling back onto your coffee table an hour later? It is one of the most frustrating chores in the book. Most store-bought sprays contain silicones and synthetic oils that actually act like a magnet for particles, creating a sticky buildup over time. But what if you could create a solution that doesn’t just clean, but actually repels dust? You are about to discover the power of The 3-Ingredient DIY Furniture Polish That Keeps Dust Away for WEEKS!
By switching to this homemade alternative, you will transform your cleaning routine from a daily struggle into a long-lasting victory. Imagine having surfaces that stay gleaming and smooth for fourteen days or more! This article provides a clear, step-by-step guide to making a professional-grade polish using items already in your pantry. You have the capability to save money, reduce indoor toxins, and reclaim your weekend. Let’s unlock the secret to a truly clean home together!
Foundation: Why This Natural Polish Works Better Than Retail
Before we dive into the mixing, it is important to build your confidence in why these specific components are so effective. Many people hesitate to use a DIY solution because they fear it might be greasy or damage their expensive wood finishes. However, once you understand the science of “anti-static” cleaning, you’ll never go back to aerosol cans.
The primary goal of this 3-ingredient DIY furniture polish is to break the static charge that pulls dust out of the air and onto your furniture. Retail polishes often leave a film that traps dust. Our natural version uses simple ingredients that nourish the wood while leaving a crisp, dry finish that dust simply slides off of. This foundation is built on achievable, cost-effective science that empowers you to take control of your home environment.
H3: Olive Oil – The Nourisher
Think of olive oil as a conditioner for your wood. Wood is a porous material that can dry out and crack over time. The oil penetrates the surface, bringing back the rich color and “glow” of the grain. It acts as the protective base of our recipe.
H3: Vinegar – The Cleaner
White distilled vinegar is the powerhouse of this mixture. It cuts through fingerprints, grease, and old wax buildup. More importantly, it acts as a natural disinfectant and helps the oil spread evenly without leaving a heavy residue.
H3: Essential Oils – The Anti-Static Secret
While technically the “third” part of the active mixture (when combined with the liquid base), essential oils like Lemon or Lemongrass do more than just smell good. They contain natural compounds that help reduce the static electricity on surfaces, which is the key to keeping dust away for weeks.
Step-by-Step Process: Mixing and Applying Like a Pro
Creating this polish is incredibly simple. You don’t need a degree in chemistry—just a few minutes and a clean spray bottle. Follow these steps to achieve a streak-free, dust-repelling shine.
Step 1: Gather Your Tools
You will need a small glass spray bottle (8 oz is perfect), a funnel, and a high-quality microfiber cloth. Microfiber is essential because it picks up dust rather than just moving it around.
Step 2: The Perfect Ratio
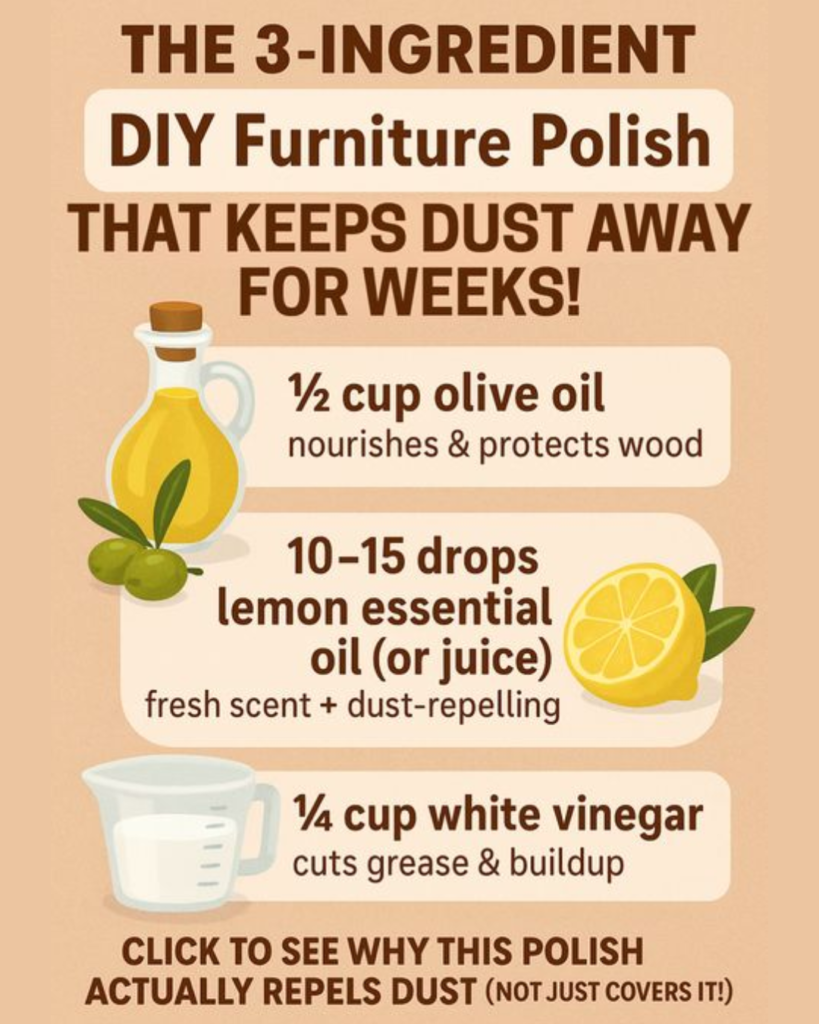
For the most effective 3-ingredient DIY furniture polish, use the following measurements:
- 1/4 cup Olive Oil: (Go for the cheap stuff; no need for extra virgin here!)
- 1/2 cup White Vinegar: This provides the cleaning power.
- 10-15 drops of Lemon Essential Oil: For scent and anti-static properties.
- Note: If you are using a larger bottle, simply add 1 cup of water to the mix to help emulsify the solution.
Step 3: Shake and Spray
Because oil and vinegar naturally separate, you must shake the bottle vigorously before every single use. Spray the solution directly onto your microfiber cloth—not the furniture—to prevent “spotting” or over-saturation.
Step 4: The Buffing Technique
Wipe the surface in the direction of the wood grain. Once you’ve applied the polish, flip your cloth to a dry side and buff the surface. This final buffing step is what removes any excess oil and leaves that dust-repellent finish.
Advanced Strategies: Customizing Your Polish for Different Woods
Once you’ve mastered the basic recipe, you can share in these expert-level insights to adapt the polish to your specific home needs. Different woods and finishes sometimes require a slightly different touch.
- For Dark Woods (Walnut/Mahogany): Replace the white vinegar with Apple Cider Vinegar. The slightly darker tint of the ACV helps hide small scratches and maintains the deep, dark luster of the wood.
- For Unfinished or Raw Wood: Increase the olive oil ratio. Unfinished wood “drinks” the oil quickly, so a 1:1 ratio of oil to vinegar will provide the deep hydration the wood craves.
- The “Rain-X” Effect for Glass: If you have glass-topped coffee tables, add a teaspoon of cornstarch to the mix. It sounds strange, but cornstarch is a secret weapon for streak-free glass that stays clean longer.
H3: Seasonal Adjustments
During the winter, indoor air is much drier due to heating systems. This increases static and makes wood more brittle. During these months, add a teaspoon of vegetable glycerin to your 3-ingredient DIY furniture polish. Glycerin is a humectant that draws moisture into the wood and significantly boosts the anti-static effect.
Troubleshooting: Common Challenges and Solutions
Even the best DIY projects can hit a snag. If your first attempt doesn’t look quite right, don’t be discouraged! These common issues are easily fixed.
- Challenge: “My furniture feels greasy to the touch.”
- Solution: You likely used too much oil or didn’t buff the surface enough. Wipe the area down with a cloth dampened with plain vinegar to remove the excess, then buff again with a dry cloth.
- Challenge: “The smell of vinegar is too strong.”
- Solution: The vinegar scent disappears completely once it dries (usually within 10 minutes). However, you can add more essential oils or a sprig of fresh rosemary to the bottle to mask the initial scent.
- Challenge: “I see white cloudy spots on the wood.”
- Solution: This usually happens on older finishes where moisture has trapped under the wax. Use a hair dryer on a low setting to gently warm the spot, then re-apply a very thin layer of polish.
Preventive Measures
Always test a small, inconspicuous area (like the back of a chair leg) before applying any new cleaner to your entire piece of furniture. This ensures the finish reacts well to the acidity of the vinegar.
Maximizing Results: The Holistic Clean Home
To build upon the success of your new polish, consider how it interacts with the rest of your home maintenance. A clean home is a system, and keeping dust away for weeks requires a multi-pronged approach.
- Air Quality Matters: Your polish can only do so much if your air is full of particulates. Regularly clean your HVAC filters using a [Homemade Dish Soap Recipe (From Scratch)] to keep the vents grime-free.
- Clean Your Tools: If you use a dirty microfiber cloth, you are just redepositing dust. Wash your cleaning cloths separately from your towels to prevent lint transfer.
- The Entryway Defense: Most dust is actually dirt tracked in from outside. Placing high-quality mats at every door will reduce the amount of “raw material” that ends up on your furniture in the first place.
- Tackle the Source: If you find you are constantly dusting, you might want to look into a [Body Detox] for your home—reducing the amount of fabric clutter and paper piles that naturally shed fibers.
Conclusion: Achieve the Glow You Deserve
Switching to The 3-Ingredient DIY Furniture Polish That Keeps Dust Away for WEEKS! is more than just a cleaning hack; it is a lifestyle upgrade. You have successfully replaced a cabinet full of expensive, chemical-heavy sprays with a single, elegant solution that actually works better. The transformation of your home’s surfaces will be immediate, providing a rich, natural glow that makes every room feel more inviting.
Remember, the goal isn’t just a clean house—it’s more time for the things you love. By using a polish that repels dust, you are gifting yourself hours of freedom every month. You have the tools, the recipe, and the knowledge to maintain a beautiful home effortlessly. Now, go grab that spray bottle and discover the satisfaction of a job well done!