Introduction
Tired of dust settling on your furniture just hours after cleaning?
You wipe everything down… and the next day, it’s back again.
The problem isn’t just dust—it’s the lack of a protective layer on your surfaces.
The solution? A simple 3-ingredient DIY furniture polish that not only adds shine but also helps repel dust for longer.
In this article, you’ll learn:
- Why dust sticks to furniture
- How this DIY polish works
- The exact 3-ingredient recipe
- Step-by-step application
- Tips to make the results last
Why Furniture Gets Dusty So Fast
Dust is made up of:
- Dead skin cells
- Fabric fibers
- Dirt particles
- Airborne debris
It sticks easily to surfaces due to:
- Static electricity
- Dry air
- Residue from cleaning products
Without protection, dust settles quickly and builds up.
How This DIY Polish Works
This simple polish works in three ways:
- Cleans → removes existing dust and residue
- Conditions → nourishes wood surfaces
- Protects → creates a light barrier that reduces dust buildup
The result: smoother, shinier furniture that stays cleaner longer.
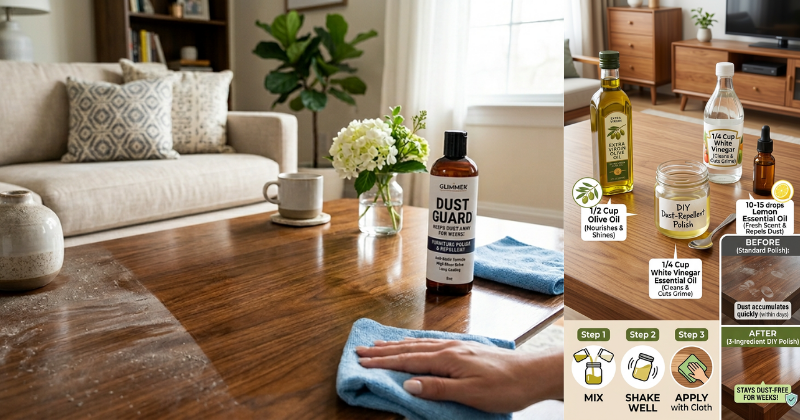
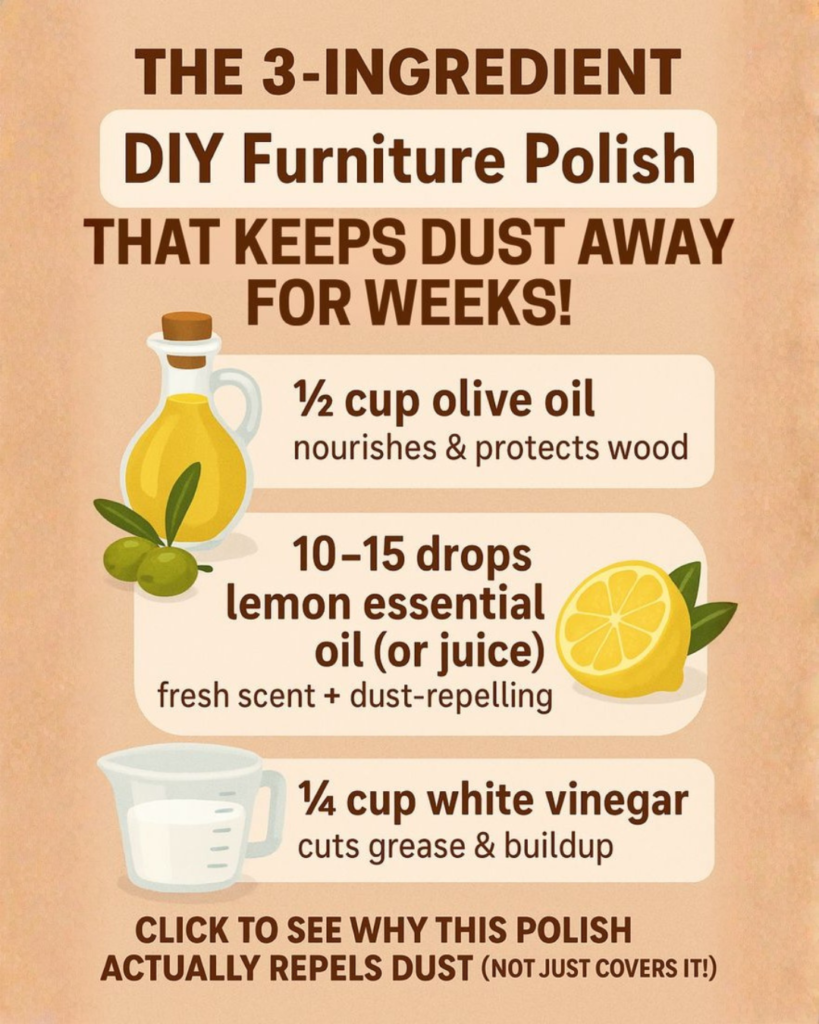
The 3-Ingredient Recipe
Ingredients:
- 2 tablespoons olive oil
- 1 tablespoon white vinegar
- 5–10 drops lemon essential oil (optional for scent)
Why These Ingredients Work
Olive Oil
- Adds shine
- Conditions wood
- Creates a smooth surface
Vinegar
- Cuts through grime
- Removes buildup
- Helps clean without residue
Lemon Oil (Optional)
- Fresh scent
- Light antibacterial effect
- Adds extra polish feel
Step-by-Step Application
Step 1: Mix the Ingredients
Combine all ingredients in a small bowl or spray bottle.
Shake well before use.
Step 2: Apply to Cloth
- Use a soft microfiber cloth
- Apply a small amount (don’t pour directly on furniture)
Step 3: Wipe the Surface
- Work in circular motions
- Follow the grain of the wood
Step 4: Buff for Shine
Use a clean, dry cloth to buff the surface.
This step enhances shine and prevents residue.
Where You Can Use It
This polish works well on:
- Wooden tables
- Cabinets
- Shelves
- Dressers
Avoid using on:
- Unsealed wood
- Glass surfaces
- Painted or matte finishes
How Often to Use It
- Once every 1–2 weeks is enough
- Overuse can cause buildup
The goal is maintenance, not heavy application.
Why It Helps Keep Dust Away
This method reduces dust because:
- Smooth surfaces collect less debris
- Light oil coating reduces static
- Less residue = less dust sticking
It won’t eliminate dust completely—but it slows it down significantly.
Common Mistakes to Avoid
1. Using Too Much Oil
Leads to sticky surfaces that attract dust.
2. Skipping Buffing
Leaves streaks or residue.
3. Applying on Dirty Surfaces
Always clean dust first before polishing.
4. Using on the Wrong Materials
Not suitable for all finishes.
Extra Tips for Longer Results
- Keep windows slightly open for airflow
- Use microfiber cloths for cleaning
- Reduce clutter (less surface = less dust)
Conclusion
Keeping furniture clean doesn’t have to be a daily struggle.
With this simple 3-ingredient DIY polish, you can:
- Add natural shine
- Protect your surfaces
- Reduce dust buildup
It’s easy, affordable, and effective.
Try it once—and you might notice your furniture staying cleaner for much longer.