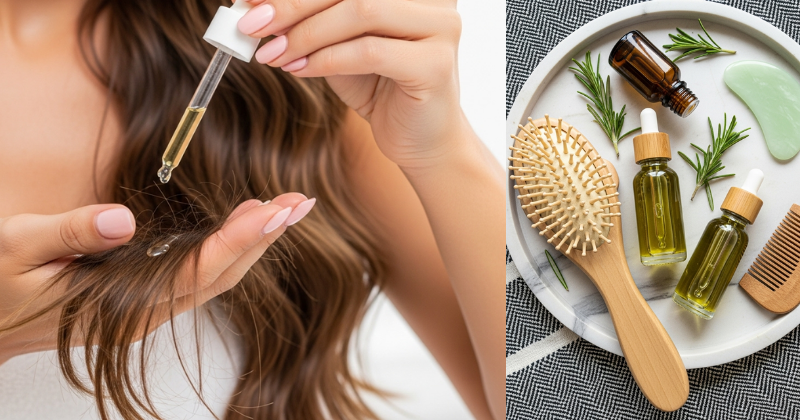
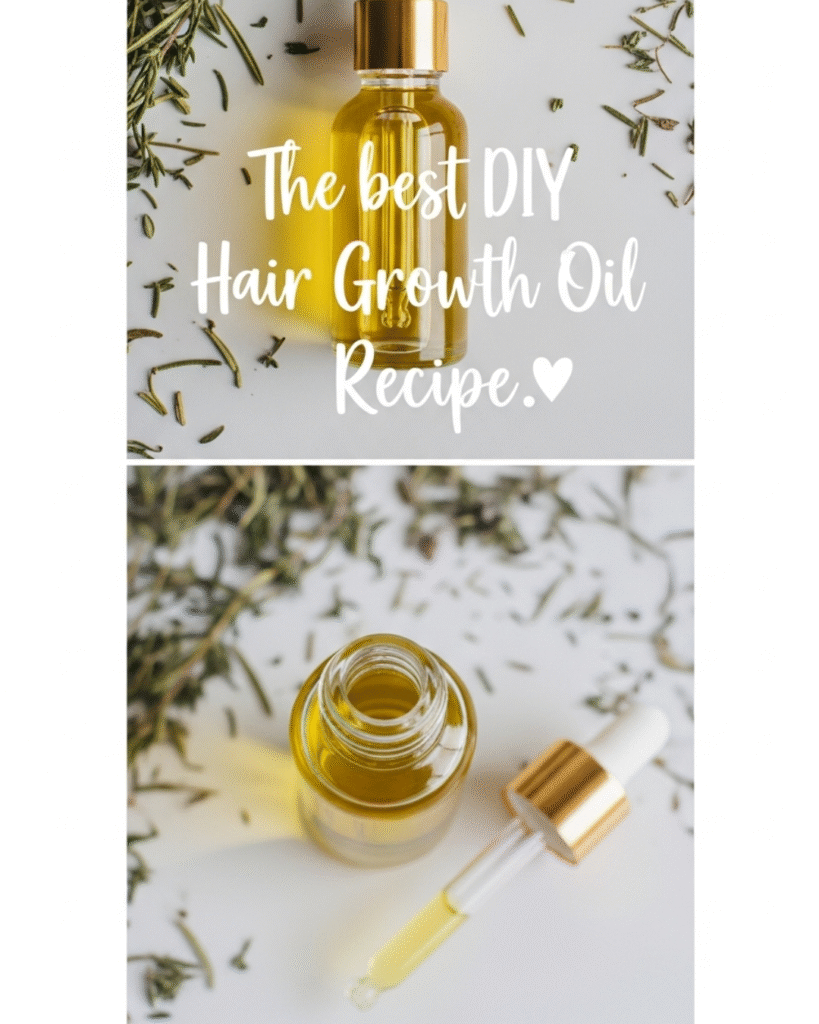
Dreaming of lush, vibrant hair but hesitant about expensive, chemical-laden serums? You can take control of your hair health right in your own kitchen! Discovering the best DIY hair growth oil recipe is a powerful, cost-effective way to nourish your scalp, strengthen your strands, and encourage healthy growth. The secret lies in blending potent natural carrier oils with circulation-boosting essential oils—a practice backed by both tradition and modern science. This comprehensive guide will give you the precise, achievable instructions to transform everyday oils into a high-performance hair growth oil recipe. Get ready to achieve your healthiest hair yet through this satisfying journey of natural, sustainable self-care.
🌿 Foundation First: Understanding Hair Growth and Natural Oils
Before mixing, it’s crucial to understand how oils contribute to hair growth. Effective DIY hair growth oil works primarily by stimulating the scalp (improving blood flow to the hair follicles) and nourishing the hair shaft, reducing breakage.
H3: The Core Ingredients: Carrier Oils vs. Essential Oils
Every successful hair growth oil recipe requires a synergy between two types of oils:
| Oil Type | Function | Best Examples for Growth |
| Carrier Oils | Base; moisturizes hair shaft, protects scalp, delivers nutrients. | Castor Oil (thickening), Jojoba Oil (sebum mimicry), Coconut Oil (penetration) |
| Essential Oils (EOs) | Potent therapeutic agents; stimulate circulation, address scalp issues. | Rosemary EO (stimulates growth), Peppermint EO (boosts circulation), Lavender EO (calms inflammation) |
Important Safety Consideration: Essential oils are highly concentrated and must always be diluted in a carrier oil before being applied to the skin or scalp. Using them neat can cause irritation or chemical burns.
H3: Building Confidence with Scientific Backing
One ingredient often cited as being key in the best DIY hair growth oil recipe is Rosemary Essential Oil. Studies have shown that rosemary oil can be as effective as 2% Minoxidil (a common over-the-counter hair growth treatment) in promoting hair growth, specifically by improving microcirculation in the scalp. This scientific backing should give you encouragement and confidence in your DIY endeavor!
Important Disclaimer: This article is for informational purposes only and should not replace professional advice. For health-related topics, consult healthcare providers. Individual results may vary, and personal circumstances should always be considered when implementing any suggestions.
🍯 Step-by-Step Process: The Best DIY Hair Growth Oil Recipe
This recipe is optimized for maximum scalp stimulation and hair shaft strength, balancing thickness and easy application.
Core Methods: The Ultimate Blend
Ingredients (Based on a 4 oz Bottle):
| Ingredient | Measurement | Function |
| Castor Oil (Cold-Pressed) | 2 oz (50% of base) | Promotes thickness; excellent viscosity. |
| Jojoba Oil or Sweet Almond Oil | 2 oz (50% of base) | Lighter oil; facilitates penetration; conditions. |
| Rosemary Essential Oil | 30 drops | Growth stimulant; circulation booster. |
| Peppermint Essential Oil | 10 drops | Tingly sensation; enhances blood flow. |
| Lavender Essential Oil | 10 drops | Soothing and calming; reduces scalp inflammation. |
| Optional: Vitamin E Oil | 1/2 teaspoon | Antioxidant; acts as a mild natural preservative. |
Tools Required:
- Small funnel
- 4 oz dark glass dropper bottle (dark glass protects the essential oils from light degradation)
- Small measuring spoons/cups
Step-by-Step Instructions:
- Prep the Vessel: Ensure your 4 oz dark glass bottle is perfectly clean and dry.
- Combine Carrier Oils: Using the funnel, pour the Castor Oil and your secondary carrier oil (Jojoba or Sweet Almond) into the bottle. Slowly mix them by gently tilting or swirling the bottle; do not shake vigorously yet.
- Add Essential Oils: Carefully count and drop the Rosemary Essential Oil, Peppermint Essential Oil, and Lavender Essential Oil into the carrier oil base. Add the optional Vitamin E Oil now.
- Seal and Blend: Seal the bottle tightly and shake gently for 30 seconds to ensure the essential oils are thoroughly dispersed into the carrier oil base.
- Cure (Optional but Recommended): Store your finished DIY hair growth oil in a cool, dark place for 24-48 hours before the first use. This allows the scents and therapeutic properties to fully meld, creating a more cohesive, potent formula.
(Internal Linking Opportunity: For ideas on how to source the best quality ingredients, see our article, “A Beginner’s Guide to Sourcing Organic Essential Oils.”)
🧖♀️ Advanced Strategies: Application and Customization
Creating the best DIY hair growth oil recipe is only half the battle; knowing how to apply it for maximum effectiveness is key to achieving results.
H3: The Scalp Massage Ritual
Oil applied passively to the hair tends to just sit on the surface. To stimulate growth, you must turn application into an active scalp massage ritual.
- Timing: Apply the oil 1-2 hours before washing your hair (2-3 times per week is ideal).
- Application: Fill the dropper and apply the oil directly to your scalp, focusing on the crown, temples, and edges. Part your hair in sections to ensure the oil reaches the skin, not just the hair strands.
- The Massage: Use the pads of your fingertips (not your nails) to massage your entire scalp in small, circular motions for 5 to 10 minutes. This physical action combined with the Peppermint and Rosemary oils dramatically increases blood flow to the hair follicles, maximizing ingredient absorption and growth potential.
- Heat Treatment (Pro Tip): After massaging, wrap your hair in a warm, damp towel (heated briefly in a microwave) or put on a thermal heating cap for 20-30 minutes. This helps open the hair cuticle and pores, driving the oils deeper into the scalp and hair shaft.
H3: Customizing for Your Hair Type
You can customize this hair growth oil recipe based on your specific hair needs:
| Hair Concern | Adjustment to Recipe | Why it Helps |
| Fine/Oily Hair | Use Grapeseed Oil instead of Castor Oil; reduce Castor to 1 oz max. | Grapeseed is very light and non-comedogenic, preventing the scalp from feeling heavy or greasy. |
| Dry/Brittle Hair | Replace Sweet Almond Oil with Olive Oil or Avocado Oil. | These oils are heavier and rich in fatty acids, providing intense deep conditioning and breakage protection. |
| Sensitive Scalp | Reduce Rosemary and Peppermint drops by half (or eliminate Peppermint). | Reduces the intensity of the stimulating oils, preventing irritation while still offering benefits. |
🚨 Troubleshooting and Common Challenges
As you commit to this sustainable lifestyle change, you may encounter issues like heaviness or slow results. Don’t be discouraged—small adjustments can make a huge difference!
Featured Snippet Potential: “How often should I use the DIY hair growth oil to see results?”
You should use your DIY hair growth oil recipe, including a 5-10 minute scalp massage, 2 to 3 times per week consistently for at least three to six months to begin seeing noticeable results in terms of reduced shedding and new growth. Hair growth is a gradual process; it occurs in cycles, and patience is essential. Consistency in application and massage is more important than using a large amount of oil each time.
Practical Troubleshooting Tips
- Problem: Hair feels heavy/greasy after washing.
- Solution: You are using too much oil. Start with a quarter-sized amount for the entire scalp, not the hair length. Also, use a gentle clarifying shampoo and ensure you double-cleanse the scalp area after the treatment.
- Problem: Scalp feels irritated or too tingly.
- Solution: The essential oils are too potent for your skin. Dilute immediately by adding another 2 oz of the carrier oil (Castor/Jojoba) to your existing blend. In future recipes, do not exceed the 2% dilution rate (about 10-12 drops per ounce of carrier oil).
- Problem: No noticeable growth after two months.
- Solution: Re-evaluate your method. Are you consistently massaging for 5-10 minutes? Are you applying 2-3 times per week? Also, remember that internal health (diet, stress, and vitamins) impacts hair growth. You may need to incorporate complementary strategies.
(Internal Linking Opportunity: Learn about the “Top 5 Vitamins and Supplements for Natural Hair Growth.”)
🚀 Maximizing Results: Complementary Growth Strategies
To truly maximize the results of the best DIY hair growth oil recipe, integrate it with holistic hair care practices.
Next Level Tips for Continued Success
- Dietary Support: Hair is protein, so ensure your diet is rich in lean proteins, omega-3 fatty acids (found in flaxseeds, walnuts, and fish), and biotin-rich foods (eggs, nuts). This internal support will strengthen the hair that the oil is helping to grow.
- Preventative Measures: Focus on reducing breakage. Use satin or silk pillowcases, avoid excessive heat styling, and detangle hair gently from the ends up. Stronger existing hair gives the new growth a better chance to shine.
- Longevity and Storage: Always store your DIY hair growth oil in a dark, cool cabinet away from heat and direct sunlight. The essential oils can degrade when exposed to heat and light, reducing their therapeutic power. If stored correctly, the oil can last 6-12 months.
✅ Conclusion: Your Path to Luscious Locks
You have successfully unlocked the best DIY hair growth oil recipe, blending powerful, natural ingredients into a potent formula tailored for your specific needs. By committing to the consistent scalp massage ritual and empowering your routine with scientifically backed ingredients like Rosemary and Peppermint oil, you are well on your way to achieving thicker, stronger, and more beautiful hair naturally.
Embrace this empowering journey of self-care. Every massage is a commitment to your health and confidence!