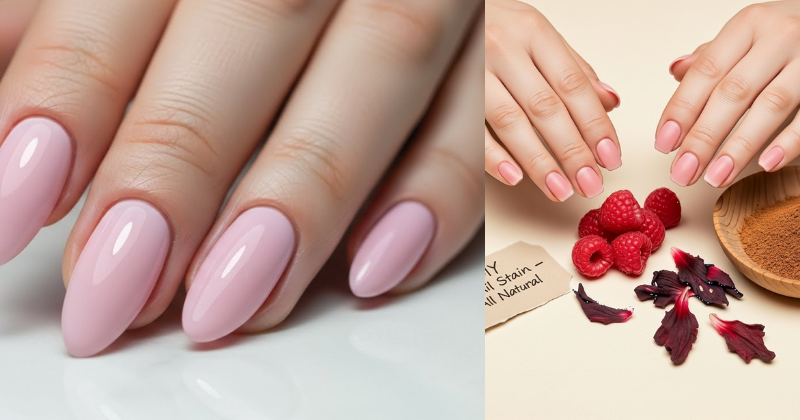
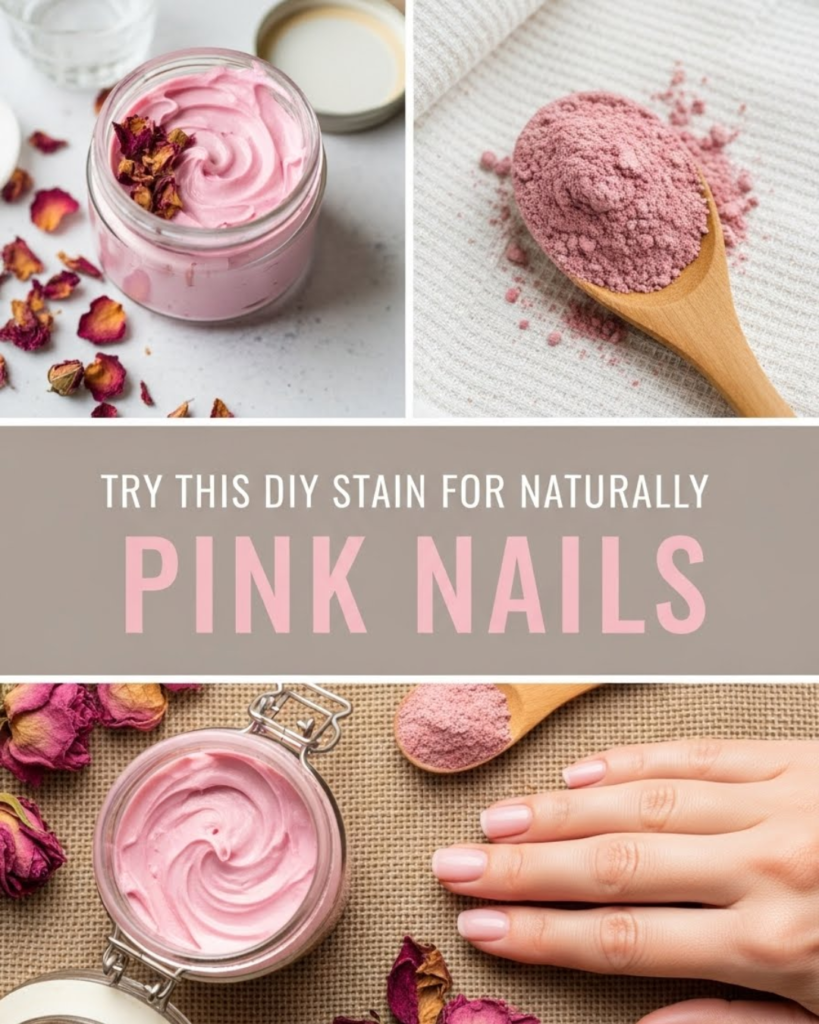
Learn how to try this DIY stain for naturally pink nails using simple pantry ingredients. Achieve a healthy, rosy glow without the use of harsh chemicals or polishes.
Have you ever looked at your nails and wished they had that healthy, rosy glow without needing three coats of expensive polish? We have all been there, tired of the chipping, the chemical smells, and the yellowing that often comes with long-term polish use. If you are ready to embrace a “clean girl” aesthetic or simply want a low-maintenance way to look polished, you are in luck. You can try this DIY stain for naturally pink nails to achieve a stunning, effortless look right from your own kitchen.
By moving away from synthetic dyes and embracing botanical pigments, you are doing more than just saving money; you are giving your nails a break from harsh solvents. This natural stain provides a subtle “your nails but better” tint that doesn’t chip or peel. In this guide, we will unlock the secrets to using natural ingredients like beets and berries to transform your manicure routine. Get ready to discover a more sustainable way to beauty and achieve the healthy nails you’ve always wanted!
Foundation: Why Natural Staining Beats Traditional Polish
Before we start mixing, let’s build your confidence with the basics of natural pigment. Many people hesitate to use a DIY nail stain because they worry it won’t be visible or that it might be messy. However, the beauty of a natural stain is its ability to sink into the keratin layers of the nail, providing a glow that looks like it comes from within.
The Power of Anthocyanins
The primary pigments we use in a natural nail tint are called anthocyanins. These are found in red and purple plants like beets, hibiscus, and raspberries. Unlike the heavy pigments in store-bought polish that sit on top of the nail, these natural dyes provide a translucent wash of color. This creates a much more natural transition as your nail grows out.
Reassurance for Beginners
If you are worried about “staining” your skin along with your nails, don’t be! With a few simple protective measures, you can ensure the color goes exactly where you want it. This project is incredibly forgiving and requires zero artistic skill. You have the capability to create a professional, “quiet luxury” nail look on your very first try.
Addressing Common Hesitations
A common concern is that natural stains might wash off immediately. While they aren’t permanent like a gel manicure, a well-applied DIY nail stain can last several days, especially when sealed correctly. It is the perfect solution for those who want a healthy, “no-makeup” look for their hands.
Step-by-Step: How to Create Your Naturally Pink Stain
Ready to dive in? This process is simple, quick, and uses items you likely already have in your refrigerator or pantry.
Gathering Your Ingredients
- The Pigment Source: 1 small red beet (juiced) or 1/4 cup concentrated hibiscus tea.
- The Carrier: 1 teaspoon of vegetable glycerin or aloe vera gel (this helps the stain stick).
- The Sealant: A high-quality organic olive oil or jojoba oil.
- Tools: A small glass bowl, a cotton swab or clean paintbrush, and a bit of petroleum jelly.
The Application Process
- Prep Your Nails: Start with clean, unpolished nails. Use a gentle buffing block to smooth the surface slightly; this helps the stain absorb more evenly.
- Protect the Skin: Apply a thin layer of petroleum jelly to the skin surrounding your nails. This acts as a barrier so the DIY stain for naturally pink nails only colors the nail plate.
- Mix the Stain: Combine your beet juice (or hibiscus tea) with the glycerin in your glass bowl. Stir until well combined.
- The First Layer: Dip your brush into the mixture and apply a thin, even coat to each nail. Let it sit for 5–10 minutes.
- Build the Intensity: For a deeper pink, apply a second layer once the first has dried. The longer the pigment sits, the more “achieve” that rosy tint becomes.
- Rinse and Seal: Gently rinse your hands with cool water (no soap yet!). Pat dry and immediately massage a drop of jojoba oil into each nail. This seals the pigment into the keratin.
Timing and Planning
This ritual takes about 20 minutes from start to finish. It is best done in the evening so the pigment can fully “set” overnight without being subjected to heavy hand-washing or cleaning products.
Advanced Strategies: Customizing Your Glow
Once you have mastered the basic beet stain, you can share expert-level insights by experimenting with different botanical blends to find your perfect shade of pink.
Experimenting with Shades
Every nail bed has a different natural undertone. You can customize your naturally pink nails by mixing your pigments:
- Soft Rose: Use mostly hibiscus tea with a tiny drop of beet juice.
- Deep Berry: Add a crushed blackberry to your mixture for a cooler, plum-toned pink.
- Warm Peach: Add a pinch of turmeric to a beet-based stain to shift the color toward a warmer coral.
Featured Snippet: How long does a DIY nail stain last?
A DIY nail stain usually lasts between 3 to 5 days. To maximize its lifespan, avoid using harsh detergents or hot water for the first 12 hours after application. Re-applying a natural oil, like jojoba or almond oil, every morning will help maintain the vibrancy and keep the nails from looking dull.
Creating a “French” Effect
For a sophisticated look, you can use a fine-tipped brush to apply a slightly more concentrated version of the stain only to the “pink” part of your nail, leaving the tips bare. This enhances the natural contrast of a French manicure without the need for white paint.
Troubleshooting: Common Challenges and Solutions
Even natural beauty can have its hurdles! Here is how to handle frequent obstacles with encouragement:
- Uneven Color: If the stain looks splotchy, it’s usually because of oil residue on the nail. Solution: Wipe your nails with a bit of white vinegar before staining to strip away natural oils and ensure a clean surface.
- Stained Cuticles: If you accidentally colored your skin, don’t panic. A bit of lemon juice on a cotton ball will lift the pigment right off the skin without affecting the nail.
- Color Fading Too Fast: If the color disappears after one hand-wash, you might need a stronger mordant. Try adding a tiny pinch of salt to your juice mixture to help the pigment “lock” onto the nail fibers.
Preventive Measures
Always wear gloves when doing dishes or using cleaning chemicals. Not only will this protect your naturally pink nails, but it will also prevent your nails from becoming brittle and dry.
Maximizing Results: The Holistic Hand Care Routine
To truly build upon the success of your natural manicure, think about how you can support your nail health from the inside out.
Maintenance and Long-Term Health
A stain looks best on healthy, hydrated nails. Since you aren’t using traditional polish, you can now apply treatments more effectively.
- Internal Link Opportunity: Pair your new nail look with a DIY face cream with calendula to keep your hands and face looking youthful.
- Internal Link Opportunity: Use a homemade organic magnesium lotion on your hands at night to soothe joints and improve skin texture.
- Internal Link Opportunity: Explore simple home rituals that can help you decompress while your nail stain dries.
Suggesting Complementary Strategies
Healthy nails start with nutrition. Ensure you are getting enough biotin and healthy fats in your diet to provide the strong keratin base needed for a beautiful stain. When you try this DIY stain for naturally pink nails, you are joining a movement of people who prioritize health as much as beauty.
Conclusion: Empower Your Natural Aesthetic
You have now discovered that achieving a beautiful manicure is as simple as looking in your pantry. By choosing to try this DIY stain for naturally pink nails, you have moved away from the cycle of chipping and chemical damage toward a more sustainable, healthy lifestyle.
The transformation from dull, yellowed nails to a vibrant, rosy glow is a powerful act of self-care. You have the tools, the knowledge, and the capability to maintain your beauty in a way that respects your body. We encourage you to make this a weekly ritual and enjoy the effortless elegance of your natural glow.
Would you like me to help you create a recipe for a natural “nail whitener” to use before your stain? Your journey to healthy, beautiful hands has just begun!
Caption: A healthy, rosy glow is just a beet away!