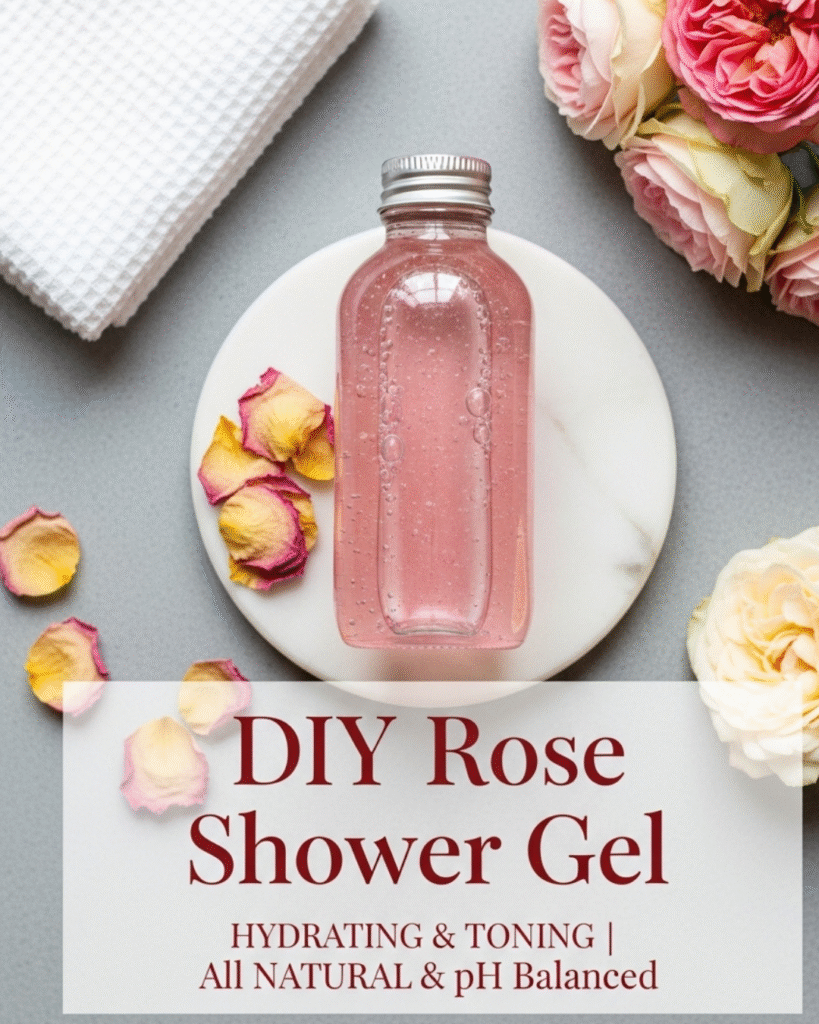
Are you tired of costly, store-bought shower gels filled with harsh sulfates and synthetic fragrances? Imagine starting your day enveloped in the authentic, romantic scent of fresh roses, knowing every ingredient touching your skin is pure and nourishing. Learning how to make your own DIY Rose Shower Gel is a simple, rewarding step toward clean, sustainable beauty. This comprehensive guide will provide the achievable, step-by-step instructions to transform basic pantry staples and natural extracts into a luxurious, moisturizing foaming cleanser. Get ready to discover the satisfying feeling of creating your own bespoke body wash and achieve radiant, beautifully scented skin without compromising on ingredients.
🌹 Foundation First: Why DIY Rose Shower Gel is Superior
Commercial shower gels often rely on inexpensive surfactants like Sodium Lauryl Sulfate (SLS), which create robust foam but can strip the skin’s natural oils. The beauty of creating a DIY Rose Shower Gel is that you substitute these harsh chemicals with gentle, plant-derived cleansers and infuse the product with true rose essence.
H3: Key Components of an Effective Natural Shower Gel
A successful homemade shower gel balances cleansing power, skin conditioning, and therapeutic aroma. Here are the simple building blocks we’ll use:
| Component | Function | Ideal Natural Ingredients |
| The Cleanser | Provides foam and gentle cleansing. | Liquid Castile Soap (unscented) |
| The Hydrator | Adds moisture and prevents stripping. | Vegetable Glycerin, Jojoba Oil, or Vitamin E Oil |
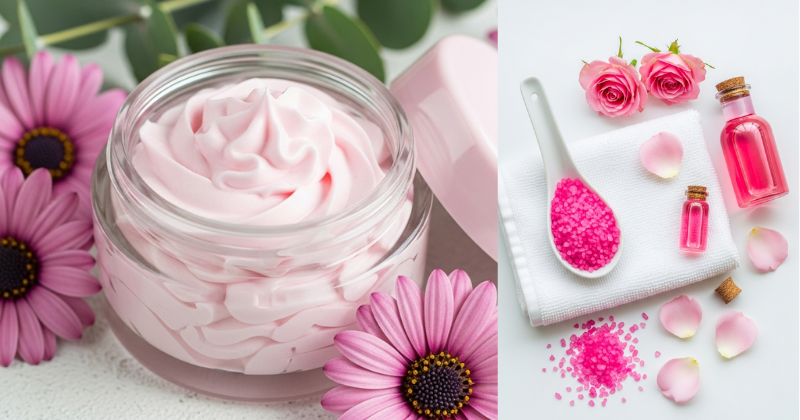
| The Aroma/Therapy | Provides scent and skin benefits. | Rose Hydrosol (Rose Water), Rose Essential Oil |
| The Thickener | Adjusts viscosity (optional but helpful). | Xanthan Gum or Salt Water Solution |
Using liquid Castile soap as the base is the cornerstone of this recipe. Derived from natural vegetable oils, it provides gentle, non-toxic, and biodegradable suds, making it perfect for your DIY Rose Shower Gel.
H3: Harnessing the Power of Rose for Skin Wellness
Rose (Rosa damascena or Rosa centifolia) isn’t just a beautiful scent; it’s a potent skincare ingredient.
- Anti-inflammatory: Rose essential oil and hydrosol contain compounds that help soothe irritated and sensitive skin, reducing redness.
- Astringent and Toning: Rose helps to tighten pores and tone the skin, promoting a smooth, refined appearance.
- Hydrating: Rose water (hydrosol) itself is highly moisturizing, helping to lock moisture into the skin barrier during your shower. This ensures your DIY Rose Shower Gel is truly beneficial.
🧪 Step-by-Step Process: Crafting Your Luxurious Rose Wash
This recipe is simple, requiring no heat and minimal mixing time. It focuses on incorporating the rose elements without compromising the integrity of the Castile soap.
Ingredients & Measurements (Yields approx. 16 oz):
- Liquid Unscented Castile Soap: 1 cup (8 oz)
- Rose Hydrosol (Pure Rose Water): 1/2 cup (4 oz)
- Vegetable Glycerin: 2 Tablespoons (Adds moisture and viscosity)
- Carrier Oil (e.g., Sweet Almond or Jojoba): 1 Teaspoon (Adds silkiness)
- Rose Essential Oil: 20-30 drops (For intensified, authentic scent)
- Optional: Pink Himalayan Salt Solution: (See Thickening Pro Tip below)
Tools Required:
- Large, clean glass mixing bowl (at least 32 oz capacity)
- Long-handled spoon or silicone spatula
- A clean, pump-top or squeeze-top bottle for storage (at least 16 oz)
- Measuring cups and spoons
Step-by-Step Instructions:
- Combine the Base: Pour the liquid unscented Castile soap into the mixing bowl.
- Add Hydrators: Gently pour in the Rose Hydrosol, Vegetable Glycerin, and the Carrier Oil. Stir very slowly and deliberately using the spoon. Avoid vigorous whisking or shaking at this stage, as it will create excessive foam that makes it impossible to continue mixing or pouring.
- Infuse the Aroma: Add the 20-30 drops of Rose Essential Oil. If you are using a pure, high-quality oil, you may use slightly less. Stir slowly again until fully incorporated.
- Check Viscosity (Optional Thickening): At this point, the mixture will likely be quite thin, which is normal for a natural liquid soap. If you prefer a thicker gel consistency, proceed to the “Advanced Strategies” section for the natural thickening solution before pouring.
- Pour and Set: Carefully use a funnel to pour the finished DIY Rose Shower Gel into your clean storage bottle. Allow the mixture to rest for 12-24 hours before use. This resting period allows any small bubbles created during stirring to dissipate, and the scent to fully meld.
🌹 Advanced Strategies: Customizing Texture and Preservation
To elevate your DIY Rose Shower Gel from a simple wash to a truly luxurious product, focus on controlling the consistency and maximizing its shelf life.
H3: Natural Thickening Methods
Castile soap bases are naturally thin. The quickest, most effective way to thicken them without resorting to chemical binders is using a simple salt solution.
- Salt Water Thickening Pro Tip: Dissolve 1 teaspoon of Pink Himalayan Salt or Sea Salt into 2 tablespoons of hot distilled water. Allow it to cool completely. Add the salt solution to your finished shower gel slowly, drop by drop, stirring gently between additions. Stop adding the salt solution as soon as the gel reaches your desired viscosity. Warning: Adding too much salt too quickly can cause the liquid soap to “un-gel” and become watery again.
H3: Preservation and Ingredient Integrity
Because this DIY Rose Shower Gel uses Rose Hydrosol (which contains water), it is susceptible to bacterial growth over time. While the Castile soap offers some preservation, long-term storage (over 4 weeks) requires caution.
- For Short-Term Use (Under 4 Weeks): Store in the refrigerator. This is the simplest option if you only make small batches.
- For Extended Shelf Life (Up to 3 Months): Add a mild, natural broad-spectrum preservative (like Geogard ECT or Leucidal Liquid SF). Follow the manufacturer’s recommended concentration (usually 1-2%). Add the preservative during Step 2.
- Alternative for Longer Shelf Life: Substitute the Rose Hydrosol entirely with distilled water and increase the Rose Essential Oil drops to achieve the aroma. Though less skin-beneficial, this combination is more shelf-stable.
(Internal Linking Opportunity: For more on making water-based DIY beauty products last, read “A Beginner’s Guide to Natural Preservatives in Skincare.”)
⚠️ Troubleshooting and Common Challenges
Making DIY Rose Shower Gel is usually straightforward, but foaming and separation issues can occur if ingredients are mixed incorrectly or stored improperly.
Featured Snippet Potential: “How do I fix DIY shower gel that has separated or become cloudy?”
If your DIY Rose Shower Gel has separated (oil sitting on top) or become cloudy, it means the oils and water-based ingredients have not fully emulsified, or you stirred too quickly, causing the Castile soap to break down. To fix this, try adding 1/2 teaspoon of an emulsifier like Polysorbate 20 (available at soap supply stores) and stir very slowly to gently recombine. Alternatively, you may need to add a small amount of warm Castile soap base back into the mixture, stirring slowly to stabilize it, and then store it in a cool place to settle.
Practical Fixes for Texture and Scent Issues
| Problem | Likely Cause | Solution & Prevention |
| Scent Fades Quickly | Essential oil is evaporating too fast, or the quality is low. | Solution: Increase the essential oil drops (within safe limits) or use a “fixative” oil like a drop of Vanilla or Sandalwood to anchor the rose scent. |
| Mixture Won’t Thicken | Added the salt solution too quickly, or used too much. | Solution: You’ll likely need to start with a fresh batch of Castile soap and slowly incorporate the separated mixture into it while continuously monitoring the viscosity. |
| Lacks Lather/Foam | Too much added oil (Carrier Oil or Essential Oil). | Prevention: Stick to the recommended oil amounts. Oils naturally counteract the foaming action of the Castile soap. If the batch has too much oil, dilute it slightly with more Rose Hydrosol and gently stir. |
💖 Maximizing Results: Application and Ritual
The luxurious experience of your DIY Rose Shower Gel extends far beyond the ingredients; it involves transforming your daily shower into a self-care ritual.
Application Tips for a Fuller Lather
While Castile soap provides a gentle lather, it won’t produce the dense, commercial foam you may be used to. To unlock the best cleansing experience:
- Use a Loofah or Pouf: Don’t pour the gel directly onto your skin. Instead, squeeze a small amount (dime to nickel size) directly onto a wet sponge or shower pouf. Squeeze and massage the pouf rapidly to agitate the gel and build a rich, creamy lather before applying it to your body.
- Warmth is Key: The warm, steamy air of the shower helps release the potent, therapeutic aroma of the Rose Essential Oil, creating an immersive experience that promotes relaxation and self-care.
Maintenance and Complementary Routines
- Bottle Hygiene: Since this is a natural product, keep the outside of the bottle clean. Use a pump dispenser rather than pouring to minimize contamination from shower water.
- Complementary Moisture: Rose oil is wonderful, but always follow your shower with a natural, unscented body lotion or a DIY Rose Body Butter (using Shea butter, coconut oil, and a drop of rose oil) to fully lock in moisture and sustain the beautiful fragrance throughout the day.
(Internal Linking Opportunity: Discover how to make your own “Luxurious DIY Rose Water Toner.”)
✅ Conclusion: Embrace Your Personalized Luxury
You have successfully learned how to make DIY Rose Shower Gel, proving that high-end luxury and pure, natural ingredients can coexist. By selecting a gentle Castile base and infusing it with the classic, soothing power of rose hydrosol and essential oil, you’ve created a body wash that cleanses, nourishes, and delights the senses.
This achievement empowers you to control the ingredients, personalize the scent, and enjoy the cost-saving benefits of crafting your own sustainable beauty products. Go ahead, step into the shower, and revel in the luxurious, custom care you created.
What other essential oil—perhaps calming Lavender or invigorating Citrus—will you experiment with in your next batch of homemade shower gel?