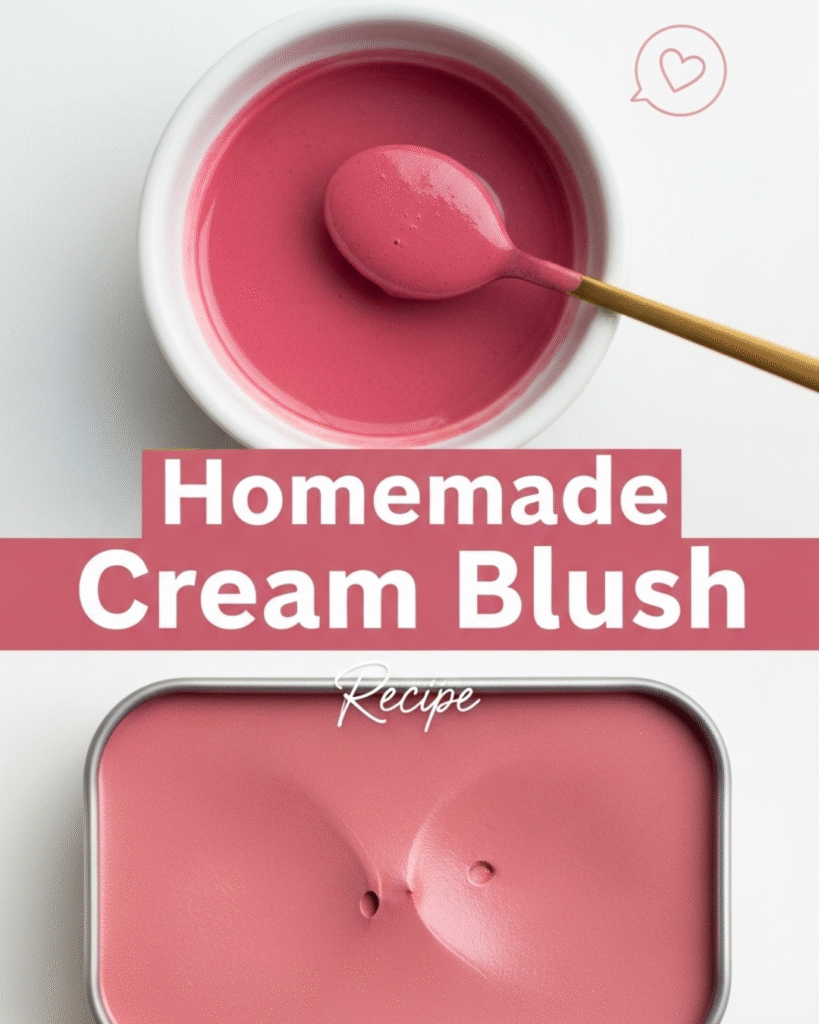
Dreaming of a luminous, dewy complexion without relying on expensive, chemical-laden store-bought cosmetics? Mastering a Homemade Cream Blush Recipe is an achievable DIY project that puts you in complete control of your ingredients, color, and finish. This guide will empower you to transform simple, nourishing butters and natural pigments into a blendable, silky smooth cream blush. We’ll provide step-by-step guidance and focus on cost-saving benefits, ensuring you can discover the deep satisfaction of crafting a beautiful, high-quality makeup product right in your kitchen.
🧈 Foundation First: Why DIY Cream Blush Works
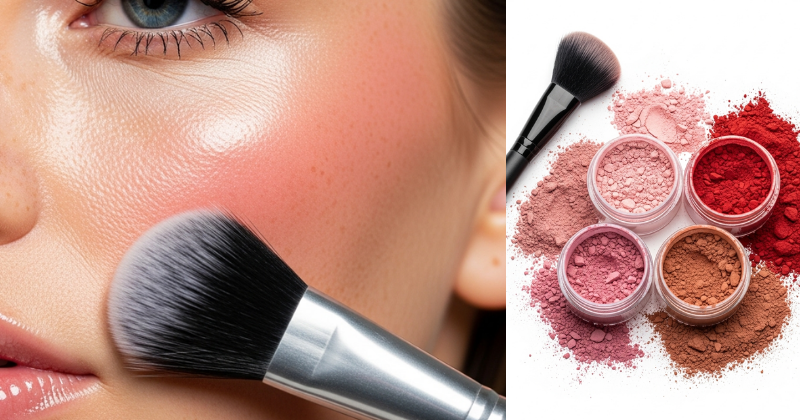
Cream blush offers a younger, more natural finish than powder, particularly for mature or dry skin. Creating your own Homemade Cream Blush Recipe ensures a clean formulation free from synthetic fillers and preservatives.
H3: Building Confidence with Basic Concepts: Key Components
The perfect cream blush balances a solid moisturizing base with concentrated color pigment.
- The Base (Oils and Butters): We use a blend of solid butters (like Shea or Cocoa) and liquid carrier oils (like Jojoba or Sweet Almond). The ratio is critical: the solid butter provides structure, and the oil ensures a smooth, non-dragging application. This ratio gives the blush its creamy consistency.
- The Binder (Beeswax): A small amount of beeswax or candelilla wax provides stability, increases the melting point (crucial for warm climates), and helps the pigment adhere evenly to the skin.
- The Color (Natural Pigments): We skip synthetic dyes and use cosmetic-grade mineral pigments (like mica or iron oxides) or natural powders (like beet root powder) to achieve stunning, customizable colors. This is a vital safety consideration for sensitive skin.
H3: Addressing Common Concerns: Shelf Life and Hygiene
Since this is a water-free product, the shelf life is extended, but hygiene is still paramount.
- Shelf Life: Because this Homemade Cream Blush Recipe contains no water, mold and bacteria risk is drastically reduced. The high content of natural butters, which are naturally resistant to rancidity, gives the blush a typical shelf life of $6$ to $12$ months.
- Encouraging Reassurance for Beginners: Always use clean, sterilized containers and tools. Only apply the finished blush using a clean makeup brush or your fingertip, never double-dip with dirty tools.
🌸 Section 2: Core Methods: The Silky Smooth Cream Blush Recipe
This Homemade Cream Blush Recipe is designed to yield a small, concentrated batch, perfect for initial color testing and customization.
Tool Requirements and Ingredients
- Small, heat-safe glass measuring cup or beaker.
- Double boiler setup or a pot with simmering water.
- Small whisk or stirring rod (chopstick works well).
- Digital scale for accurate measurements.
- Sterilized small cosmetic jars or tins for the finished product.
Step-by-Step Process: Core Blush Creation
| Ingredient | Measurement | Function |
| Shea Butter (Refined) | $1$ tsp (approx. $5$ g) | Base moisturizer |
| Jojoba Oil (or Sweet Almond Oil) | $\frac{1}{2}$ tsp (approx. $2.5$ g) | Smooth texture |
| Beeswax Pellets | $\frac{1}{4}$ tsp (approx. $1$ g) | Binder/Structure |
| Color Pigment (e.g., Pink Mica Powder) | $\frac{1}{4}$ to $\frac{1}{2}$ tsp | Color/Shade |
- Melt the Base (Actionable Language): Combine the Shea Butter, Jojoba Oil, and Beeswax pellets in the heat-safe cup. Place the cup into the double boiler setup. Heat gently over low-to-medium heat until all ingredients are fully melted and clear. Safety considerations: Use low heat; high heat can degrade the beneficial properties of the oils.
- Add Pigment (The Critical Shortcut): Remove the cup from the heat. This is the practical tip for controlling color! Start by adding just $\frac{1}{4}$ teaspoon of your chosen pigment. Crucial Shortcut: Use a small whisk or chopstick to stir the pigment into the hot oil mixture vigorously. Pigments, especially mica, love to clump, so thorough, quick stirring is key to an even shade.
- Color Test (Timing and Planning Considerations): Swatch a tiny amount of the liquid mixture onto the back of your hand. It will dry much lighter and more matte than it appears when wet. If the color is too light, add more pigment, $\frac{1}{8}$ teaspoon at a time, until you achieve the desired saturation.
- Pour and Cool: Immediately pour the liquid Homemade Cream Blush Recipe into your sterilized cosmetic jar or tin.
- Setting: Allow the blush to cool and solidify completely at room temperature for $1$ hour or in the refrigerator for $20$ minutes. Once solid, secure the lid.
✨ Section 3: Advanced Strategies: Customizing Color and Finish
The true beauty of a Homemade Cream Blush Recipe is the ability to create shades and finishes tailored perfectly to your skin tone and preference.
H3: Creative Solutions for Color Customization
You can use mineral pigments (sold for soap/cosmetic making) or common household ingredients for color.
- Achieving Pink/Red: Use pink or red iron oxides or mica. Natural Alternative: High-quality, finely sifted beet root powder gives a gorgeous deep red stain. Tip: Beet root powder may settle or oxidize slightly over time.
- Achieving Peach/Coral: Use orange or yellow iron oxides. Mix a pinch of yellow pigment with a pinch of pink pigment to create a soft, buildable coral tone. This provides the ultimate way to customize approach.
- The Luminosity Factor: Add a small pinch of finely milled gold or silver shimmer mica after achieving your base color to give the blush a beautiful, dewy highlight effect—a fantastic creative solution.
H3: Adjusting Texture for Seasonal Variations
The firmness of your Homemade Cream Blush Recipe will change with the temperature, making texture customization necessary based on seasonal considerations (especially summer heat).
- Summer Formula Pro Tip (Firming): For very warm climates, increase the Beeswax content to $\frac{1}{2}$ teaspoon. This higher concentration raises the melting point, preventing the blush from turning too oily or soft in a hot makeup bag.
- Winter Formula (Softening): For a super dewy, softer texture in cold weather, reduce the Beeswax to $\frac{1}{8}$ teaspoon. This yields a balm-like consistency perfect for dry skin.
🛑 Section 4: Troubleshooting Common Challenges
Even the most careful DIY crafter can encounter texture or color issues. These practical troubleshooting tips help ensure success.
Featured Snippet Potential: “Why is my DIY cream blush grainy or patchy?”
Your DIY cream blush is likely grainy or patchy because the pigment was not thoroughly mixed into the base oils before the mixture began to cool and solidify. Pigments need heat and aggressive stirring (like whisking) to break up clumps and fully disperse. To fix this, gently re-melt the entire batch using the double boiler method, stir vigorously for 1-2 minutes until the texture is completely smooth, and then pour quickly back into the jar.
Practical Troubleshooting Tips (Home Tips & DIY Focus)
- Problem: The finished blush is too hard to blend easily.
- Obstacle: Too much beeswax was used, or the room temperature is too cold.
- Solution: Alternative approaches: Gently scrape the surface of the blush with a clean tool. Re-melt the scraped portion and mix in a few extra drops of Jojoba or liquid carrier oil, then let it cool. When applying, warm the product on the back of your hand before dabbing it onto your cheeks.
- Problem: The color appears streaky on my face.
- Obstacle: Pigment clumping (see Featured Snippet Solution) or insufficient oil in the formula.
- Solution: Encouragement for setbacks: Re-melt and follow the fix for graininess. If the pigment is dispersed but the texture is still dragging, add another $\frac{1}{4}$ teaspoon of liquid oil to the re-melted batch.
- Problem: The blush separates into oil and solid layers.
- Obstacle: Insufficient binding agent (beeswax).
- Solution: Re-melt the batch and add an extra $\frac{1}{4}$ teaspoon of beeswax. The beeswax holds the liquid and solid elements together more effectively.
🚀 Section 5: Maximizing Results: Application and Long-Term Care
Once you master your Homemade Cream Blush Recipe, focus on application techniques and long-term care to maximize the natural finish and longevity.
- Application Techniques (Next Level Tip): For the most natural look, apply the cream blush with your fingers or a dense, synthetic brush over foundation, but before applying setting powder. Blend the color from the apples of your cheeks up towards your temples for a lifted effect.
- Maintenance and Long-Term Considerations: Keep your cosmetic jars tightly sealed and away from direct sunlight and humidity (like the edge of the tub) to prevent oil degradation and maximize shelf life. Inspire continued growth and learning: Try adapting this base recipe to make a cream highlighter or a tinted lip balm!
- Suggest Complementary Strategies: Combine your DIY blush with a homemade moisturizer base for an all-in-one tinted moisturizer for quick, light coverage. This shows how to build upon basic success. (Internal Linking Opportunity: Read our guide on “Simple DIY Moisturizers Using Shea and Cocoa Butter.”)
✅ Conclusion: Your Capability to Craft Clean Beauty
You have successfully learned the secrets behind a rich, blendable Homemade Cream Blush Recipe, taking ownership of your cosmetics and embracing the cost-saving benefits of DIY. By mastering the perfect ratio of butters, oils, and natural pigments, you have the power to create bespoke shades that complement your unique skin tone.
Remember that control over ingredients is the ultimate luxury. Your capability to succeed in crafting clean, high-performance beauty products is now undeniable.
Will you try the vibrant Beet Root Powder for a natural stain, or focus on adjusting the Beeswax content to perfect the cream’s texture for the summer months?