The first 155–160 characters below serve as the meta description:
Learn how to make a homemade cream blush recipe using natural ingredients for smooth application, customizable color, and a nourishing finish on your skin.
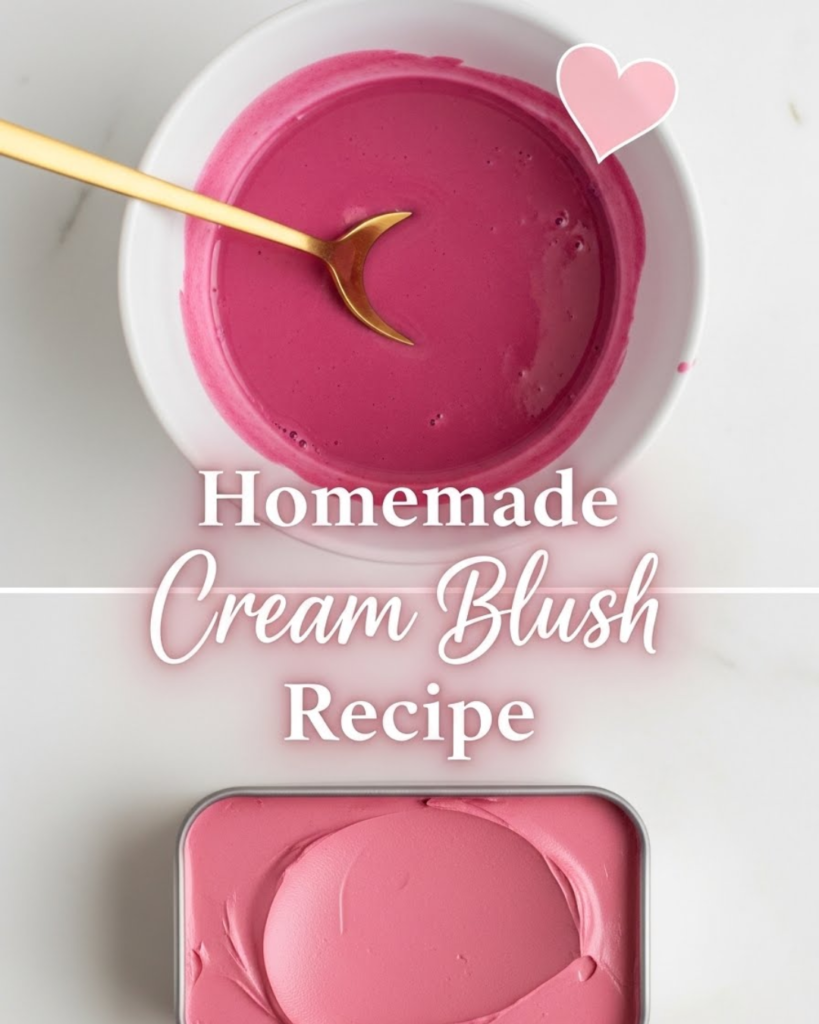
Creating your own homemade cream blush is more than a DIY beauty project. It’s a chance to take control of what you put on your skin, express creativity, and save money. Many people struggle to find a blush shade that looks natural, or they worry about synthetic ingredients found in commercial products. With a simple process and a few accessible materials, you can unlock a personalized cream blush that delivers a dewy, youthful glow.
This recipe gives you flexibility. You can adjust texture, pigmentation, and ingredients to match your skin tone and preferences. Whether you’re a beginner to DIY beauty or someone who loves natural cosmetics, this guide breaks down everything step-by-step. By the end, you’ll have a high-performing homemade cream blush with safe, nourishing ingredients.
What You Need to Know Before Making Homemade Cream Blush
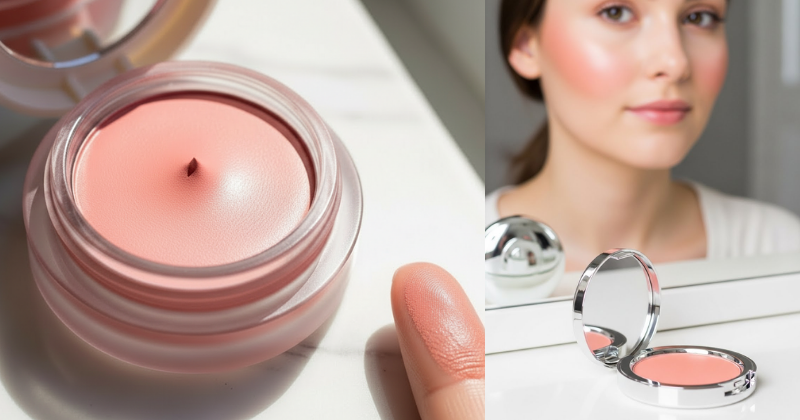
Before diving into the process, it’s helpful to understand what cream blush is and why it works. Cream blush is a makeup product with a smooth, blendable texture. It melts into skin for a natural flush and can be customized for sheer or bold color.
H3: Key Benefits of DIY Cream Blush
- Allows full control of ingredients
- Reduces exposure to synthetic chemicals
- Saves money compared to store-bought products
- Customizable shade and intensity
H3: Basic Components of Cream Blush
To develop a successful homemade cream blush recipe, you need three categories of materials.
H4: Emollients
These ingredients create the creamy base and keep skin moisturized. Examples: shea butter, coconut oil, jojoba oil.
H4: Pigments
Natural colorants such as beetroot powder, mica powders, or blush-specific cosmetic pigments.
H4: Wax Component
Waxes help bind ingredients and maintain a solid texture. Beeswax and candelilla wax (vegan option) work well.
If you’ve read articles about natural lip balm, DIY concealer, or body butter, many ingredients overlap, making this process more approachable.
Step-by-Step Homemade Cream Blush Recipe
Below is the core method. It’s simple, effective, and customizable.
H3: Ingredients List
- 1 teaspoon beeswax (or vegan candelilla wax)
- 1 teaspoon shea butter
- 1 teaspoon carrier oil (jojoba, sweet almond, or argan oil)
- ¼–½ teaspoon pigment (mica powder or beetroot powder)
- Optional: essential oils – a drop for scent
You can scale up quantities once you feel confident.
H3: Tools Needed
- Heatproof glass jar
- Small pot for double boiling
- Stirring stick
- Sanitized containers for storage
H2: How to Make Homemade Cream Blush: Full Process
- Place beeswax, butter, and carrier oil in the heatproof container.
- Heat using a double boiler (placing the container in a pot of simmering water).
- Stir until fully melted and smooth.
- Remove from heat and add pigment in small amounts.
- Mix until color distributes evenly.
- Test color intensity by swatching on wrist.
- Adjust pigment or oil to modify texture or shade.
- Pour into clean containers and allow to set for 30–60 minutes.
This method is flexible enough to incorporate seasonal favorites like warm terracotta, rosy pink, or deep berry tones.
Expert Tips for Customizing Your Homemade Cream Blush
Customization is where this project becomes fun. You can experiment, refine, and unlock flawless results.
H3: Adjusting Texture
- For a softer formula, add more oil.
- For a firmer blush, increase beeswax.
H3: Adjusting Color
- Add more pigment for deeper shades.
- Blend pigments to find unique color variations.
- Use mica for shimmer or beetroot for matte results.
H3: Enhance Skin Benefits
Consider adding nourishing ingredients such as:
- Vitamin E: prevents oxidation and supports skin health.
- Rosehip oil: adds anti-aging antioxidants.
- Cocoa butter: increases richness and lasting moisture.
Troubleshooting and Common Mistakes When Making Cream Blush
Even a simple formula can have unexpected results. Here’s how to respond to challenges confidently.
H3: Why is My Blush Too Hard?
This happens when wax-to-oil ratio is too high. Fix by reheating and adding small amounts of oil.
H3: Why is My Pigment Clumpy?
Pigment must be added gradually and mixed thoroughly. Use fine cosmetic-grade pigments for smooth distribution.
H3: Why Does the Blush Smell Off?
Always check expiration dates of oils. Store product away from heat and sunlight.
If you’re interested in related DIY articles, consider internal linking to topics like natural face moisturizer, DIY tinted lip balm, or homemade solid perfume.
Making Homemade Cream Blush Last Longer
Storing and maintaining product can extend shelf life and improve performance.
H3: Storage Tips
- Store in a cool, dry place.
- Use clean fingers or tools for application.
- Add vitamin E to slow oxidation.
H3: Application Techniques
Apply blush using fingertips, buffing in circular motions on cheeks. Cream blush blends better over hydrated skin, and applying underneath powder foundations helps lock color in place.
H3: Complementary Skin Prep
Before using cream blush, prep skin with moisturizer or hydrating primer to boost smooth application.
How to Elevate Your DIY Routine with Creative Variations
This project can grow with you. Experiment with formulas for seasonal looks, skin types, and finishing effects.
H3: Recipes for Different Skin Types
- Oily skin: use lighter carrier oil, such as jojoba.
- Dry skin: include nourishing oils like argan or avocado.
- Sensitive skin: use unscented ingredients and avoid essential oils.
H3: Add Natural Shimmer
Add mica powder strategically for subtle glow. A touch goes a long way. Before investing in new products, test blends on a small patch of skin.
Conclusion: You Can Create Your Perfect Cream Blush
With this homemade cream blush recipe, you’re able to customize shade, texture, and ingredients. You can take ownership of your beauty routine and avoid synthetic additives. This project is empowering, accessible, and deeply satisfying.
By following the steps in this guide, experimenting with pigment blends, and maintaining proper storage, you’ll achieve lasting results and radiant color. You now have the knowledge and tools to transform ingredients into beautiful, nourishing makeup—and the confidence to keep exploring DIY beauty.