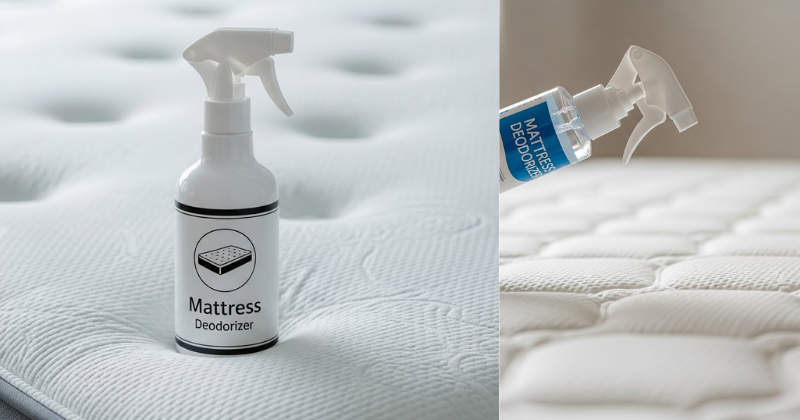
Learn how to create a DIY mattress deodorizer using cornmeal to absorb odors and moisture, ensuring a fresh, clean sleeping environment with simple pantry staples. You can transform your bedroom into a sanctuary of hygiene and comfort without spending a fortune on chemical sprays.
We spend nearly a third of our lives in bed, yet the mattress is often the most neglected piece of furniture in the home. Over time, it naturally accumulates sweat, body oils, and ambient humidity, which can lead to a stale, musty smell. If you have ever pulled back your sheets and felt that the air wasn’t quite as crisp as it should be, you aren’t alone. This buildup isn’t just a comfort issue; it can affect your sleep quality and overall respiratory health.
The good news is that you don’t need expensive industrial cleaners or harsh synthetic fragrances to fix it. By using a DIY mattress deodorizer using cornmeal to absorb odors and moisture, you can achieve professional-level results at a fraction of the cost. This natural method is safe, effective, and incredibly easy to implement. Ready to rediscover the joy of a truly clean bed? Let’s dive into how you can unlock a fresher night’s sleep today!

The Power of Cornmeal: Why It Works for Your Mattress
When people think of mattress cleaning, baking soda is usually the first thing that comes to mind. While baking soda is a fantastic odor neutralizer, cornmeal brings a unique superpower to the table: superior moisture absorption. If you live in a humid climate or find yourself waking up “warm” during the night, moisture is likely trapped within the fibers of your mattress.
Cornmeal is naturally desiccant, meaning it excels at pulling dampness out of fabrics. When combined with other natural ingredients, it creates a heavy-duty cleaning agent that targets the root cause of bed smells rather than just masking them. Building confidence in your DIY skills starts with understanding these simple pantry mechanics!
Why Moisture is the Enemy of Sleep
Trapped moisture is the primary breeding ground for bacteria and dust mites. By using cornmeal, you are effectively dehydrating these microscopic intruders, making your bed a less hospitable environment for them. This is a game-changer for anyone dealing with seasonal allergies or skin sensitivities.
Cornmeal vs. Commercial Sprays
Most store-bought deodorizers rely on heavy perfumes and “masking agents.” These can often irritate the lungs or leave behind a sticky residue. In contrast, cornmeal is a dry-application method. It lifts the grime out of the mattress so it can be vacuumed away, leaving nothing behind but a clean surface.
How to Create Your DIY Mattress Deodorizer Using Cornmeal
Are you ready to transform your bed? This process is broken down into manageable steps that anyone can follow. You likely already have most of these tools in your kitchen!
Tools and Ingredients Needed
- 1 Cup of Fine-Ground Cornmeal: This acts as your primary moisture absorber.
- 1/2 Cup of Baking Soda: To neutralize acidic odors.
- 10–15 Drops of Essential Oil: Lavender or Eucalyptus are excellent choices for a calming atmosphere.
- A Fine-Mesh Sieve or Shaker Jar: For even distribution.
- A High-Powered Vacuum: To remove the powder once it has done its job.
Step-by-Step Application Process
- Strip the Bed: Remove all linens, including the mattress protector. This is the perfect time to toss your sheets in the wash with a splash of white vinegar for extra freshness.
- Mix the Deodorizer: In a small bowl, combine the cornmeal and baking soda. Add your essential oils and whisk thoroughly to break up any clumps.
- The Sift Method: Using your sieve, sprinkle the mixture generously over the entire surface of the mattress. Focus extra attention on the center where you typically sleep.
- The Waiting Game: Let the mixture sit for at least 30 minutes. For deep cleaning, leave it for 2 to 3 hours. This gives the cornmeal time to “wick” the moisture out of the deep fibers.
- Vacuum Thoroughly: Using the upholstery attachment, vacuum the mattress in a slow, overlapping pattern. Ensure you get into the seams and tufts.
Pro Tip: If you have a sunny bedroom, open the curtains! Sunlight acts as a natural disinfectant and works in tandem with the cornmeal to kill bacteria.
Advanced Strategies for a Pro-Level Clean
If you want to go beyond basic freshening, there are several ways to customize your DIY mattress deodorizer. Experimenting with these variations can help you target specific issues like pet smells or stubborn stains.
Customizing Your Scent Profile
While lavender is a classic for sleep, you can tailor your essential oils to your specific needs:
- Tea Tree Oil: Known for its powerful antimicrobial properties.
- Lemon or Orange: Great for cutting through “musty” attic-like smells.
- Peppermint: Provides a cool, crisp sensation that feels incredibly refreshing in the summer.
Tackling Spot Stains First
If your mattress has visible stains, you should address them before applying the dry deodorizer. A simple mix of hydrogen peroxide and a drop of dish soap can work wonders. Once the spot is damp-cleaned, the cornmeal becomes even more important because it will help draw out the cleaning solution, preventing the mattress from staying wet for too long.
The Seasonal Flip
Combine your deodorizing routine with a mattress rotation. Most manufacturers recommend rotating your mattress every 6 months to prevent sagging. Applying the cornmeal deodorizer during this transition ensures that both sides of your bed stay equally fresh and supportive.
Troubleshooting Common Challenges
Even the simplest DIY projects can run into a few hiccups. Don’t let a small setback discourage you—here is how to handle frequent obstacles.
“I Have Cornmeal Stuck in the Tufting”
If your mattress has deep tufts or decorative buttons, the powder might settle deep. If your vacuum isn’t pulling it out, use a soft-bristled brush to gently agitate the area while vacuuming. This “vibration” helps lift the particles to the surface.
“My Vacuum Bag Is Filling Up Too Fast”
Cornmeal and baking soda are fine powders. If you have a bagless vacuum, be sure to empty the canister and clean the filter immediately after use. This prevents the fine dust from clogging your machine’s motor.
“The Scent Is Too Strong”
If you accidentally added too many drops of essential oil, simply add another half-cup of cornmeal to the mix to dilute the fragrance. Remember, you can always add more, but you can’t take it away!
Maximizing Results and Long-Term Maintenance
Consistency is the secret to a healthy home. While a one-time cleaning is great, integrating this DIY mattress deodorizer into your regular household schedule will yield the best long-term benefits.
Establishing a Schedule
Aim to deodorize your mattress every time you transition your home for a new season. Doing this four times a year is usually enough to keep moisture levels low and odors at bay. Mark it on your calendar as a “Fresh Bed Day”!
Complementary Strategies for a Healthier Bed
To build upon your success, consider these additional tips:
- Use a Mattress Protector: A high-quality, breathable protector acts as a first line of defense against moisture.
- Let it Breathe: Every morning, leave your bed unmade for 20 minutes with the window open. This allows the moisture from your body to evaporate rather than getting trapped under the duvet.
- Wash Your Pillows: Odors often migrate from pillows to the mattress. Check your pillow labels; most can be machine washed twice a year.
By following these steps, you are doing more than just cleaning; you are mastering your environment. You have the capability to maintain a hotel-quality bed right at home using nothing more than simple, natural ingredients.
Conclusion
Taking the time to care for your mattress is an investment in your own well-being. By using a DIY mattress deodorizer using cornmeal to absorb odors and moisture, you’ve discovered a cost-effective, eco-friendly way to ensure your sleep environment is as healthy as possible. The transformation from a stale, heavy atmosphere to a light, fresh sanctuary is truly empowering.
Remember, a clean home doesn’t require a closet full of chemicals—it just requires a bit of “kitchen chemistry” and the motivation to improve your space. You’ve got the tools and the knowledge now. Why not head to the pantry and start your first batch today? Your freshest night’s sleep is just a vacuum away!