
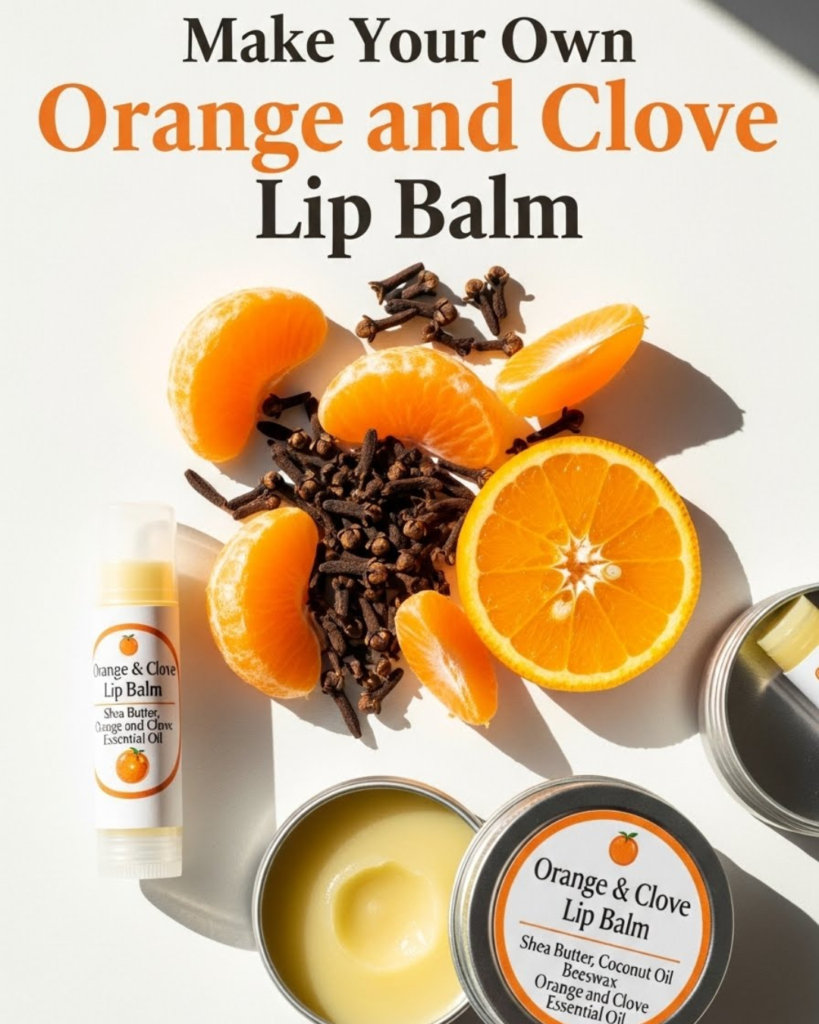
Learn how to make a DIY lip balm orange and clove blend for soft, protected lips. Discover this natural, spicy-sweet recipe for professional-quality skincare today.
Have you ever looked at the back of a standard lip balm tube and felt like you needed a chemistry degree just to read the ingredients? It is a common frustration, especially when your lips are chapped and you just want a solution that feels safe and effective. Imagine sliding a smooth, handcrafted balm across your lips that smells exactly like a cozy winter evening—bright citrus notes perfectly balanced by a warm, spicy hug of clove. Today, you are going to discover how to create a DIY lip balm orange and clove blend that provides a total breakthrough for your skincare routine.
By mastering this simple craft, you will gain the confidence to eliminate petroleum-based products and replace them with nourishing, botanical ingredients. This guide offers achievable, step-by-step guidance to help you craft your own luxury balms at a fraction of the boutique price. You have the capability to transform your self-care habits and unlock the satisfaction of using a product you made with your own two hands. Get ready to discover how simple oils and waxes can achieve a professional-level finish that keeps your smile glowing!
Foundation: Why Orange and Clove are a Power Duo
Before we fire up the stove, let’s build your confidence with the basic concepts of natural lip care. Understanding why you should choose a DIY lip balm orange and clove recipe will help you appreciate the wellness benefits of every drop.
The Benefits of Citrus and Spice
Orange essential oil is more than just a cheerful scent; it is packed with antioxidants and vitamin C, which help protect the delicate skin of your lips from environmental stressors. Clove, on the other hand, provides a gentle warming sensation and possesses natural antimicrobial properties. Together, they create a “spicy-sweet” profile that is both invigorating and deeply comforting.
Understanding Your Base Ingredients
To achieve a creamy, long-lasting balm, we rely on three pillars of natural skincare:
- Beeswax or Candelilla Wax: These provide the structural integrity and create a protective barrier that locks in moisture.
- Carrier Oils: Ingredients like sweet almond oil or jojoba oil penetrate the skin to deliver deep hydration.
- Butters: Shea butter or cocoa butter adds that “luxury feel” and helps the balm glide effortlessly.
Reassurance for Beginners
If you are worried about the melting process or getting the ratios right, take a deep breath! You are doing a great job by taking this step toward a non-toxic lifestyle. The beauty of DIY lip balm is that if it’s too soft, you can just melt it back down and add more wax. You have everything you need to succeed, and the process is incredibly forgiving.
Step-by-Step: Crafting Your Orange and Clove Balm
Ready to start your production? Follow these manageable steps to create a batch of balms that feel as good as they smell. This is the core method for a perfect DIY lip balm orange and clove result.
1. Gather Your Supplies
For a standard batch of about 6-8 tubes, you will need:
- 2 tablespoons Carrier Oil (Sweet Almond or Coconut)
- 1 tablespoon Beeswax pellets
- 1 tablespoon Shea Butter
- 10 drops Orange essential oil
- 2 drops Clove essential oil (it is very potent!)
- Lip balm tubes or small tin containers
2. The Melting Method
- Step 1: Create a “double boiler” by placing a glass bowl over a pot of simmering water.
- Step 2: Add your carrier oil, beeswax, and shea butter to the bowl. Stir gently with a glass rod or a clean spoon until everything is a clear, golden liquid.
- Step 3: Remove from heat immediately once melted.
- Step 4: Allow the mixture to cool for about 30 seconds (this prevents the essential oils from evaporating) and stir in your orange and clove oils.
3. The Pouring Technique
- Step 5: Carefully pour the liquid into your tubes. A small dropper or a steady hand works best.
- Step 6: Let the balms sit undisturbed for at least 1 hour until they are completely firm.
- Internal Link: While your balms are setting, why not continue your DIY streak? Learn how to Make Your Own Non Toxic Cleaning Wipes to keep your kitchen counters pristine!
Advanced Strategies: Pro Tips for Perfection
Once you have mastered the basic recipe, use these expert-level insights to customize your balms for different seasons and preferences.
Adjusting for Texture
If you live in a very hot climate, your DIY lip balm orange and clove might get too soft in your pocket. To achieve a firmer balm, increase the beeswax by half a teaspoon. Conversely, if you want a glossier, softer finish for winter, add a tiny bit more carrier oil.
Infusing Your Oils
For an even deeper flavor, you can “infuse” your carrier oil with dried orange peel and whole cloves for two weeks before making the balm. This adds a semantic richness to the scent profile that essential oils alone can’t match.
- Internal Link: If you love the scent of clove, you will find that our DIY Toilet Cleaner Pods can also be customized with spicy scents for a cohesive, fresh home!
Featured Snippet: How many drops of essential oil go in lip balm?
When making DIY lip balm orange and clove, you should use a safe dilution ratio of roughly 1-2%. For a small batch (about 4 tablespoons of base), use 10 drops of orange essential oil and 2 drops of clove essential oil. Clove is an “isoseptal” oil, meaning it is very strong and can cause a tingling or burning sensation if too much is used, so always start with a very small amount.
Troubleshooting: Common Challenges and Solutions
Even the most achievable DIY projects can have a few hurdles. Here is how to handle them with an empowering mindset:
- “My balm has a hole in the middle”: This is called “pitting,” and it happens as the wax cools and shrinks.
- Solution: Keep a tiny bit of extra liquid in your bowl. Once the tubes have formed a “skin,” top them off with the remaining liquid for a flat, professional top.
- “The balm feels grainy”: This usually happens if the shea butter is cooled too slowly.
- Fix: Melt the mixture again, heat it slightly longer, and then place the finished tubes in the refrigerator to cool them rapidly. This keeps the fats in the butter from crystallizing.
- “I can’t smell the orange”:
- Tip: Citrus oils are “top notes,” meaning they fade quickly. Make sure to add them last, after the mixture has cooled slightly but is still liquid.
- Internal Link: To keep your hands soft while crafting, check out our guide on The Best DIY Shower Melts for a full-body moisture experience.
Maximizing Results: Gifting and Sustainability
Now that you know how to make DIY lip balm orange and clove, let’s build upon that success by looking at how to share your new skills with others.
Eco-Friendly Packaging
To make your project truly sustainable, consider using cardboard push-up tubes or reusable glass pots. This eliminates the need for single-use plastics and makes your handmade balm look like a high-end gift.
Complementary Wellness Habits
Good lip care starts from within. Staying hydrated is the best way to ensure your balm is sealing in moisture rather than just sitting on top of dry skin.
- Internal Link: Discover the Turmeric Water Benefits to keep your skin hydrated and glowing from the inside out!
Conclusion: You Are Your Own Best Formulator
You have now discovered why it is so beneficial to create a DIY lip balm orange and clove blend and, more importantly, you have the achievable steps to do it yourself. You have moved from a consumer of mysterious chemicals to an empowered maker of natural wellness. By following these methods—melting your bases carefully, respecting the potency of clove, and allowing for proper cooling—you have achieved a strategy for perfect, healthy lips.
The journey to natural beauty is a rewarding path of self-care. We encourage you to whip up your first batch this weekend! You are more than capable of achieving a high-quality, professional-level balm using these simple, nourishing gifts from nature.
Important Disclaimer: This article is for informational purposes only and should not replace professional advice. For health-related topics, consult healthcare providers. Individual results may vary, especially for those with sensitive skin or allergies to essential oils.