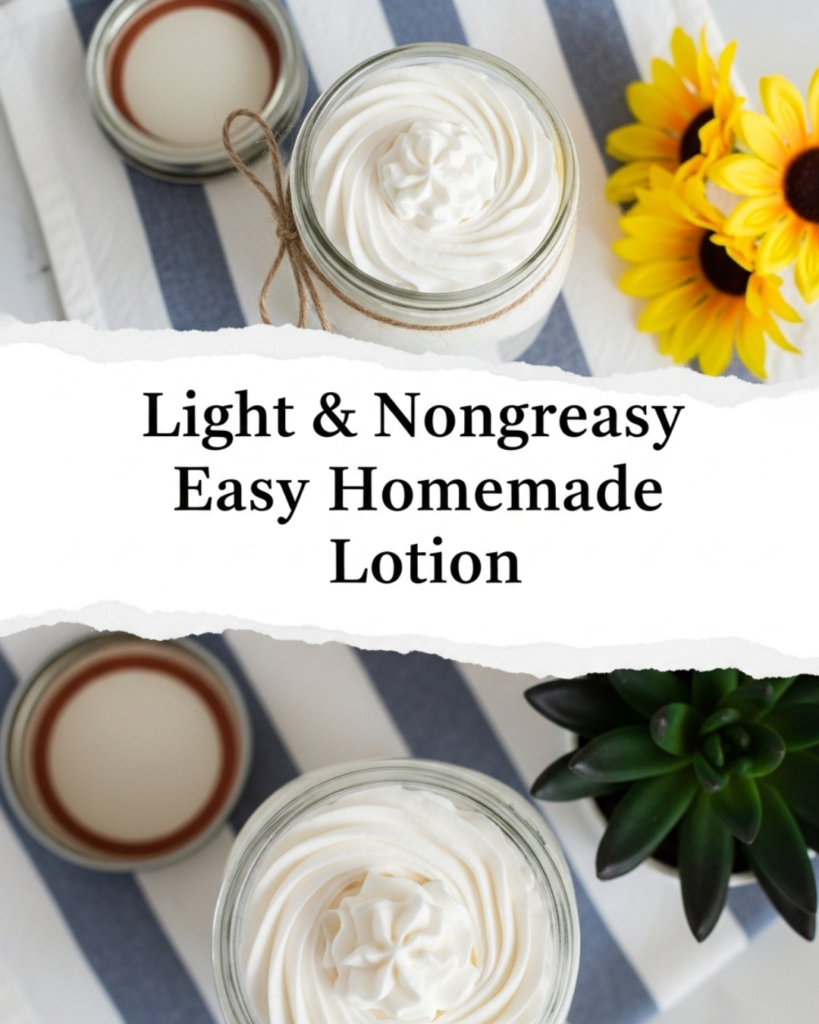
Discover how to make a light & nongreasy easy homemade lotion today. Transform your skincare routine with this simple, cost-effective, and natural DIY recipe.
Important Disclaimer: This article is for informational purposes only and should not replace professional advice. For health-related topics, consult healthcare providers. For safety procedures, verify current best practices and local regulations. Individual results may vary, and personal circumstances should always be considered when implementing any suggestions.
Have you ever spent a fortune on high-end moisturizers only to find they leave your skin feeling heavy, oily, or coated in a strange film? You aren’t alone. Many commercial products rely on petroleum-based fillers that sit on top of the skin rather than absorbing into it. But what if you could craft your own professional-grade moisturizer in your kitchen? Learning to make a light & nongreasy easy homemade lotion is a total game-changer for your daily self-care. It allows you to control exactly what goes on your body, saving you money while delivering a silky, airy finish that keeps your skin hydrated all day long.
In this guide, we are going to unlock the secrets of emulsification and ingredient selection. You will discover how to balance oils and water to achieve that perfect “sink-in” quality that store-bought brands often lack. Whether you are looking for a way to [freshen your beauty routine naturally] or you want to gift something special to friends, this tutorial will empower you to succeed. You have the capability to create luxury skincare at home—let’s get started and achieve that glowing, healthy skin you deserve!
Foundation: The Secrets to a Non-Greasy Finish
To build confidence in your DIY skincare journey, you first need to understand why most homemade body butters feel greasy while a light & nongreasy easy homemade lotion feels like silk. It all comes down to the science of the ingredients.
Oil vs. Lotion: Understanding the Difference
Many beginners start with “body butters,” which are just whipped oils and butters (like coconut or shea). While nourishing, these are 100% fat and take a long time to absorb. A true lotion, however, is an emulsion—a mix of water and oil held together by an emulsifying wax. Because the primary ingredient is water (or aloe), the lotion evaporates slightly upon contact, allowing the light oils to penetrate the skin barrier quickly. This is a [sustainable lifestyle change] that your pores will thank you for.
Choosing “Dry” Oils
Not all oils are created equal. To ensure your lotion isn’t greasy, you must choose oils with a high “spreadability” and low “comedogenic” rating.
- Sweet Almond Oil: Extremely light and rich in Vitamin E.
- Grapeseed Oil: Known as a “dry” oil because it absorbs almost instantly.
- Jojoba Oil: Technically a liquid wax that closely mimics your skin’s natural sebum.
Addressing Beginner Hesitations
You might feel intimidated by the idea of “emulsifying,” but I want to reassure you: if you can make a salad dressing, you can make this lotion. You don’t need a laboratory. With a simple kitchen scale and a stick blender, you are fully capable of achieving a smooth, stable cream that won’t separate. Using these methods is just as easy as following [DIY non-toxic cleaning recipes]—it’s all about the right ratios!
Step-by-Step: Crafting Your Silky Moisturizer
Ready to see how easy it is? Follow these manageable steps to create your first batch of light & nongreasy easy homemade lotion. This recipe makes roughly 8 ounces of pure bliss.
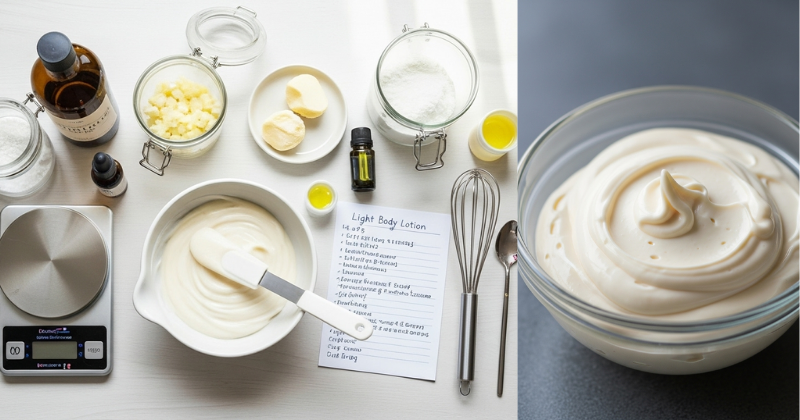
1. Prepare Your Three Phases
To make a stable lotion, we divide ingredients into the Oil Phase, the Water Phase, and the Cooling Phase.
- Oil Phase: Combine 1.5 oz of Grapeseed oil and 0.5 oz of Emulsifying Wax in a heat-safe glass jar.
- Water Phase: Measure 5.5 oz of Distilled Water (or Rose Water) in a separate heat-safe jar.
- Note: Using distilled water is crucial to prevent bacteria growth, similar to how you’d use clean ingredients in [gardening topics] to protect young plants.
2. The Heat and Hold Method
- Melt: Place both jars in a shallow pan of simmering water (a double boiler). Heat until the wax is completely melted.
- Temperature Check: Ideally, both phases should be around 160°F (70°C).
- The Emulsion: Pour the water phase into the oil phase. It will turn cloudy immediately. Use a stick blender (immersion blender) to pulse the mixture for 2-3 minutes. You will see it transform into a creamy, white liquid.
3. The Cooling and Scenting Phase
- Wait: Let the lotion cool down to about 100°F. It will thicken as it cools.
- Additives: Now is the time to add your preservative and essential oils.
- Finish: Give it one last blitz with the blender to ensure everything is perfectly smooth, then pour it into a clean pump bottle or upcycled glass jar from your collection of [9 everyday items you can turn into beautiful home decor].
Advanced Strategies: Customizing Your Glow
Once you have mastered the basic recipe, share expert-level insights by tailoring your lotion to your specific skin needs or the current season.
Seasonal Adaptations
Just as you adapt your [seasonal gardening considerations], your skin needs change with the weather. In the summer, you can swap half of the water for Aloe Vera juice to create a “cooling” effect. In the winter, you might add a teaspoon of vegetable glycerin, which acts as a humectant, drawing moisture from the air into your skin.
Incorporating Botanical Infusions
For a truly high-end experience, don’t just use plain water. Infuse your distilled water with dried botanicals.
- Calendula: Great for soothing irritated or sensitive skin.
- Green Tea: Packed with antioxidants to protect against environmental damage.
- Lavender: Perfect for a nighttime lotion to help you relax before [simple evening rituals that help your body heal while you sleep].
Pro-Tip: The “Cooling” Effect
If you want an even lighter feel, add a tiny pinch of Tapioca starch or Arrowroot powder to the oil phase. This “cuts” the greasiness of the oils even further, leaving a powdery, matte finish on the skin that feels incredible in humid climates.
Troubleshooting: Common DIY Lotion Challenges
Every crafter hits a snag now and then. Here is how to handle frequent obstacles with encouraging solutions.
“My lotion separated into oil and water!”
- The Solution: This usually happens if the temperatures weren’t matched during mixing or if you didn’t blend long enough. Don’t throw it away! You can usually gently reheat the mixture in a double boiler and re-blend it until it holds.
“There are tiny bubbles in my lotion.”
- Alternative Approach: This is caused by lifting the stick blender too high and incorporating air. To fix this, tap the jar on the counter to bring bubbles to the top, and next time, keep the blender head fully submerged while pulsing.
“The lotion feels too thick to come out of the pump.”
- Preventive Measures: If your lotion is too thick, you used a bit too much emulsifying wax. Next time, reduce the wax by 2 grams. For your current batch, you can use it as a “hand cream” in a tub instead of a pump bottle.
Maximizing Results: Longevity and Care
To build upon your success, you must ensure your light & nongreasy easy homemade lotion stays fresh and safe to use.
The Importance of Preservatives
Because this recipe contains water, it will grow mold and bacteria without a preservative. If you want a “natural” option, look for Broad Spectrum preservatives like Optiphen or Geogard. Without a preservative, your lotion must be kept in the refrigerator and used within 7-10 days. With a preservative, it can stay on your bathroom shelf for 3-6 months.
Proper Storage
Light and heat can degrade natural oils. Store your homemade creations in amber glass bottles or in a cool, dark cupboard. This helps maintain the potency of any essential oils you’ve added, much like how you would [freshen a musty closet naturally] by keeping it dry and dark.
Featured Snippet: How do I make my homemade lotion less greasy?
To make homemade lotion less greasy, you must create an emulsion of water and “dry” oils like grapeseed or jojoba rather than using only oils. Additionally, adding a small amount of arrowroot powder can help absorb excess oil on the skin’s surface, and using a high ratio of water (60-70%) ensures the lotion feels light and absorbs quickly.
Conclusion
Creating your own light & nongreasy easy homemade lotion is a rewarding way to take charge of your wellness. You have discovered that you have the capability to succeed in making a professional-quality product with just a few simple ingredients. By choosing to DIY, you achieve a level of skin health that is customized, chemical-free, and incredibly satisfying.
You’ve got this! Start by ordering some emulsifying wax and a “dry” oil today. You will be amazed at how quickly your skin responds to the gentle, natural hydration of a lotion you made with your own hands.