
Before commercial floor cleaners existed, households around the world kept their floors spotless with one of the simplest solutions imaginable — salt dissolved in water. This isn’t folklore without foundation. Mopping floors with salt water combines sodium chloride’s genuine antimicrobial and abrasive properties with the cleaning power of warm water to produce results that surprise people who’ve only ever used chemical-based products. Salt water mopping costs virtually nothing, leaves zero toxic residue, is completely safe for children and pets, and works effectively on multiple floor types. Whether you’re exploring natural cleaning alternatives, reducing your household chemical load, or simply looking for a cost-effective floor cleaning solution that genuinely delivers, salt water mopping deserves a serious place in your cleaning repertoire. This complete guide covers the science, the technique, the floor compatibility, and the advanced strategies that unlock everything salt water mopping can do.
The Science Behind Salt Water as a Floor Cleaner
Understanding why salt water cleans effectively transforms it from a folk remedy into a purposefully chosen cleaning agent with specific, predictable properties.
How Salt Functions as a Cleaning Agent
Sodium chloride (table salt) contributes to floor cleaning through three distinct mechanisms working simultaneously. First, dissolved salt increases the ionic strength of the cleaning solution, which helps break the adhesive bonds between soil particles and floor surfaces — the same principle that makes hard water less effective for cleaning than soft water, operating in reverse. Salt ions interfere with the electrostatic forces that help dirt cling to floor surfaces, making soil release more easily when mopped.
Second, salt in solution creates a mild abrasive effect at the microscopic level. While dissolved salt molecules are invisible and don’t scratch surfaces, undissolved salt crystals — when used in slightly higher concentrations for stubborn spots — provide gentle mechanical scouring action that lifts embedded grime without the harsh scratching of steel wool or stiff brushes. This controlled abrasive quality makes salt water particularly effective for the slightly textured grout lines between tiles where dirt embeds and resists ordinary mopping.
Third, and perhaps most compelling for household cleaning purposes, sodium chloride exhibits genuine antimicrobial properties through osmotic mechanisms. When bacteria are exposed to hypertonic salt solutions (solutions with higher salt concentration than the bacterial cell interior), osmotic pressure draws water out of bacterial cells through their semi-permeable membranes — a process called plasmolysis — causing cell dehydration and death. Research consistently demonstrates that salt solutions at concentrations of 2-3% and above produce meaningful reduction in common household pathogens including E. coli, Salmonella, and certain Staphylococcus species. Kitchen and bathroom floors treated with salt water cleaning receive genuine antimicrobial benefit, not just surface cleaning.
What Salt Water Does and Doesn’t Do
Setting accurate expectations ensures you achieve excellent results rather than disappointment. Salt water mopping excels at removing everyday soil, food residue, light grease, surface bacteria, and accumulated dust. It naturally deodorizes by eliminating odor-causing bacteria rather than masking smells with fragrance. It leaves no chemical residue that transfers to bare feet or curious toddlers’ hands. It’s gentle enough for regular use without surface degradation concerns on appropriate floor types.
Salt water mopping is less effective for heavy grease accumulation (which benefits from alkaline degreasers), deep staining requiring oxidative bleaching, and high-pathogen situations requiring hospital-grade disinfection. For everyday household floor maintenance — which represents the vast majority of floor cleaning needs — salt water performs remarkably well.
Floor Compatibility: Where Salt Water Mopping Works Best
Before mopping any floor with salt water, confirming compatibility prevents the one situation where this otherwise gentle method could cause problems.
Ideal Floor Types for Salt Water Mopping
Ceramic and porcelain tile represent the ideal salt water mopping surface. These non-porous materials are completely unaffected by salt exposure and benefit from salt’s gentle grout-cleaning abrasion. Many people with tiled kitchens and bathrooms find salt water mopping superior to commercial cleaners for maintaining grout brightness between deep cleanings.
Vinyl and luxury vinyl plank (LVP) tolerate salt water mopping extremely well. The non-porous surface releases soil readily when treated with salt water, and the mild ionic cleaning action improves results compared to plain water mopping without any surface degradation risk at normal use concentrations.
Concrete floors — particularly sealed or stained concrete common in modern homes, garages, and commercial spaces — respond well to salt water cleaning. The slight abrasive quality helps lift the tire marks, shoe scuffs, and surface soil that accumulate on concrete without damaging the surface.
Stone tiles including slate, travertine, and most granite tiles generally tolerate salt water mopping well, though natural stone requires important pH considerations. Most salt water solutions fall in the neutral pH range (6.5-7.5), making them safe for sealed stone. Unsealed natural stone, however, requires a patch test first — certain porous stones can absorb mineral deposits from repeated salt water exposure.
Floor Types Requiring Caution or Avoidance
Hardwood floors require significant caution with any water-based mopping, and salt water is no exception. While a properly diluted, extremely well-wrung salt water application on sealed hardwood causes no more damage than minimal regular water mopping, concentration matters critically. High salt concentrations can potentially draw moisture from wood fibers through osmotic mechanisms that reverse the antimicrobial action. For hardwood floors, keep salt concentration low (1 teaspoon per gallon maximum), ensure the mop is wrung almost completely dry, and follow immediately with a dry microfiber buff. If your hardwood finish shows any wear, revert to dry mopping and targeted spot cleaning only.
Marble and limestone are calcareous stones that react chemically with any acidic or strongly ionic solutions. Salt water at normal concentrations is mild enough to use occasionally, but regular salt water mopping of marble risks gradual mineral interaction that dulls the polished surface over time. Stick to pH-neutral stone cleaners for marble and limestone.
The Step-by-Step Salt Water Mopping Method
With the right approach, mopping floors with salt water delivers noticeably better results than plain water mopping while remaining simpler than mixing multi-ingredient cleaning solutions.
Step 1: Dry Clean First — Always. Before any wet mopping, thoroughly dry-clean your floor with a microfiber dust mop or vacuum. Mopping over loose grit, pet hair, or debris pushes particles around rather than removing them and can scratch certain floor surfaces. This preparatory step takes 3-5 minutes and dramatically improves your mopping results regardless of what cleaning solution you use.
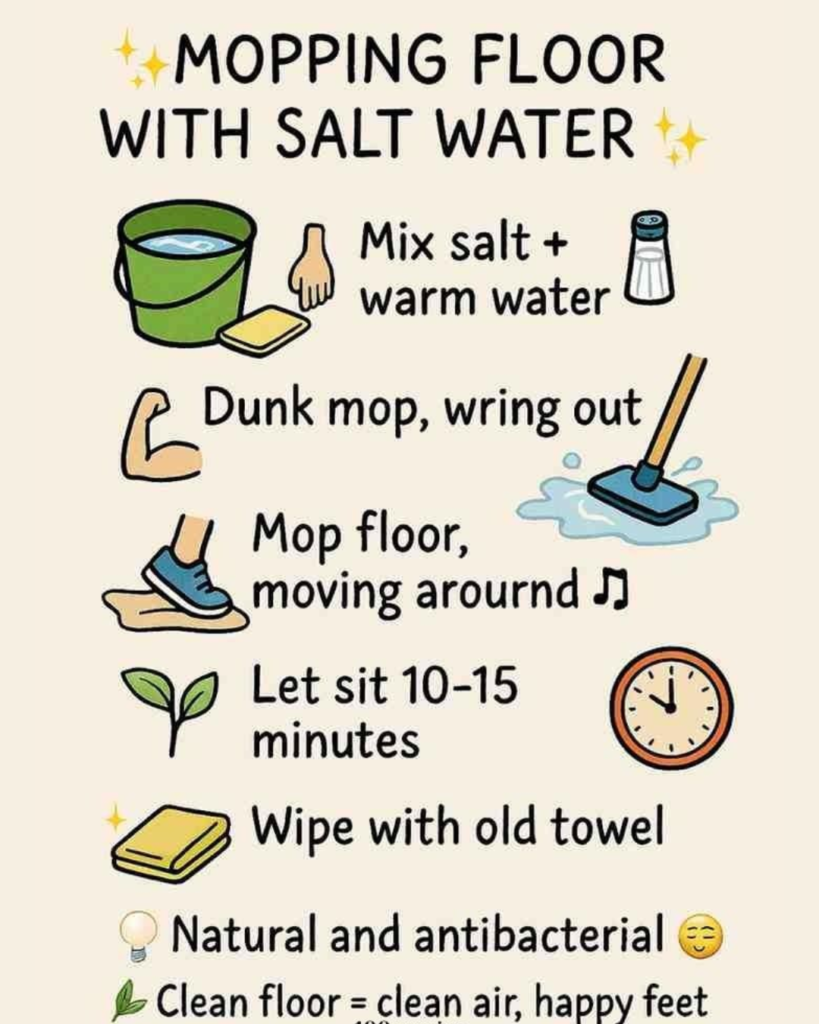
Step 2: Prepare Your Salt Water Solution. For standard floor mopping, dissolve 2-3 tablespoons of plain table salt or sea salt in one gallon of warm water. Warm water (approximately 40-45°C) dissolves salt more rapidly and improves soil release from floor surfaces compared to cold water. Stir until salt is completely dissolved — undissolved salt crystals can scratch sensitive floors. This concentration (approximately 1.5-2% salt solution) provides effective cleaning and antimicrobial action without being strong enough to leave visible residue on most floor types.
For heavy soil situations or bathroom floors requiring enhanced antimicrobial action, increase concentration to 4-5 tablespoons per gallon (approximately 3% solution). For hardwood floors, reduce to 1 teaspoon per gallon for safety.
Step 3: Optional Enhancements. Salt water alone is highly effective, but adding complementary ingredients amplifies specific cleaning properties without compromising safety. Adding 2-3 tablespoons of white vinegar per gallon introduces acetic acid that helps dissolve mineral deposits and soap scum (particularly valuable in bathrooms and kitchens). Adding 5-10 drops of tea tree essential oil provides additional antimicrobial activity through tea tree’s terpinen-4-ol content. A few drops of lemon essential oil contribute mild degreasing properties and pleasant natural fragrance. None of these additions are required, but each targets specific floor soil types effectively.
Step 4: Mop Using Correct Technique. Wring your mop until it is damp rather than wet — this single technique variable affects results more than almost anything else. Excess water sitting on floors causes streaking on non-porous surfaces, penetrates grout, and poses significant risk to wood floors. Work in sections, mopping backward toward a doorway so you never walk on freshly cleaned areas. For tile floors, use slightly overlapping strokes to ensure complete coverage including grout lines. For textured surfaces, use a scrubbing motion in problem areas.
Step 5: No Rinsing Required on Most Floors. One of salt water mopping’s practical advantages over many commercial cleaners is that it typically requires no rinse step. At the concentrations recommended here, the minimal salt residue left after mopping dries invisibly and completely. If you’re uncertain, or if you used higher concentrations, a single pass with a clean, plain water-dampened mop provides complete reassurance.
Step 6: Allow Complete Drying. Allow floors to dry completely before walking on them in socks or bare feet. Cross-ventilation from open windows or a ceiling fan significantly accelerates drying time. Most floors dry within 10-20 minutes under normal household conditions.
Advanced Salt Water Mopping Strategies
Targeting Specific Cleaning Challenges
Grout lines respond exceptionally well to concentrated salt paste treatment before mopping. Mix salt with just enough water to form a thick paste, apply directly to stained grout lines with an old toothbrush, scrub briefly, allow to sit 5 minutes, then mop the entire floor as usual. The salt paste’s mild abrasive action lifts discoloration from grout’s porous surface that ordinary mopping cannot reach. This targeted pre-treatment approach transforms grout appearance without harsh bleaching chemicals.
Pet odor elimination is where salt water mopping particularly shines compared to fragrance-based commercial cleaners. Rather than masking pet odors with synthetic fragrance that dissipates quickly, salt water’s osmotic antimicrobial action eliminates the bacteria responsible for pet odors at their source. For pet households, increase mopping frequency in pet areas and use the slightly higher 3% salt concentration for maximum odor-eliminating effectiveness. Adding a few drops of lavender essential oil to your salt water solution provides additional antimicrobial action and a genuinely pleasant natural scent.
Post-illness sanitizing benefits from full 3% salt concentration with tea tree oil addition across all hard floor surfaces. While not a replacement for hospital-grade disinfection in clinical contexts, this enhanced salt water protocol provides meaningful pathogen reduction appropriate for routine household illness recovery.
Seasonal Considerations for Salt Water Mopping
In regions with cold winters, road salt tracked indoors creates particularly challenging floor residue — especially ironic that salt used on roads creates indoor salt residue requiring cleaning. Salt water mopping addresses this specific problem perfectly, as the ionic cleaning action dissolves and suspends road salt residue for removal just as effectively as it handles other soils. During winter months, increasing mopping frequency at entryways and high-traffic areas prevents road salt accumulation that can gradually dull floor finishes over seasons.
Troubleshooting Common Salt Water Mopping Challenges
White Residue After Drying
Visible white residue after salt water mopping dries almost always indicates either too high a salt concentration, insufficient mop wringing leaving excess solution, or hard tap water adding mineral deposits alongside salt residue. The fix is straightforward: switch to distilled water (which eliminates hard water minerals), reduce salt concentration, and wring your mop more thoroughly. For existing residue, a clean damp mop with plain distilled water removes it completely in one pass. Going forward, the combination of appropriate concentration and a well-wrung mop prevents recurrence entirely.
Floors Looking Dull After Mopping
Dull appearance after mopping almost always results from using too much solution — a wet film that dries to a cloudy layer rather than the clean surface below it. This is a technique issue rather than a salt problem. Reduce solution volume, wring more thoroughly, and increase ventilation during drying. For vinyl and tile floors that have accumulated cleaning product buildup over time, an initial deeper cleaning with a dilute white vinegar solution removes existing buildup before transitioning to salt water maintenance, after which the dull film disappears.
Maximizing Results: Building Salt Water Mopping Into Your Routine
Creating an Effective Mopping Schedule
Salt water mopping’s low cost and complete safety make frequent application genuinely practical in a way that chemical cleaners aren’t — you never need to worry about accumulation of chemical residue from mopping too frequently. High-traffic areas like kitchen floors and main hallways benefit from two or three salt water moppings per week. Lower-traffic rooms maintain cleanliness with weekly mopping. Bathrooms — where antimicrobial action is most valuable — benefit from twice-weekly treatment, particularly around toilet bases and in front of shower areas where moisture and bacterial activity are highest.
Complementary Natural Cleaning Strategies
Salt water mopping integrates beautifully with a broader natural cleaning approach that reduces household chemical exposure without compromising cleanliness. Pairing salt water floor mopping with baking soda surface scrubbing, white vinegar glass and surface cleaning, and castile soap for general washing creates a complete household cleaning system from four simple, inexpensive, and genuinely effective natural compounds. These ingredients are available everywhere, cost a fraction of commercial alternatives, and collectively address every routine household cleaning need.
Conclusion
Mopping floors with salt water delivers genuine, science-backed cleaning results through mechanisms that have served households effectively for centuries — and that modern chemistry confirms are legitimate and effective. The antimicrobial action, gentle abrasion, soil-release properties, and complete safety profile of salt water make it a superior choice for regular floor maintenance across most floor types. Start with your kitchen or bathroom floor this week: dissolve three tablespoons of salt in a gallon of warm water, add a few drops of tea tree oil if you like, and discover firsthand why this simple solution cleans so effectively. Your floors, your budget, and your household’s chemical exposure will all benefit from making this ancient cleaning method part of your modern home routine.