Make your own DIY essential oil lip balm at home with simple, natural ingredients for soft, hydrated lips without harsh chemicals.
Have you ever reached for your lip balm only to wonder what’s actually inside it? Many store-bought options contain synthetic fragrances, preservatives, and petroleum-based ingredients that may not truly nourish your lips. The good news? You can create a DIY essential oil lip balm that is natural, customizable, affordable, and deeply moisturizing.
In this complete guide, you’ll discover how to make essential oil lip balm step by step, which ingredients work best, how to avoid common mistakes, and how to customize your recipe for different seasons. By the end, you’ll feel confident crafting your own homemade lip balm that keeps your lips soft, smooth, and beautifully scented.
Why Make DIY Essential Oil Lip Balm?
Creating DIY essential oil lip balm isn’t just a fun project. It’s a smart choice for your skin, your wallet, and your lifestyle.
When you make your own lip balm, you:
- Control every ingredient
- Avoid synthetic additives
- Save money long term
- Customize scent and texture
- Create thoughtful handmade gifts
Plus, natural oils and butters contain nourishing fatty acids that help support the skin barrier. Dermatology research shows that ingredients like beeswax, shea butter, and plant oils help lock in moisture and protect delicate lip skin.
What Makes Essential Oils Special?
Essential oils add natural aroma and gentle therapeutic properties. For example:
- Peppermint oil creates a cooling sensation
- Lavender oil provides calming fragrance
- Sweet orange oil adds a fresh citrus scent
However, essential oils are highly concentrated. Using them correctly and safely is crucial when making DIY essential oil lip balm.
Is DIY Lip Balm Safe?
Yes — when made properly.
Lip balm requires low essential oil dilution (typically 0.5–1%). This ensures safety while still providing scent and subtle benefits. We’ll cover exact measurements later so you can feel confident.
Ingredients You Need for DIY Essential Oil Lip Balm
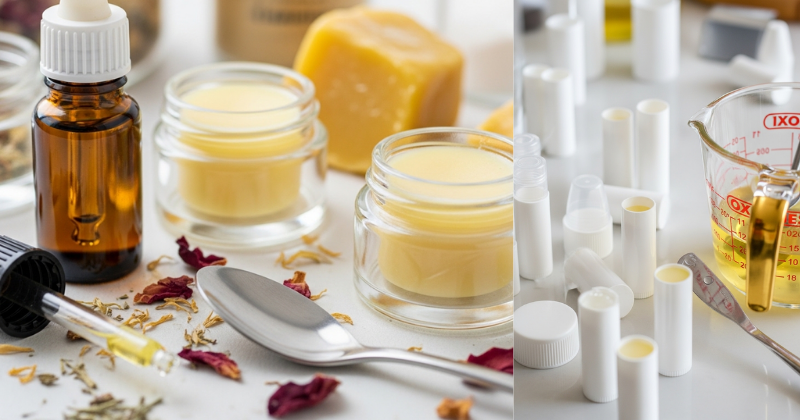
Before you begin, gather high-quality ingredients. The better your materials, the better your final product.
Base Ingredients (The Foundation)
These form the structure of your lip balm:
- Beeswax – Provides firmness and seals in moisture
- Shea butter or cocoa butter – Adds creaminess and deep hydration
- Carrier oils (sweet almond oil, jojoba oil, or coconut oil) – Nourish and soften lips
A simple ratio for beginners:
- 1 part beeswax
- 1 part butter
- 1 part carrier oil
You can adjust this later depending on your preferred texture.
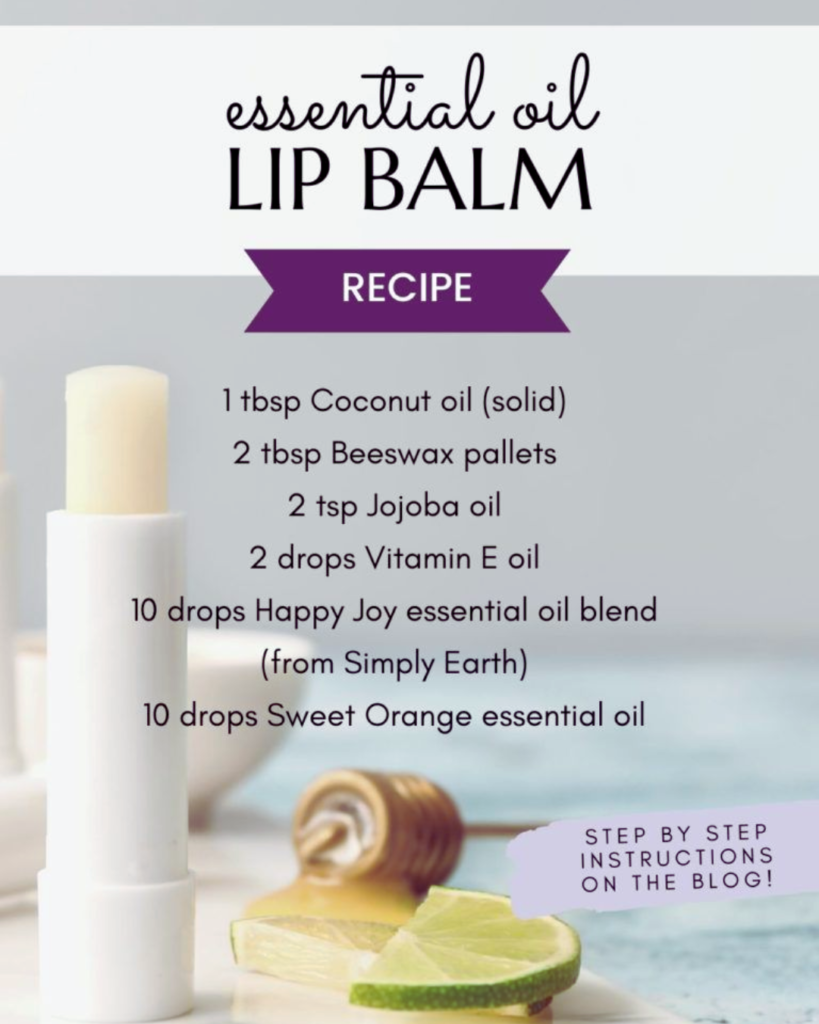
Essential Oils for Lip Balm
Not all essential oils are safe for lips. Stick to gentle options:
- Peppermint (very small amounts)
- Lavender
- Sweet orange
- Lemon (steam-distilled, not cold-pressed)
- Vanilla oleoresin
Avoid strong oils like cinnamon, clove, or oregano, as they can irritate sensitive lip skin.
Tools You’ll Need
Keep it simple:
- Double boiler (or heat-safe bowl over simmering water)
- Measuring spoons or digital scale
- Stirring utensil
- Lip balm tubes or small tins
- Dropper for essential oils
Preparation is quick, and cleanup is easy.
Step-by-Step: How to Make DIY Essential Oil Lip Balm
Ready to create your own natural lip care? Follow these simple steps.
Step 1: Melt the Base Ingredients
In a double boiler, combine:
- 1 tablespoon beeswax
- 1 tablespoon shea butter
- 1 tablespoon carrier oil
Heat gently until fully melted. Stir occasionally.
Avoid overheating. Slow melting preserves nutrients.
Step 2: Remove from Heat
Once fully melted and blended, remove from heat and let the mixture cool slightly (about 1–2 minutes).
This prevents essential oils from evaporating due to high heat.
Step 3: Add Essential Oils
For one tablespoon of lip balm base, add:
- 1–2 drops essential oil total
That’s it. Less is more.
Stir thoroughly to distribute evenly.
Step 4: Pour into Containers
Carefully pour the mixture into lip balm tubes or tins while still liquid.
Let it cool at room temperature for 30–60 minutes. Avoid refrigeration, as rapid cooling can cause cracks.
Once solid, your DIY essential oil lip balm is ready to use.
Pro Tips to Customize Your Lip Balm
Now that you’ve mastered the basics, let’s elevate your formula.
Adjusting Texture
If your lip balm is:
- Too hard → Add more carrier oil
- Too soft → Increase beeswax slightly
For Hot Climates
Use a bit more beeswax to prevent melting.
For Cold Climates
Add more butter for extra nourishment against dryness.
Adding Natural Tint
You can create tinted DIY essential oil lip balm by adding:
- A pinch of beetroot powder
- A small amount of natural mica (lip-safe only)
- Infused alkanet root oil
Always test color in small batches first.
Boosting Hydration
Consider adding:
- Vitamin E oil (natural preservative and antioxidant)
- A few drops of rosehip oil for extra nourishment
If you’re interested in related projects, you might also explore homemade body butter recipes, DIY natural face creams, or how to make sugar lip scrubs.
Common Problems and How to Fix Them
Even simple DIY projects can have small hiccups. Don’t worry — they’re easy to fix.
My Lip Balm Feels Grainy
This often happens when shea butter cools too slowly.
Fix it by:
- Remelting gently
- Cooling more quickly next time
The Scent Is Too Strong
Essential oils are powerful. If your DIY essential oil lip balm smells overpowering:
- Remelt and dilute with more base ingredients
- Reduce essential oil drops next batch
It Melted in My Bag
Natural lip balms soften in heat. To prevent this:
- Increase beeswax ratio
- Store in a cool place
Consistency improves with practice. Each batch teaches you something new.
How to Store and Maximize Shelf Life
Proper storage keeps your DIY essential oil lip balm fresh and effective.
Storage Tips
- Keep away from direct sunlight
- Store at room temperature
- Use clean hands when applying from tins
How Long Does It Last?
Homemade lip balm typically lasts:
- 6–12 months
Using vitamin E oil can help extend freshness.
If it smells off or changes texture drastically, it’s time to replace it.
Frequently Asked Question: Can You Put Essential Oils in Lip Balm Safely?
Yes — but only in very small amounts.
Essential oils must be diluted properly. For lip products, a 0.5–1% dilution rate is recommended. That usually means 1–2 drops per tablespoon of base.
Always:
- Use lip-safe essential oils
- Avoid phototoxic citrus oils unless steam-distilled
- Perform a patch test if you have sensitive skin
When used responsibly, essential oils enhance both aroma and experience in your DIY essential oil lip balm.
Taking It to the Next Level
Once you feel confident, you can expand your skills.
Create Seasonal Blends
- Winter: Peppermint + vanilla
- Spring: Sweet orange + lavender
- Summer: Lemon + coconut oil
- Fall: Vanilla + sweet orange
Turn It Into a Small Business
Handmade natural lip balm is popular at:
- Local markets
- Holiday gift exchanges
- Online handmade platforms
Focus on high-quality ingredients and clear labeling.
Build a Natural Skincare Routine
Your DIY essential oil lip balm can be part of a broader clean beauty routine. Consider exploring:
- Natural face serums
- DIY cuticle oil
- Herbal salves
- Homemade whipped body butter
Each project builds confidence and creativity.
Conclusion: Soft, Natural Lips Start in Your Kitchen
Making your own DIY essential oil lip balm is simple, empowering, and surprisingly fun. You control the ingredients. You customize the scent. You create something nourishing with your own hands.
No mystery chemicals. No complicated process. Just natural ingredients working together to protect and hydrate your lips.
Start with a small batch today. Experiment. Adjust. Discover your perfect blend. Once you experience the difference of homemade lip balm, you may never go back to store-bought again.
Your soft, healthy lips are just a few ingredients away.