Learn how to create a DIY Cuticle Remover: A Gentle At-Home Fix for Dry Cuticles that saves money and restores your nails using natural, soothing ingredients.
Have you ever looked down at your hands during a meeting or a dinner date and noticed those ragged, dry patches of skin creeping over your nail beds? We have all been there. Dry, overgrown cuticles can make even the most beautiful manicure look unkempt and can even lead to painful hangnails or infections. While the salon is a lovely treat, you don’t need a professional appointment to achieve clean, healthy nail borders.
In this guide, you will discover the power of a DIY Cuticle Remover: A Gentle At-Home Fix for Dry Cuticles. We are going to unlock the secrets to salon-quality hand care using simple ingredients from your kitchen and bathroom cabinet. By the end of this article, you will feel empowered to transform your nail health, saving time and money while avoiding the harsh chemicals often found in commercial products. Let’s dive into the world of natural nail care and get your hands looking their absolute best!
Important Disclaimer: This article is for informational purposes only and should not replace professional advice. For health-related topics, consult healthcare providers. For financial or legal matters, seek qualified professional guidance. For safety procedures, verify current best practices and local regulations. Individual results may vary, and personal circumstances should always be considered when implementing any suggestions.
Section 1: Understanding Your Cuticles and Why DIY is the Way to Go
Before we mix up our magic potion, it is important to understand what cuticles actually do. Your cuticle is a thin layer of dead skin that sits at the base of your nail, serving as a protective seal for the matrix where new nails grow. When this skin becomes dry or “stuck” to the nail plate, it looks messy and prevents healthy growth.
Many store-bought removers use harsh alkalines to dissolve skin, which can sometimes irritate the sensitive living tissue nearby. By choosing a DIY Cuticle Remover: A Gentle At-Home Fix for Dry Cuticles, you are opting for a method that softens rather than destroys. This gradual, nourishing approach is much better for long-term nail health. Whether you have sensitive skin or you’re just looking for a more sustainable lifestyle, making your own products gives you total control.
H3: The Power of Natural Softeners
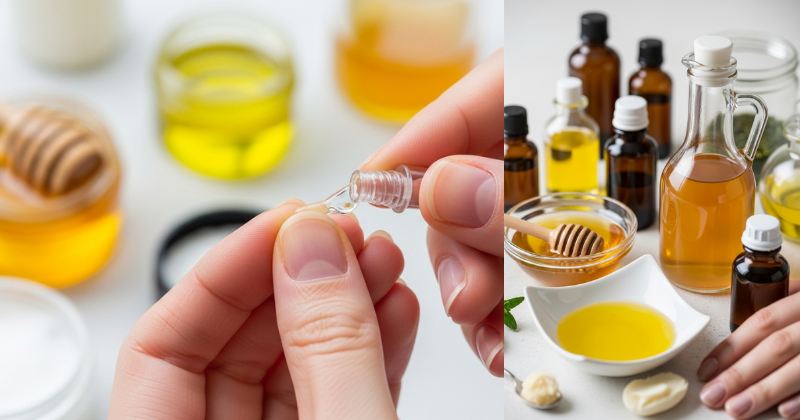
The goal of a homemade remover is to provide intense hydration and a mild acidic or enzymatic exfoliation. Ingredients like honey, oils, and apple cider vinegar work in harmony to break the bond between the dead skin and the nail without causing chemical burns.
H3: Building Your Nail Confidence
If you’ve never done your own nail prep, don’t worry! It is much easier than it looks. Starting with a gentle, natural solution is the best way for beginners to learn the “feel” of nail care without the risk of over-processing the skin. You’ll be amazed at how quickly you can achieve professional results with just a little bit of patience.
Section 2: How to Make and Use Your DIY Cuticle Remover
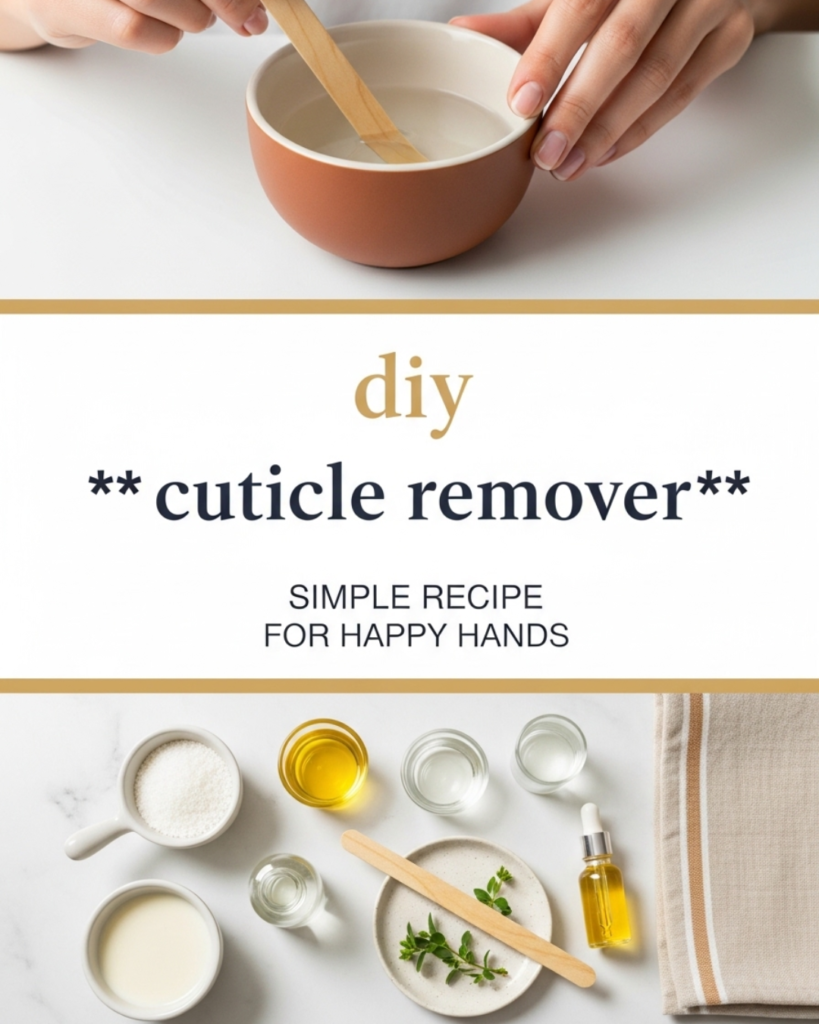
Are you ready to see a transformation? This core method is designed to be simple, effective, and incredibly relaxing. We will focus on the most popular and effective “Honey-Oil Blend.”
What You Will Need:
- 1 Teaspoon of Honey: A natural humectant that draws moisture into the skin.
- 1 Tablespoon of Olive Oil (or Jojoba Oil): Provides deep conditioning.
- 1 Teaspoon of Apple Cider Vinegar: The mild acidity helps loosen dead skin cells.
- A Small Bowl of Warm Water: For the initial soak.
- An Orange Wood Stick or Silicone Pusher: To gently move the skin.
The Step-by-Step Process:
- The Warm Soak: Start by soaking your fingertips in a bowl of warm water for about 5 to 10 minutes. This is a crucial step! It softens the keratin in the skin, making it much more responsive to the treatment.
- Mix the Solution: In a small container, whisk together the honey, oil, and vinegar until they are well combined.
- Application: Using a cotton swab or your clean finger, apply a generous amount of the mixture to the base of each nail. Massage it in gently using circular motions.
- Wait and Relax: Let the mixture sit for 3 to 5 minutes. This gives the enzymes in the honey and the acid in the vinegar time to work their magic.
- Gently Push Back: Take your orange wood stick and, using very light pressure, gently push the softened cuticle back toward the knuckle. Never cut the living skin; only remove the “ghostly” dead skin that has lifted off the nail plate.
- Rinse and Seal: Wash your hands with mild soap and immediately apply a drop of [Nourishing Nail Oil] to lock in the hydration.
Section 3: Advanced Strategies and Personal Variations
Once you’ve mastered the basic recipe, you can experiment with different ingredients to find what works best for your specific skin type. Here are some expert-level tips to take your DIY Cuticle Remover: A Gentle At-Home Fix for Dry Cuticles to the next level.
H3: Customized Recipes for Every Need
- The Extra-Strength Fix: If you have very thick calluses around the nails, add a pinch of fine sea salt to your mixture. This adds a physical exfoliation element that helps scrub away stubborn dead skin.
- The Brightening Blend: Add a squeeze of fresh lemon juice. Lemon is a natural brightener that can help remove yellow stains from the nail plate caused by dark polishes.
- The Soothing Lavender Treat: Add a single drop of Lavender essential oil. Not only does it smell like a luxury spa, but it also provides anti-inflammatory benefits if your cuticles are slightly irritated.
H3: The Overnight “Slug” Technique
For those struggling with extremely cracked cuticles, try “slugging” your nails. After applying your DIY remover and pushing back the cuticles, apply a thick layer of petroleum jelly or a heavy balm over your fingers and wear cotton gloves to bed. You will wake up with hands that feel like silk.
Section 4: Troubleshooting and Safety First
Even with a gentle DIY approach, it’s important to stay safe and address common challenges. Here is how to handle obstacles with ease.
- Problem: “My cuticles aren’t budging.”
- Solution: Your water might not have been warm enough, or you didn’t soak long enough. Try extending your soak time to 15 minutes and ensure the water stays at a comfortable, warm temperature.
- Problem: “The skin feels sensitive or red.”
- Solution: You might be using too much pressure with your pusher tool. Remember, the goal is to nudge, not scrape. If irritation occurs, rinse immediately and apply a [Soothing Aloe Vera Gel].
- Problem: “I keep getting hangnails.”
- Solution: Hangnails are often caused by dryness or by “nipping” at the skin with metal cutters. Put down the scissors! Stick to the “push-back” method and increase your daily moisturizing.
Preventive Measures
Always sanitize your tools before and after use with a little rubbing alcohol. This prevents bacteria from entering the small gaps between the nail and the skin. Additionally, avoid “dry pushing” your cuticles, as this can cause micro-tears in the tissue.
Section 5: Maintaining Your Results for Long-Term Beauty
Achieving great nails is a journey, not a one-time event. To build upon your success, incorporate these maintenance habits into your daily life.
- Hydrate Daily: Keep a small bottle of [DIY Cuticle Oil] at your desk or by your bed. Applying it once a day will prevent the need for heavy-duty removals in the future.
- Protect Your Hands: When doing dishes or using cleaning chemicals, always wear rubber gloves. Hot water and detergents are the enemies of healthy cuticles.
- Stay Hydrated from Within: Drinking plenty of water and maintaining a balanced diet rich in biotin and healthy fats will reflect in the strength and appearance of your nails.
- Consistency Over Intensity: It is much better to gently push back your cuticles once a week than to try a “deep clean” once a month. Gentle, regular care is the secret to sustainable nail health.
Conclusion: Step Into Your Best Self
You have officially mastered the art of the DIY Cuticle Remover: A Gentle At-Home Fix for Dry Cuticles! By choosing a natural, supportive approach, you are not just cleaning your nails; you are practicing essential self-care. This simple ritual proves that you don’t need a massive budget to feel pampered and polished.
Remember, your hands do so much for you every day—they deserve this moment of rejuvenation. Summarize your new routine: soak, apply your honey-oil blend, gently push, and moisturize. You have the capability to achieve beautiful, healthy hands right from the comfort of your own home. Now, go ahead and show off those stunning nails!