
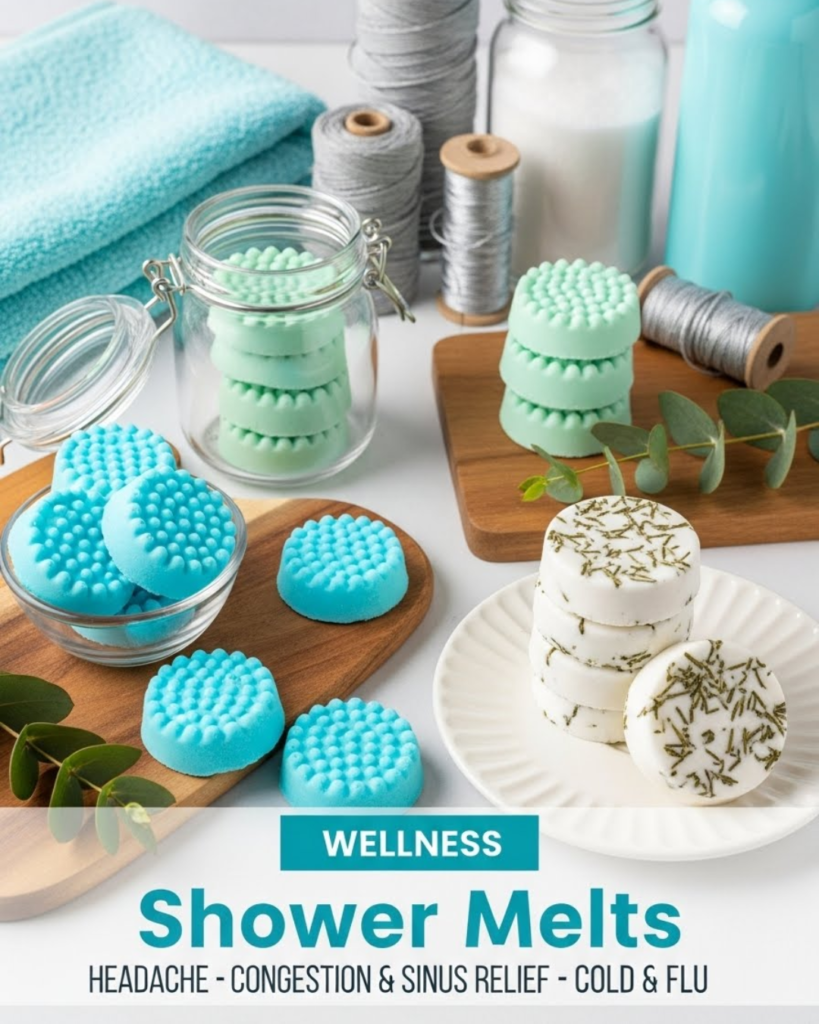
Discover how to make DIY Shower Melts for Health and Wellness. Learn simple, natural ways to transform your daily shower into a relaxing, spa-like experience.
Have you ever wished you could enjoy the luxury of a long, relaxing bath, but simply don’t have the time in your busy schedule? Most of us start our day with a hurried shower, rushing through the motions just to get out the door. However, what if your morning rinse could become a powerful tool for your mental and physical well-being? By creating your own DIY Shower Melts for Health and Wellness, you can unlock the benefits of aromatherapy without needing an hour to soak in a tub. These small but mighty tablets dissolve slowly in the steam, releasing essential oils that can clear your mind, soothe your sinuses, or energize your spirit.
Today, you are going to discover how easy and affordable it is to achieve a professional spa experience at home. This guide will empower you with achievable, step-by-step guidance to master the art of the shower steamer. You have the capability to achieve a profound shift in your daily mood and health using simple pantry staples. Get ready to transform your routine and achieve a breakthrough in your personal self-care journey!
Foundation: Understanding the Power of Steam and Scent
Before we begin crafting, let’s build your confidence with the basic concepts of how shower melts work. Understanding the synergy between heat and aromatherapy is the first step toward effective wellness.
How Aromatherapy Works in the Shower
When you use DIY Shower Melts for Health and Wellness, you are engaging in “passive inhalation.” As the warm water hits the melt, it triggers a chemical reaction that releases essential oil molecules into the steam. These molecules enter your respiratory system and interact with your brain’s limbic system, which controls emotions and heart rate. This is why a simple scent can instantly make you feel more grounded or alert.
The Magic of Simple Ingredients
You might be surprised to learn that you only need a few basic items to create high-quality melts:
- Baking Soda: Acts as the sturdy base that holds the oils.
- Citric Acid: Provides the “fizz” that helps disperse the scent.
- Essential Oils: The heart of the melt that provides the wellness benefits.
- Witch Hazel or Water: The binding agent that pulls it all together.
Encouraging Reassurance for Beginners
If you’ve never tried a DIY beauty project before, do not worry! This is one of the most forgiving recipes you can attempt. You don’t need expensive equipment or a chemistry degree to succeed. By taking this small step today, you are prioritizing your health and proving that luxury is achievable on any budget. You’ve got this!
Step-by-Step: The Foolproof Shower Melt Recipe
Ready to get started? Follow these manageable steps to create your first batch of wellness-boosting melts.
1. Preparation and Tools
Gather your materials to ensure a smooth process.
- Tools: A large glass bowl, a whisk, and a silicone mold (muffin tins also work!).
- Ingredients: 2 cups of baking soda, 1/2 cup of citric acid, and about 30–40 drops of your chosen essential oils.
2. Mixing the Dry and Wet
- The Action: Whisk the baking soda and citric acid together until there are no clumps.
- The Process: Slowly spritz witch hazel or water over the powder. Tip: Do not pour the liquid in all at once, or the mixture will fizz prematurely!
- The Goal: You want the consistency of “wet sand.” If you squeeze a handful, it should hold its shape.
3. Adding the Wellness Oils
Once your base is ready, add your essential oils.
- The Method: Distribute the drops evenly throughout the mixture and whisk again.
- The Molding: Press the mixture firmly into your silicone mold. The harder you press, the longer the melt will last in the shower.
- The Wait: Let them dry for 24–48 hours in a cool, dry place.
Advanced Strategies: Expert Blends for Every Need
Once you have mastered the basic DIY Shower Melts for Health and Wellness, share expert-level insights with yourself by customizing your oil blends to target specific health goals.
The “Sinus Clear” Blend (Respiratory Support)
When you are feeling congested or dealing with seasonal allergies, this blend is a lifesaver.
- Pro Tip: Use 15 drops of Eucalyptus, 10 drops of Peppermint, and 5 drops of Lemon.
- Internal Link: To further soothe your system, check out our guide on Essential Oils That Help Relieve Nausea for more digestive support tips.
The “Deep Sleep” Reset (Nighttime Wellness)
If you shower before bed to wash away the day’s stress, this blend will help you achieve a better night’s rest.
- Pro Tip: Combine Lavender, Cedarwood, and Ylang Ylang.
- Internal Link: If you find yourself overthinking at night, discover why people who overthink at night usually had this type of childhood and how scent can break that cycle.
The “Morning Sunshine” Kickstart (Energy)
Achieve an instant energy boost without the caffeine jitters.
- Pro Tip: Use Grapefruit, Sweet Orange, and a hint of Rosemary to sharpen your focus.
Featured Snippet: How do you use a shower melt effectively?
To use a shower melt effectively, place the tablet on the floor of your shower away from the direct stream of water. You want the melt to be lightly splashed by the water rather than submerged. This allows it to dissolve slowly and steadily, releasing aromatherapy vapors into the steam for the duration of your shower. Placing it too close to the drain will cause it to wash away before you can enjoy the benefits.
Troubleshooting: Common DIY Challenges
Even the best crafters run into small hurdles. Here is how to handle frequent obstacles with an encouraging mindset:
- “My melts are crumbling”: This usually means they didn’t have enough moisture or weren’t pressed hard enough into the mold. Action: Next time, add a few more spritzes of witch hazel and use a heavy object to pack the powder down.
- “They are fizzing in the mold”: This happens if the environment is too humid.
- Solution: Store your drying melts in a room with a dehumidifier or a cool, dry closet.
- “I can’t smell them”: You might need to increase your oil concentration.
- Internal Link: Sometimes your home’s baseline scent can interfere. Try This Simple Cleaning Trick Makes Your Kitchen Smell Amazing to clear the air before your spa session.
Maximizing Results: Creating a Total Wellness Environment
Now that you’ve created your DIY Shower Melts for Health and Wellness, build upon your success by making your entire bathroom a sanctuary.
Clean Air and Surfaces
A wellness routine is only as good as the environment it’s in.
- Internal Link: Keep your shower area free of harsh chemical fumes by using a floor cleaner diy for your bathroom tiles.
- Internal Link: Achieve a pristine look by following The Cozy Home Tip That Makes Any Room Feel Instantly Cleaner.
Post-Shower Care
Don’t let the relaxation end when you turn off the water.
- Tip: Follow up with a natural moisturizer. If you’ve been feeling physically heavy, consider a Bentonite Clay Foot Detox Recipe to continue the detoxification process.
- Internal Link: Remember that what you put on your body matters as much as what you put in it. Review The 20 Worst Foods For People with Arthritis, Ranked in Order to ensure your diet supports your new wellness habits.
Conclusion: Achieve the Daily Reset You Deserve
You have now discovered the secrets to making DIY Shower Melts for Health and Wellness and, more importantly, you have the achievable steps to start today. You have moved from a rushed, stressful morning routine to being an empowered creator of your own peace. By following these methods—mixing the wet sand consistency, choosing targeted oil blends, and placing the melt strategically—you have achieved a strategy for better mental and physical health.
The journey to a vibrant, balanced life is an achievable and rewarding path. We encourage you to whip up a batch of “Morning Sunshine” melts this weekend! You are more than capable of achieving a state of wellness that makes every day feel like a gift.
Important Disclaimer: This article is for informational purposes only and should not replace professional advice. For health-related topics, consult healthcare providers. Individual results may vary, and personal circumstances should always be considered when implementing any suggestions.