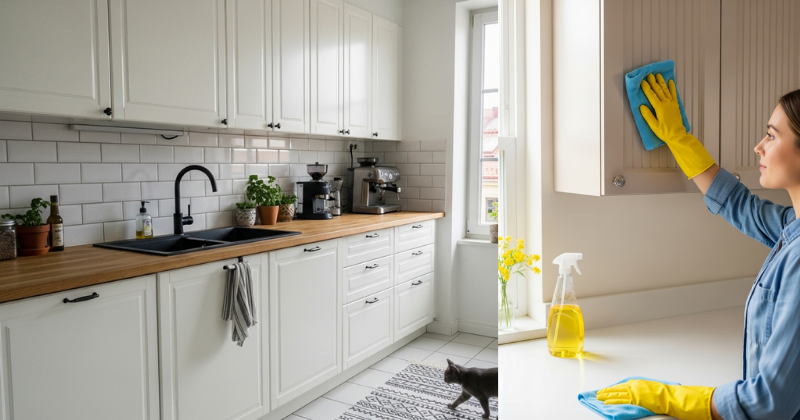
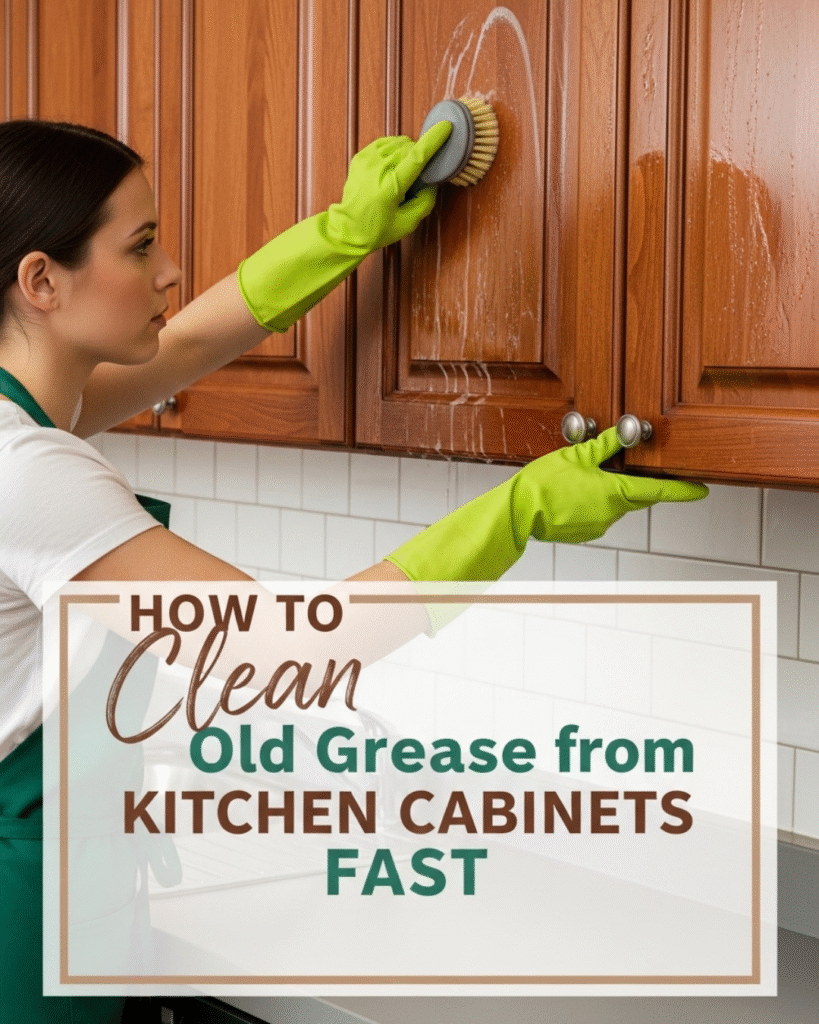
Kitchen cabinets bear witness to countless culinary adventures, silently accumulating layers of grease that tell stories of sizzling pans, aromatic stir-fries, and years of nourishing meals. That stubborn film coating your cabinet doors isn’t just grime; it’s a testament to a well-loved kitchen, though perhaps one that deserves liberation from its greasy burden. If you’ve run your fingers across those surfaces and felt the sticky residue that refuses to yield to simple soap and water, you’re about to discover transformative techniques that will restore your cabinets to their former glory without spending hours scrubbing or investing in expensive commercial cleaners.
This guide unveils the alchemy of grease removal, combining time-tested methods with modern efficiency. Whether your cabinets are wood, laminate, or painted surfaces, you’ll learn to dissolve years of buildup quickly and effectively, transforming your kitchen from tired to radiant. The satisfaction of watching cloudy, grimy surfaces emerge clean and lustrous is one of home care’s most immediate rewards, and you’re moments away from experiencing that triumph.
Understanding the Nature of Kitchen Grease: The Foundation of Effective Cleaning
Before we immerse ourselves in the practical choreography of cleaning, let’s understand what we’re battling. Kitchen grease is a complex mixture of cooking oils, airborne particles, dust, and residue from various food preparations. When heat rises from your stove, it carries microscopic oil droplets that settle on every surface, gradually building an increasingly stubborn layer. This accumulation oxidizes over time, bonding more firmly to cabinet surfaces and creating that characteristic sticky, yellowed patina.
The key to rapid grease removal lies in understanding chemistry rather than brute force. Grease is hydrophobic, meaning it repels water, which explains why simple wiping with damp cloths proves futile. You need agents that break down oil’s molecular structure, emulsifying it so water can finally carry it away. This is where the magic of alkaline solutions, degreasers, and strategic technique converges to create remarkable results.
Assessing Your Cabinet Material
Different cabinet finishes demand tailored approaches. Wood cabinets with natural finishes require gentler treatment to preserve their patina and prevent moisture damage. Painted or laminate surfaces tolerate more aggressive cleaning but can still be damaged by abrasive scrubbing. Run your hand along your cabinets and note their texture. This tactile assessment guides your cleaning intensity and solution strength, ensuring you remove grease without compromising the surface beneath.
The Fast-Acting Dish Soap Method: Your First Line of Defense
For moderate grease buildup, a supercharged dish soap solution offers surprising effectiveness. Dish soap is specifically formulated to cut through cooking oils, making it your kitchen’s secret weapon against cabinet grime. This method combines simplicity with speed, delivering visible results that feel almost miraculous.
Begin by filling a bowl with very warm water, the hottest your hands can comfortably tolerate. Heat enhances the soap’s degreasing power, softening oils so they release more readily. Add several generous squirts of quality dish soap, creating a solution that feels slightly slippery between your fingers. This concentrated mixture becomes your cleaning potion.
Dip a microfiber cloth into the solution, wringing it until damp but not dripping. Excess water can seep into cabinet seams and damage wood, so control moisture carefully. Working in small sections, apply the soapy cloth to greasy surfaces using circular motions. You’ll notice the grease beginning to emulsify immediately, transforming from sticky film to cloudy residue that your cloth can capture.
The Two-Cloth Technique
Here’s where efficiency accelerates. Keep two cloths in rotation: one for applying the soapy solution and another, dampened with clean water, for rinsing. This prevents you from spreading dissolved grease across cleaned areas. After working each section with soap, immediately follow with your rinse cloth, then buff dry with a clean towel. This three-step rhythm creates a meditative flow, transforming tedious scrubbing into satisfying progression as each section emerges restored.
For areas with heavier buildup, allow the soapy solution to dwell for two to three minutes before wiping. This patience allows the soap to penetrate deeper into the grease layers, doing the chemical work so you don’t have to provide the elbow grease.
The Baking Soda Power Paste: Confronting Stubborn Buildup
When dish soap meets its match, baking soda enters as your heavy-duty ally. This humble pantry staple combines mild abrasiveness with alkaline properties that dissolve grease remarkably effectively. The transformation from powder to paste to cleaning miracle feels almost alchemical.
Create your paste by mixing three parts baking soda with one part water, adjusting consistency until you achieve a spreadable texture similar to thick frosting. For enhanced power, substitute water with white vinegar, creating a fizzing reaction that adds extra degreasing punch. This effervescence isn’t just theatrical; it indicates active chemical breakdown of oils and grime.
Apply this paste directly to the greasiest areas using a soft cloth or old toothbrush for detailed work around hardware and carved details. The paste adheres to vertical surfaces, allowing extended contact time for maximum effectiveness. Let it work its magic for five to ten minutes, giving the alkalinity time to break molecular bonds in the grease.
Gentle Abrasion for Accelerated Results
When you return to wipe away the paste, use gentle circular motions. The fine particles in baking soda provide just enough abrasion to lift loosened grease without scratching most cabinet finishes. You’ll feel the difference immediately as surfaces become smooth rather than tacky under your cloth. Rinse thoroughly with a damp cloth, as any remaining baking soda residue can leave a white haze. A final dry buffing reveals the true transformation.
For extremely stubborn spots where grease has fossilized into thick deposits, make a stronger paste and use a plastic scraper to gently lift buildup before applying your cleaning cloth. This careful excavation removes years of accumulation without damaging the underlying finish.
The Vinegar Steam Solution: Nature’s Degreaser Accelerated
White vinegar stands as one of nature’s most effective degreasers, its acidity cutting through alkaline grease deposits with satisfying efficiency. When combined with heat, vinegar transforms into a powerful cleaning system that works almost effortlessly. This method brings the satisfaction of watching grease literally dissolve before your eyes.
Fill a spray bottle with equal parts white vinegar and water, creating a solution that balances effectiveness with surface safety. For heavily soiled cabinets, use undiluted vinegar, though test first in an inconspicuous area to ensure compatibility with your finish. Warm your solution by placing the spray bottle in a bowl of hot water for several minutes. This gentle heating amplifies the vinegar’s degreasing action without requiring specialized equipment.
Generously spray greasy surfaces, ensuring complete coverage. The vinegar needs contact time to work its magic, so don’t rush to wipe. Allow three to five minutes for the acid to penetrate and break down grease layers. You might notice a slight fizzing or bubbling where the vinegar contacts particularly thick buildup—this is the sound of chemistry working in your favor.
The Hot Towel Technique
For an even more powerful approach, combine vinegar spray with heat. After spraying, lay a cloth dampened with hot water over the treated area, creating a mini-steam chamber. This trapped heat and moisture accelerate the degreasing process dramatically. After five minutes, remove the cloth and wipe away dissolved grease with ease. The combination of acid, heat, and moisture creates conditions where even ancient grease surrenders.
Follow vinegar cleaning with a water rinse and thorough drying. While vinegar’s scent dissipates quickly, proper rinsing ensures no residue remains to dull your newly cleaned surfaces.
Advanced Commercial Solutions: When Time Is Precious
Sometimes life demands maximum results with minimum effort. Quality commercial degreasers are formulated specifically for kitchen applications, combining powerful surfactants with safe application methods. These products aren’t admissions of defeat; they’re strategic tools for the efficiency-focused cleaner.
Choose degreasers labeled safe for kitchen use and compatible with your cabinet material. Products containing orange oil or citrus-based solvents offer powerful cleaning with pleasant aromatics. Read application instructions carefully, as concentration and dwell time vary significantly between products. Most commercial degreasers work best when sprayed directly onto surfaces and allowed to penetrate for the specified time.
The satisfaction of watching thick grease liquify and run off surfaces almost feels magical. Commercial products often include ingredients that suspend dissolved grease in solution, preventing it from redepositing as you clean. This makes the wiping phase remarkably efficient, with grease transferring completely to your cloth rather than smearing across cleaned areas.
Safety Considerations and Ventilation
Always ensure adequate ventilation when using commercial cleaners. Open windows and run exhaust fans to prevent fume accumulation. Wear gloves to protect your hands from strong degreasing agents, which can strip natural oils from your skin along with grease from your cabinets. Keep commercial cleaners away from food preparation areas during application, and rinse thoroughly afterward to ensure no residue contacts food or dishes.
Store these powerful products safely away from children and pets, respecting their strength while appreciating their effectiveness for those moments when you need rapid, comprehensive degreasing.
Maintenance Strategies: Preserving Your Achievement
Once you’ve invested effort in deep cleaning, establish routines that prevent severe grease accumulation from returning. This isn’t about adding burdensome chores but about integrating quick maintenance into existing kitchen rhythms. A weekly wipe-down with your dish soap solution takes mere minutes but prevents the gradual buildup that eventually demands intensive cleaning.
Consider applying a thin coat of furniture polish or cabinet-appropriate wax to sealed wood surfaces after deep cleaning. This protective layer makes future cleaning easier by preventing grease from bonding directly to the finish. Oils and waxes create a sacrificial barrier that you can refresh periodically, maintaining that just-cleaned glow with minimal effort.
Position splatter guards behind your stove and use exhaust fans consistently during cooking. These simple habits dramatically reduce the amount of airborne grease settling on cabinets. The satisfaction of maintaining clean surfaces far exceeds the brief inconvenience of these preventive measures.
Troubleshooting Persistent Problems: When Grease Resists
Occasionally you’ll encounter spots where grease has penetrated beyond surface level or where previous cleaning attempts have created stubborn residue. These challenging areas require patience and creative problem-solving rather than frustration. If standard methods fail, try combining techniques: apply baking soda paste, spray with vinegar for the chemical reaction, then cover with a hot towel. This triple approach attacks stubborn grease from multiple angles simultaneously.
For grease that’s seeped into wood grain on unfinished or damaged areas, consider using mineral spirits on a cloth for spot treatment. This stronger solvent dissolves oils that water-based cleaners cannot reach. Test carefully and use sparingly, as solvents can affect some finishes. Follow immediately with soap and water to remove solvent residue.
If discoloration persists after grease removal, you’re likely seeing staining or finish damage rather than remaining grease. At this point, you’ve cleaned successfully; any remaining appearance issues require refinishing rather than additional cleaning.
Conclusion: The Transformed Kitchen Awaits
You’ve now mastered the art and science of rapid grease removal, transforming what once seemed an overwhelming task into an achievable, even satisfying project. Your kitchen cabinets can return to their role as beautiful, functional elements rather than repositories of cooking history. The techniques you’ve learned work efficiently because they respect chemistry, use appropriate tools, and match method to challenge level.
As you stand back and admire surfaces that gleam in your kitchen light, remember that this cleanliness is maintainable with simple consistent effort. The sticky, dulled cabinets that once greeted you are now a memory, replaced by surfaces that reflect the care you invest in your home. You’ve not just cleaned cabinets; you’ve reclaimed your kitchen’s potential for beauty and welcomed a fresh chapter in your home’s story. Now grab your cleaning supplies with confidence, knowing that grease, no matter how stubborn, has met its match in your capable hands.