
Learn how to grow a peach tree from the pit with simple, step-by-step guidance. Discover how to germinate, plant, and care for your tree for delicious results.
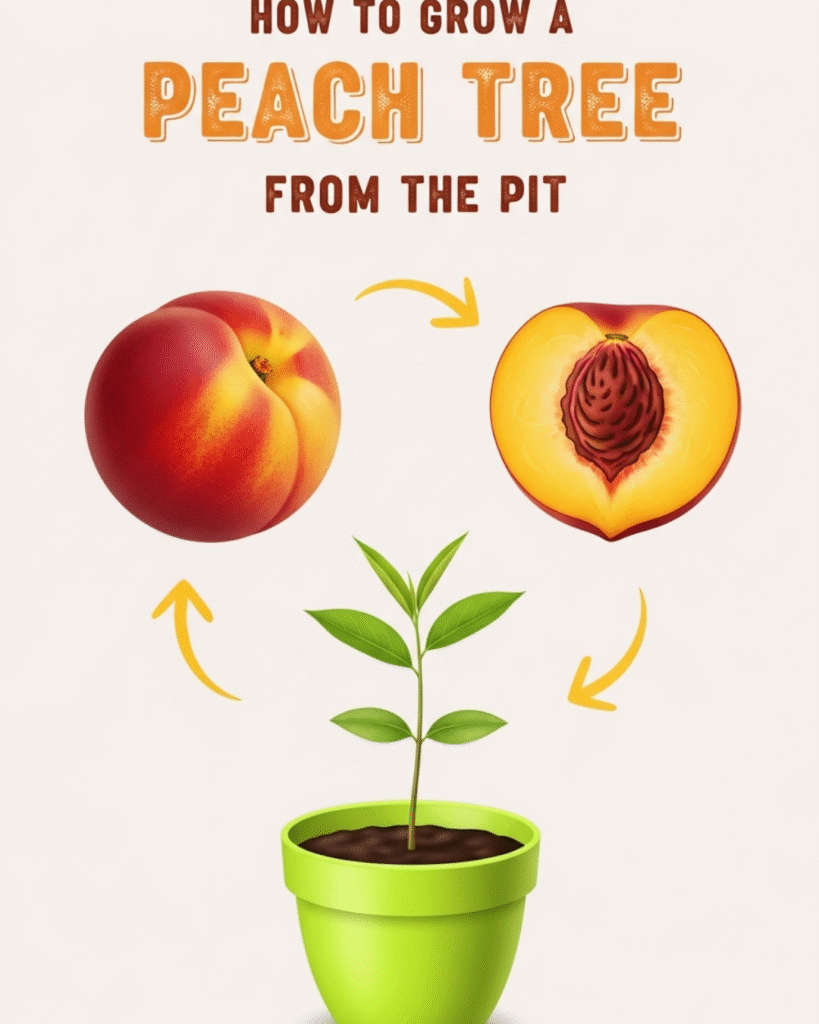
Growing your own peach tree from a pit is one of the most rewarding gardening projects you can try. Imagine savoring juicy, sun-ripened peaches that grew from a simple fruit seed you once enjoyed. With patience, the right technique, and a touch of care, you can transform a leftover pit into a thriving tree that graces your garden for years to come.
In this guide, you’ll learn everything you need to know — from selecting the right peach, preparing the seed, and nurturing the sprout, to transplanting and caring for your young tree. Whether you’re a seasoned gardener or just starting your journey, this tutorial will make you confident and excited to grow your own peach tree from scratch.
Understanding the Basics: Can You Really Grow a Peach Tree from a Pit?
Yes — you absolutely can! Growing a peach tree from a pit isn’t just possible, it’s a natural, low-cost, and deeply satisfying process. The seed inside that hard peach pit holds everything needed to grow a new tree, but it does require proper preparation to break dormancy and germinate successfully.
What You Need to Know First
Before diving in, here are a few key facts:
- Peach varieties matter. Trees grown from grocery store peaches may not produce identical fruit, but they can still yield delicious peaches.
- Time and patience are essential. It can take 3–4 years before your tree bears fruit.
- Cold stratification is crucial. This step mimics winter conditions and helps the seed sprout.
Growing your own peach tree isn’t just about the result — it’s about reconnecting with nature, watching growth unfold, and feeling the joy of nurturing life from a tiny seed.
Step-by-Step Guide: How to Grow a Peach Tree from the Pit
Let’s break down the process into clear, achievable steps.
Step 1: Choose and Clean Your Peach Pit
Start with a ripe, healthy peach. Freestone peaches work best because their pits are easier to remove.
- Eat or cut the peach to extract the pit.
- Wash the pit gently under warm water to remove all fruit residue.
- Let it dry for 1–2 days.
Pro tip: You can either plant the pit as-is or carefully crack it open to extract the almond-like seed inside — this sometimes speeds up germination.
Step 2: Cold Stratification (Simulating Winter)
Peach seeds need a chilling period to break dormancy, mimicking natural winter conditions.
Here’s how to do it:
- Wrap the clean pit (or inner seed) in a damp paper towel.
- Place it inside a plastic bag or airtight container.
- Store it in the refrigerator (not the freezer!) for 8–12 weeks.
- Check periodically to ensure the towel remains slightly moist but not soggy.
After a few weeks, you might see a small root emerging — a sign your seed is ready to plant!
Step 3: Planting the Germinated Peach Pit
Once your seed sprouts, it’s time to plant it.
Materials you’ll need:
- Small pot (about 6 inches deep) with drainage holes
- Well-draining soil (a mix of potting soil and sand works well)
- Watering can or spray bottle
Planting process:
- Fill the pot with moist soil.
- Plant the sprouted seed about 2–3 inches deep with the root facing downward.
- Place the pot in a sunny, warm location (around 65–75°F / 18–24°C).
- Keep the soil slightly damp but never waterlogged.
You should see a small shoot appear in 2–4 weeks.
Step 4: Transplanting Your Young Tree Outdoors
After the last frost of spring, your young peach tree is ready to move outside.
How to transplant:
- Choose a sunny spot with well-drained soil — peach trees need at least 6 hours of sunlight daily.
- Dig a hole twice as wide as the pot but no deeper.
- Gently remove the seedling and place it in the hole.
- Backfill with soil, press lightly, and water thoroughly.
Spacing tip: If planting multiple trees, keep them about 12–15 feet apart for proper airflow and growth.
Pro Tips for Thriving Peach Trees
Growing a peach tree from a pit is just the beginning — maintaining it ensures strong growth and delicious fruit later on.
Watering and Fertilizing
- Water deeply once a week, more often during hot spells.
- Apply a balanced fertilizer in early spring to support new growth.
- Mulch around the base to retain moisture and discourage weeds.
Pruning for Strength and Fruit Production
Pruning encourages healthy branches and better fruit yield.
- In the first year, prune to form a strong central shape.
- Each spring, remove dead or crossing branches.
- Thin fruit when small — this prevents overburdening the limbs.
Protecting from Pests and Disease
Peach trees are prone to issues like leaf curl, aphids, and borers.
- Spray dormant oil in winter to prevent pests.
- Check leaves regularly for signs of damage.
- Use organic pest control methods like neem oil when needed.
Troubleshooting Common Problems
Even with proper care, challenges can arise. Here’s how to fix them:
H3: Seed Didn’t Sprout
- Check if stratification lasted long enough (8–12 weeks).
- Ensure the paper towel remained moist throughout the chilling period.
- Try cracking open the pit next time for better germination rates.
H3: Leaves Turning Yellow
- Overwatering is a common cause — ensure proper drainage.
- Check for nutrient deficiency and apply balanced fertilizer.
H3: No Fruit After Several Years
- Some peach trees take up to 4–5 years to bear fruit.
- Make sure it’s receiving full sunlight and proper pruning.
- Grafted peach trees usually bear fruit faster than seed-grown ones.
Remember: patience is your greatest tool when growing from a pit.
Maximizing Results and Long-Term Care
Once your tree is established, consistent care helps you enjoy a bountiful harvest for years.
H3: Yearly Maintenance Tips
- Fertilize every spring before new growth begins.
- Keep an eye on branches for pruning needs.
- Refresh mulch annually to maintain moisture balance.
H3: Harvesting and Enjoying Your Peaches
Peaches are ready to harvest when they feel slightly soft and give off a sweet aroma. Twist gently — if they come off easily, they’re ripe! Enjoy them fresh, or turn them into jams, pies, or smoothies.
H3: Expanding Your Orchard
Once you’ve mastered growing one peach tree, why stop there? Try growing apricots, plums, or nectarines using the same pit-starting method.
(Internal linking opportunities: “How to Grow Fruit Trees from Seeds,” “DIY Organic Fertilizer for Fruit Trees,” “How to Prune Young Trees,” “Beginner’s Guide to Home Orchards.”)
Conclusion
Growing a peach tree from the pit is a beautiful reminder that great things often start small. With care, patience, and a little love, that leftover seed can transform into a fruit-bearing tree that fills your garden — and your kitchen — with sweetness for years.
So the next time you enjoy a juicy peach, don’t toss that pit away. Clean it, chill it, plant it, and watch life unfold. Your backyard oasis of homegrown peaches awaits — one seed at a time.