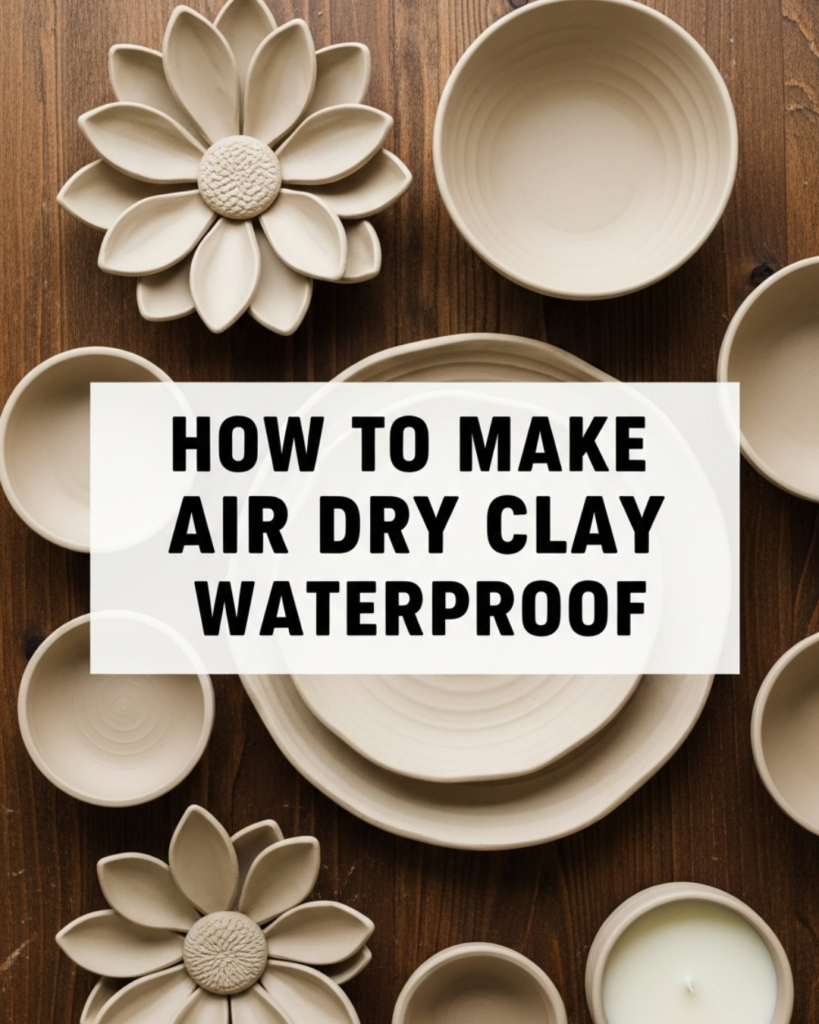
Learn how to make air dry clay waterproof with our expert guide. Discover the best sealants and techniques to protect your DIY clay projects from moisture today.
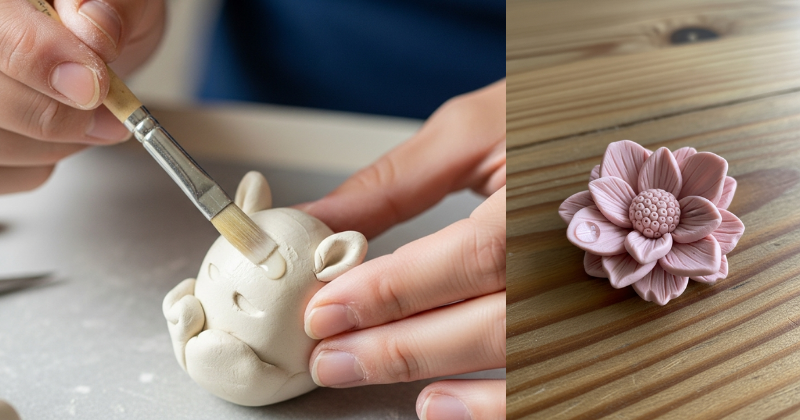
Have you ever spent hours meticulously sculpting a beautiful vase or a custom plant pot from air dry clay, only to watch it soften or crack the moment it comes into contact with water? It is a heartbreaking experience for any maker. Air dry clay is a fantastic, accessible medium, but its natural vulnerability to moisture can limit your creativity. Fortunately, you don’t have to settle for decorative-only pieces! You can how to make air dry clay waterproof by using the right sealing techniques and materials.
In this comprehensive guide, we are going to transform your crafting experience. You will discover the professional secrets to shielding your sculptures from humidity, spills, and outdoor elements. Whether you are creating home decor or [vintage-inspired plant markers for your garden], this roadmap will give you the confidence to make your art last a lifetime. You have the capability to create durable, functional pottery without a kiln. Let’s dive in and unlock the full potential of your clay projects!
Foundation: Understanding the Nature of Air Dry Clay
Before we start sealing, it is essential to build confidence in the materials you are using. Knowing why air dry clay reacts to water is the first step toward successfully protecting it.
Why Air Dry Clay is Porous
Unlike traditional ceramic clay that is fired in a kiln at high temperatures to “vitrify” (turn into glass), air dry clay hardens through evaporation. Because it never reaches those extreme temperatures, the microscopic pores remain open. This means that if the clay gets wet, it will re-absorb that moisture, causing it to return to a mud-like state or disintegrate. Learning how to make air dry clay waterproof is essentially about “locking” those pores.
Addressing Common Hesitations
Many beginners worry that waterproofing will change the look of their piece or that the chemicals involved are too complex. I want to reassure you: there are many user-friendly, non-toxic options available. If you have already explored [sustainable lifestyle changes] like making your own home goods, adding a waterproof seal is just one more simple step in your journey.
Key Components for Success
- Curing Time: Your project must be 100% dry before sealing.
- Surface Prep: Sanding and cleaning ensure the sealant bonds properly.
- Sealant Type: Choosing between gloss, matte, or resin finishes.
Step-by-Step: The Core Methods for Waterproofing
Ready to protect your work? Follow this actionable process to implement how to make air dry clay waterproof using the most effective household and craft supplies.
1. The Varnish or Acrylic Sealer Method
This is the most common method for decorative items that might face occasional moisture, like a jewelry dish.
- The Step: Once your clay is bone-dry, apply 2-3 thin coats of a high-quality acrylic varnish or Polyurethane.
- Actionable Tip: Always wait for each coat to dry completely before applying the next to avoid a sticky finish.
2. The Epoxy Resin Method (Maximum Protection)
If you want to create a piece that can hold standing water (like a small planter) or live outdoors, resin is your best friend.
- The Process: Mix equal parts of resin and hardener according to the package instructions.
- The Application: Pour or brush the resin over your piece. Use a small torch or your breath to pop any air bubbles. Resin creates a thick, glass-like barrier that is entirely water-tight.
3. The Mod Podge Method (Water-Resistant)
For kids’ projects or indoor decor, a water-resistant sealant like Mod Podge Outdoor can work wonders.
- The Process: Apply with a soft brush in long, even strokes. While not “submersible,” it protects against humidity and light spills effectively.
Advanced Strategies: Pro Tips for Functional Clay Art
Once you have mastered the basics, you can share expert-level insights by tailoring your approach to specific project types.
Creating Outdoor-Ready Sculptures
If you are making something for your [thriving backyard ecosystem], you need a UV-resistant sealant. Outdoor elements like sun and rain are much harsher than indoor conditions. Look for “Marine Grade” varnishes to ensure your hard work doesn’t yellow or peel over time.
The “Double Seal” Technique
For maximum durability, many pros use a two-step approach. First, paint the piece with acrylic paint (which has some plastic content), then apply a heavy-duty sealant over the top. This creates multiple layers of protection. This is a great [home DIY] shortcut for pieces that will be handled frequently.
Pro-Tip: Sealing the Inside
Many makers forget to seal the bottom or the inside of their vessels. If you are making a pot for a succulent, you must waterproof the interior as well. Moisture from the soil will seep through the clay from the inside out if you only seal the exterior!
Troubleshooting: Common Challenges and Solutions
Even with the best sealants, you might encounter a few hurdles. Here is how to handle them with encouragement.
“My sealant is cloudy or sticky.”
- The Solution: This usually happens if the clay wasn’t fully dry before sealing, trapping moisture underneath.
- Alternative Approach: Place your project in a warm, dry spot (like a sunny windowsill) for an extra 48 hours before you attempt to seal it. Patience is the key to a crystal-clear finish.
“The sealant is peeling off in sheets.”
- The Fix: The surface might have been too oily or dusty. Before sealing, wipe your piece down with a bit of rubbing alcohol to remove any oils from your hands. Sanding the piece lightly with fine-grit sandpaper also gives the sealant a better “grip.”
“I want a matte look, but the waterproof sealants are all shiny.”
- Preventive Measures: You can find “Matte Polyurethane” or “Matte Varnish” specifically designed for crafts. Alternatively, you can apply a gloss sealer for protection and then a final light coat of matte spray to dull the shine.
Maximizing Results: Longevity and Care
To build upon your success, look at your clay art as a long-term investment in your home’s aesthetic.
Maintenance and Cleaning
Even a waterproofed piece of air dry clay should be treated with care. Avoid putting these items in the dishwasher or microwave. Instead, wipe them down with a damp cloth and mild soap. This [gentle cleaning approach] ensures the sealant remains intact for years.
Complementary Strategies
Consider the “fill” of your vessels. If you’ve made a vase but aren’t 100% sure of your waterproofing, you can place a small glass jar inside the clay vessel to hold the water. This allows you to [decorate with fresh flowers] without ever risking the clay structure itself.
Featured Snippet: Can you make air dry clay completely waterproof?
Yes, you can make air dry clay waterproof by applying a non-porous sealant such as epoxy resin, polyurethane, or a specialized outdoor acrylic varnish. While air dry clay is naturally porous and will dissolve in water, 2 to 3 coats of these sealants will create a protective barrier. For items that will hold water or stay outdoors, epoxy resin provides the most durable, 100% waterproof finish.
Conclusion
Learning how to make air dry clay waterproof is a game-changing skill for any hobbyist. You have discovered that you have the capability to succeed in creating durable, functional, and beautiful pieces that stand the test of time. By choosing the right sealant and following the proper preparation steps, you achieve professional-level results that transform your craft.
You’ve got this! Start by choosing a small project you’ve recently finished and test out a varnish or resin finish. Once you see how sturdy and professional your work becomes, you’ll be inspired to take on even bigger creative challenges.