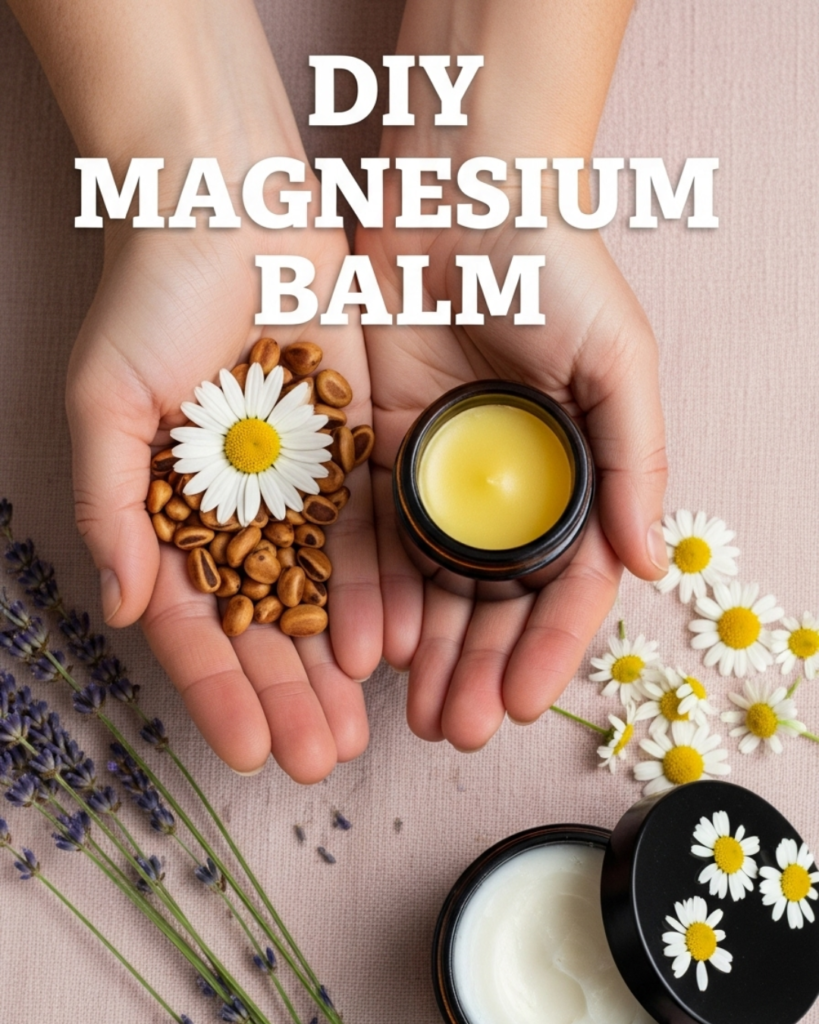
Learn how to make your own DIY magnesium balm to support relaxation and muscle recovery. Discover this simple, natural recipe to unlock better sleep and wellness today.
Important Disclaimer: This article is for informational purposes only and should not replace professional advice. For health-related topics, consult healthcare providers. For safety procedures, verify current best practices and local regulations. Individual results may vary, and personal circumstances should always be considered when implementing any suggestions.
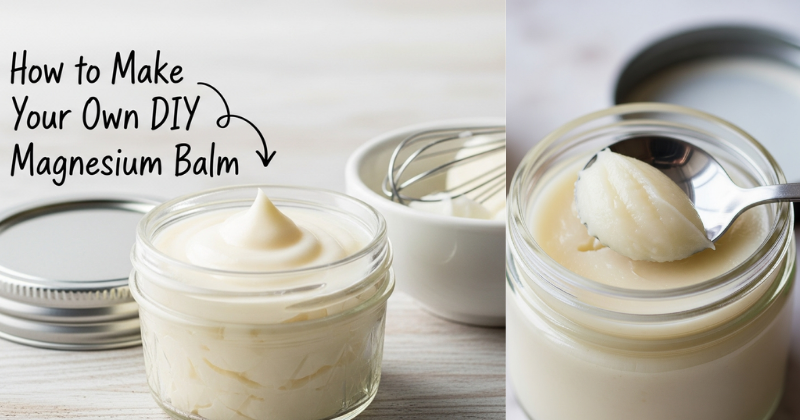
Have you ever spent a long night tossing and turning, unable to quiet your mind or soothe your restless legs? If so, you are not alone. Many people struggle with muscle tension and sleep disturbances, often searching for a natural solution that doesn’t involve heavy medication. Enter the world of transdermal minerals. Knowing how to make your own DIY magnesium balm is like discovering a superpower for your bedtime routine. This creamy, skin-loving salve allows you to absorb essential minerals directly through your skin, bypassing the digestive system for fast, soothing relief.
In this comprehensive guide, we are going to walk you through the rewarding process of crafting your own wellness products. You will learn why magnesium is the “master mineral,” how to choose the best ingredients, and the exact steps to create a luxurious balm that rivals expensive boutique brands. By the end of this article, you will feel empowered to take control of your self-care journey. You have the capability to transform your sleep and recovery naturally. Let’s get started on your first batch of liquid gold!
Foundation: Why Magnesium is Essential for Your Body
Before we dive into the kitchen, it is essential to build confidence in the science behind the balm. Understanding why your body craves this mineral will help you appreciate the DIY process even more.
The Power of Transdermal Absorption
Magnesium is involved in over 300 biochemical reactions in the human body, including muscle function, nerve signaling, and energy production. However, many people find that oral supplements can be tough on the stomach. Transdermal (through the skin) application is a supportive, non-judgmental way to increase your levels. When you learn how to make your own DIY magnesium balm, you are creating a delivery system that is gentle yet highly effective.
Addressing Common Concerns
Beginners often ask: “Will it sting?” or “Is it hard to mix oil and water?” It is natural to have hesitations. Some magnesium oils can feel itchy on the skin, but the beauty of a balm is that the added fats (like shea butter and coconut oil) buffer the mineral, making it a dream for sensitive skin. You are fully capable of creating a stable, professional-grade emulsion right on your stovetop.
Key Components for Success
- Magnesium Oil: The star of the show (usually a mix of magnesium chloride flakes and water).
- Carrier Butters: Shea or cocoa butter to provide a protective, moisturizing barrier.
- Emulsifying Wax: This is the secret to keeping your water-based magnesium and oil-based butters from separating.
- Beeswax: To give your balm the perfect “scoopable” consistency.
Step-by-Step: The Foolproof Magnesium Balm Recipe
Ready to craft? Follow this clear, actionable process to achieve a perfect, creamy texture every time.
1. Prepare Your Magnesium Phase
If you don’t have pre-made magnesium oil, you can make it easily.
- The Action: Boil a small amount of distilled water and mix it 1:1 with magnesium chloride flakes. Stir until dissolved and set aside to cool to room temperature.
- Why Distilled? Using distilled water prevents bacteria growth, ensuring your balm stays fresh for months.
2. Melt Your Oil Phase
This is where the nourishing magic happens.
- The Mix: In a double boiler (or a glass bowl over a pot of simmering water), combine ½ cup of coconut oil, ¼ cup of shea butter, and 2 tablespoons of beeswax pellets.
- The Heat: Melt them slowly on low heat. Avoid overheating, as you want to preserve the beneficial vitamins in the shea butter.
3. The Emulsion Process
This is the most critical part of how to make your own DIY magnesium balm.
- The Step: Once your oils are melted, remove from heat and let them cool slightly (but still liquid). Slowly—literally drop by drop—whisk your room-temperature magnesium oil into the melted butters.
- The Secret: Using a hand mixer or an immersion blender for 3-5 minutes will “fluff” the balm into a light, airy whipped consistency that won’t separate.
Advanced Strategies: Customizing Your Balm for Specific Needs
Once you have mastered the basic recipe, use these expert-level insights to customize your approach for different family members or times of day.
For Deep Sleep and Relaxation
Incorporate essential oils that complement the mineral’s calming effects. Lavender, Cedarwood, and Roman Chamomile are excellent choices. Add about 15-20 drops once the mixture has cooled slightly but hasn’t set. This is a great [sustainable lifestyle change] for those looking to replace synthetic sleep aids.
For Sore Muscles and Athlete Recovery
If you are using this after a heavy gym session, add a touch of Arnica oil or essential oils like Peppermint and Wintergreen. The cooling sensation paired with the magnesium helps [improve muscle recovery time] significantly. You can share these expert-level insights with your local hiking group or gym buddies!
Texture Variations
If you live in a very warm climate, increase the beeswax by one teaspoon to prevent the balm from melting. Conversely, if you are in a cold region and the balm is too hard, add a tablespoon of jojoba or sweet almond oil. This flexibility is the beauty of DIY!
Troubleshooting: Common Challenges and Solutions
Even with the best instructions, setbacks can happen. Here is how to handle frequent obstacles with encouragement.
“My balm separated into two layers!”
- The Solution: This usually happens if the temperatures of the oil and the magnesium water were too different during mixing. Don’t worry—you don’t have to throw it away! Simply re-melt the entire mixture gently and re-blend it as it cools.
- Preventive Measure: Ensure both phases are roughly at room temperature before you start the final whisking.
“It feels a bit gritty on my skin.”
- The Fix: This can happen if the magnesium flakes weren’t fully dissolved in the water before mixing. Next time, ensure the water is boiling when you add the flakes.
- Alternative Approach: You can also use a “sunflower lecithin” as an extra emulsifier to help create a smoother bond between the elements.
“I’m experiencing a tingly or itchy sensation.”
- The Reassurance: This is a common sign of magnesium deficiency or sensitive skin. Since you know how to make your own DIY magnesium balm, you can easily adjust the next batch by adding more shea butter or using a lower concentration of magnesium oil until your body adjusts.
Maximizing Results: How to Use Your Balm Effectively
To build upon your success, you need to know where and when to apply your new creation for maximum benefit.
Optimal Application Sites
For the best absorption, apply the balm to thin-skinned areas where blood vessels are close to the surface. The tops of the feet, the insides of the wrists, and the back of the knees are ideal. If you are using it for [restless leg relief], apply it directly to the calves about 30 minutes before bed.
Long-Term Considerations
Consistency is key. Like [improving your gut health], magnesium levels take time to build up. Use your balm nightly for at least two weeks to notice a significant shift in your sleep quality and stress levels. Store your jar in a cool, dark place to maintain the integrity of the oils.
Featured Snippet: What is the best way to use magnesium balm?
The best way to use magnesium balm is to apply a small, dime-sized amount to the soles of your feet or your calves before bedtime. This allows for steady absorption through the skin, helping to relax muscles and support the nervous system. Because the skin on the feet is highly porous, it is often the most effective spot for those looking to improve sleep quality or reduce muscle cramps naturally.
Conclusion
Learning how to make your own DIY magnesium balm is a transformative step in your personal wellness journey. You have discovered that you have the capability to succeed in creating a high-quality, non-toxic product that directly improves your daily life. By taking the time to craft this balm, you achieve a level of self-sufficiency that saves money and ensures you are putting only the best ingredients on your skin.
You’ve got this! Start today by gathering your ingredients and clearing off your kitchen counter. Your path to deeper sleep and relaxed muscles is just one small batch away.