
If you’ve ever felt like your home still looks dull even after vacuuming, dusting, and scrubbing every surface, there’s one powerful task you might be missing: washing your walls.
(Meta description: Discover why you should wash your walls, how to do it safely, and the step-by-step methods that transform your home instantly.)
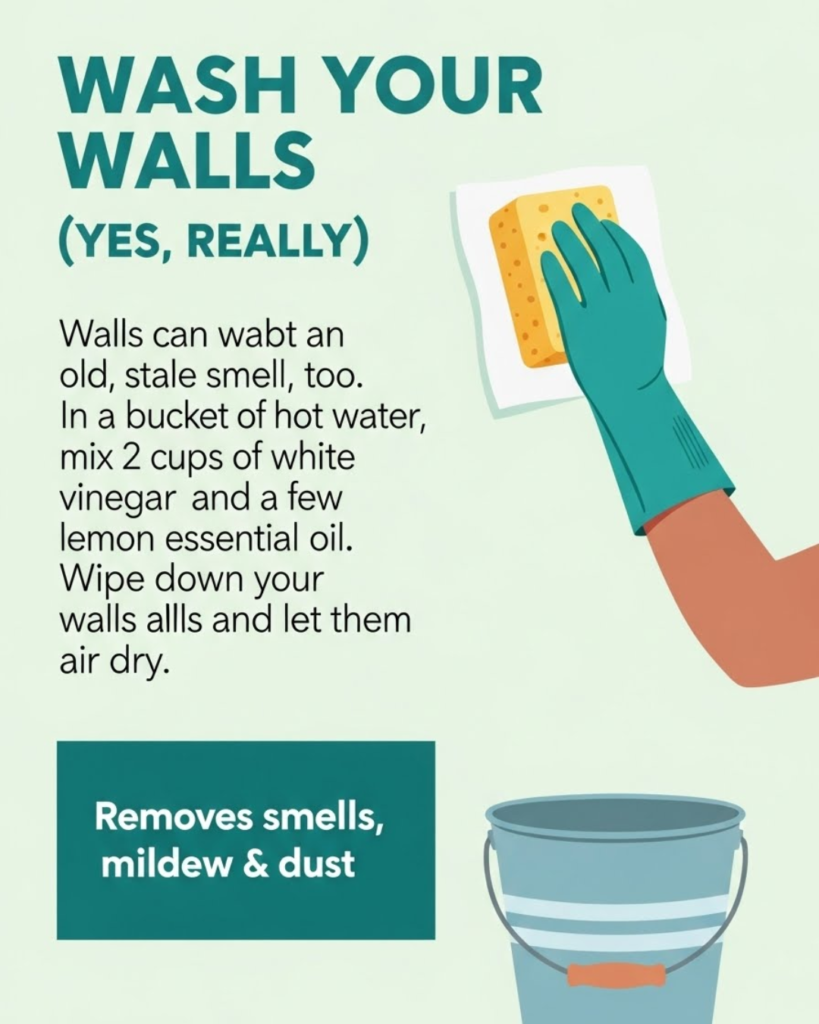
Most people don’t think about it, but walls collect layers of dust, oils, fingerprints, odors, and airborne particles over time. Washing them doesn’t just brighten your home—it improves air quality, extends the life of paint, and makes rooms feel noticeably fresher. And the best part? It’s easier than you think. This guide will walk you through everything you need to know, from preparation to technique, so you can confidently wash your walls and enjoy visible results almost immediately.
Why You Should Wash Your Walls: The Essential Beginning
Washing your walls might seem excessive at first, but once you understand what builds up on painted surfaces, it becomes an obvious part of maintaining a healthy home.
How Dirt Accumulates on Walls
Even if they look clean, walls trap:
- Dust and airborne particles
- Kitchen grease
- Smoke residue
- Pet dander
- Fingerprints and body oils
- Soot or candle residue
Over time, these layers dull the finish and make colors appear dirty or faded.
The Benefits of Washing Your Walls
Washing your walls can:
- Brighten a room instantly
- Remove odors and bacteria
- Make paint last longer
- Improve indoor air quality
- Prepare surfaces for repainting
- Reduce allergens
What Rooms Need It Most
Focus on areas where grime builds up quickly:
- Kitchens
- Bathrooms
- Hallways
- Kid bedrooms
- Behind furniture
- Near vents and heaters
You’ll be surprised how much cleaner your home feels after tackling just one room.
How to Wash Your Walls: Simple, Step-by-Step Instructions
Washing your walls doesn’t have to be intimidating. With the right method, it’s straightforward and effective.
Step 1: Gather Your Supplies
You’ll need:
- Soft microfiber cloths
- Two buckets
- Mild dish soap or all-purpose cleaner
- A sponge
- Warm water
- A magic eraser (optional)
- A ladder or step stool
- Towels for catching drips
Avoid abrasive products—they can damage paint.
Step 2: Dust Your Walls First
Use a dry microfiber cloth or a broom wrapped in a towel.
This prevents mud-like streaks when water hits loose dust.
Step 3: Mix Your Cleaning Solution
Use this gentle, effective formula:
- 1 gallon warm water
- A few drops of mild dish soap
For kitchen grease, add a splash of white vinegar.
Step 4: Start at the Bottom and Work Up
This prevents dirty water from dripping onto clean areas.
Move in small, circular motions and rinse your sponge often.
Step 5: Rinse and Dry
Use a second bucket of clean water for rinsing.
Then pat the wall dry with a towel to avoid streaks.
Advanced Cleaning Techniques for Stubborn Wall Messes
Some spots require extra care. Here’s how to handle tougher stains safely.
Removing Grease
In kitchens, grease can cling to walls near stoves and fryers.
Use a slightly stronger mix:
- 1 gallon warm water
- ½ cup vinegar
- A few drops of dish soap
Removing Crayon or Marker
Magic erasers work well but use a light touch to avoid dulling paint.
Alternatively, try a paste of baking soda and water.
Mold and Mildew Spots
Bathrooms often develop mildew on walls.
Use a safer solution:
- 1 part vinegar
- 1 part water
Spray, let sit for 10 minutes, and wipe clean.
Scuff Marks
Most scuffs lift easily with diluted dish soap.
For persistent ones, use a magic eraser sparingly.
Common Wall-Washing Mistakes and How to Avoid Them
Even a simple task like washing walls has pitfalls. Avoid these for the best results.
Using Too Much Water
Excess moisture can ruin drywall and leave streaks.
Solution: Damp—not soaking—sponges work best.
Scrubbing Too Hard
Aggressive scrubbing damages paint.
Solution: Let the cleaner soak in for a minute before wiping.
Forgetting to Test a Spot
Always test your cleaner in a hidden area.
Different paint finishes react differently.
Ignoring the Ceiling
Dust and smoke rise.
If you skip the ceiling, the room won’t look fully refreshed.
How to Keep Your Walls Cleaner for Longer
Once you’ve invested time into washing your walls, you’ll want the results to last. Here’s how to maintain cleanliness over time.
Use High-Quality Paint Finishes
Eggshell, satin, and semi-gloss finishes are easier to clean than flat or matte paint.
Run an Air Purifier
This reduces dust and smoke buildup, especially in compact homes.
Spot Clean Monthly
A quick once-over prevents grime from accumulating.
Reduce Indoor Pollutants
Try:
- Burning fewer candles
- Using the stove fan
- Keeping windows open when possible
A cleaner environment means cleaner walls.
Taking Wall Care Even Further: Next-Level Home Maintenance
Once you start seeing the difference clean walls make, you might feel inspired to refresh other often-ignored surfaces. This creates excellent internal linking opportunities to topics like:
- How to deep-clean baseboards
- How to maintain your home’s paint
- How to clean your ceiling fans
- The best natural cleaning solutions
- DIY home refresh ideas
Maintaining walls becomes part of a bigger habit: caring for your home intentionally and consistently. And each task complements the next.
How Often Should You Wash Your Walls?
Most homes benefit from a full wall wash every 6–12 months.
Kitchens and bathrooms may need it more often.
Seasonal Wall Care
Spring and fall are ideal wall-washing seasons.
You’re already opening windows, decluttering, and resetting your home—making it a natural time to refresh your walls.
Conclusion: Transform Your Home One Wall at a Time
Washing your walls might seem small, but it creates a surprisingly big transformation. Colors look brighter, rooms feel lighter, and the entire space feels fresher. Now you understand why it matters, how to do it safely, and how to avoid the most common mistakes. With just a few simple tools and a little time, you can unlock a cleaner, healthier, and more vibrant home.
So choose a room, gather your supplies, and start washing your walls—yes, really. The results will surprise you, and you’ll never overlook this powerful home-cleaning step again.